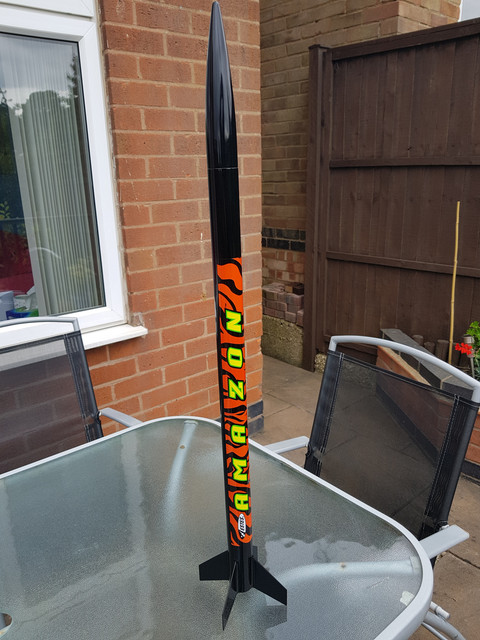
Hi guys, beginner here on my first rocket and I think I've been trying too hard. The result is that there're a couple of patches on my Estes Amazon that look like this:

And I need a little advice on recovering a perfect surface if that's even possible.
I've been using this rocket as practice for various techniques, (I know I've been going way overboard on what is nearly a snap together kit), so it's perhaps no wonder that this build has had a few things go wrong along the way.
I used a white sandable wood filler to smooth the body tube.
The fillets around the fins and launch lugs were at first supposed to be epoxy. I tried this several times, but I just could not get the epoxy I'd chosen to set hard rather than rubbery, even when left a few days. The five minute set time didn't help, but it was the inability to sand it and get a nice result that caused me to tear that stuff off.
In the process of tidying that all up, the card of the body tube got a little bit scuffed up, which I think is one of the roots of the problem. The water resistant layer was damaged and fibres exposed.
I replaced the fillets with wood filler, and it sanded dry really nicely.
Then I printed with automotive primer, grey/white/grey. The primer is beautiful! I love the primer! Unfortunately it doesn't sand dry, gumming up the sandpaper instantly if there isn't liberal amounts of water.
And in the areas of localised damage, the filler was very close to the surface. The filler was water soluble, and it cratered the moment the sandpaper broke through and touched it. The paper fibres underneath swelled with water and now they're quite a mess, penetrating through my reapplications of filler and just making everything I do to try and fix the situation worse.
My latest attempt has been to build the surface up with primer, but I don't think it's working very well and I'm wasting lots of primer.
I think the primer may have sealed the surface though, so I might be able to put filler on top, then prime again and continue. Figured it was probably time to reach out for help though before I potentially waste even more time!
I'm going to Midland Sky in a fortnight and really want to have a complete rocket by then. (I had been planning to have two, but getting the Crossfire done as well complete with fin profiling is looking ambitious at this point).
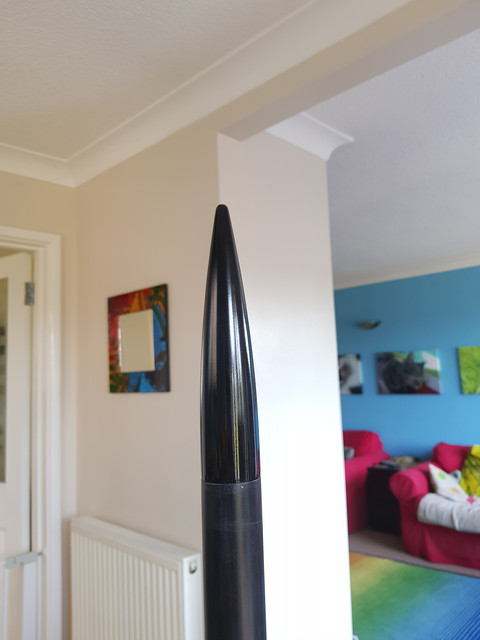
On a positive note, I've got the nose cone all the way up to gloss coat and so far it's looking fantastic!
And I need a little advice on recovering a perfect surface if that's even possible.
I've been using this rocket as practice for various techniques, (I know I've been going way overboard on what is nearly a snap together kit), so it's perhaps no wonder that this build has had a few things go wrong along the way.
I used a white sandable wood filler to smooth the body tube.
The fillets around the fins and launch lugs were at first supposed to be epoxy. I tried this several times, but I just could not get the epoxy I'd chosen to set hard rather than rubbery, even when left a few days. The five minute set time didn't help, but it was the inability to sand it and get a nice result that caused me to tear that stuff off.
In the process of tidying that all up, the card of the body tube got a little bit scuffed up, which I think is one of the roots of the problem. The water resistant layer was damaged and fibres exposed.
I replaced the fillets with wood filler, and it sanded dry really nicely.
Then I printed with automotive primer, grey/white/grey. The primer is beautiful! I love the primer! Unfortunately it doesn't sand dry, gumming up the sandpaper instantly if there isn't liberal amounts of water.
And in the areas of localised damage, the filler was very close to the surface. The filler was water soluble, and it cratered the moment the sandpaper broke through and touched it. The paper fibres underneath swelled with water and now they're quite a mess, penetrating through my reapplications of filler and just making everything I do to try and fix the situation worse.
My latest attempt has been to build the surface up with primer, but I don't think it's working very well and I'm wasting lots of primer.
I think the primer may have sealed the surface though, so I might be able to put filler on top, then prime again and continue. Figured it was probably time to reach out for help though before I potentially waste even more time!
I'm going to Midland Sky in a fortnight and really want to have a complete rocket by then. (I had been planning to have two, but getting the Crossfire done as well complete with fin profiling is looking ambitious at this point).
On a positive note, I've got the nose cone all the way up to gloss coat and so far it's looking fantastic!