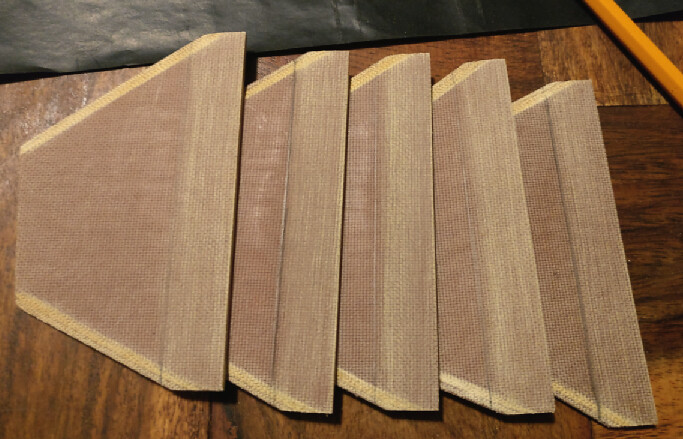
Time for one of my least favourite parts of the build process...internal fillets. I was going to foam the can just so I didn't have to deal with this, however I opted to do fillets on the inside of the body where it meets the fin, mostly in an effort to mitigate the weight in the aft.
While contemplating the process I realized that there may be a better way to go about this. Normally I mix up a batch of epoxy, feed it into a large syringe that has a length of aquarium airline tubing connected to a long dowel, work out the air, then while holding a small flashlight in my mouth, I painfully squeeze the epoxy into the fillet area while drawing out the tube/dowel. This typically takes a lot more time than it should, just in prep and cleanup, and results in about 50% epoxy waste, uneven fillets that are messy, and a fillet that is much larger, in places, than required.
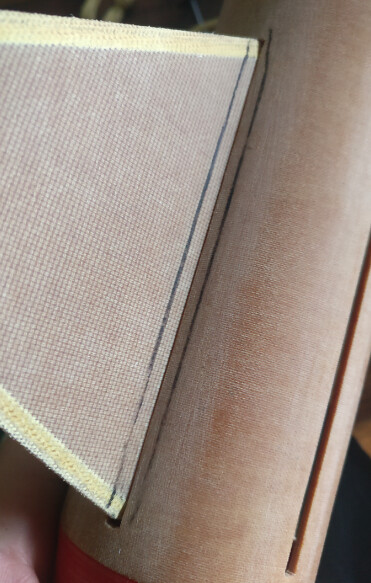
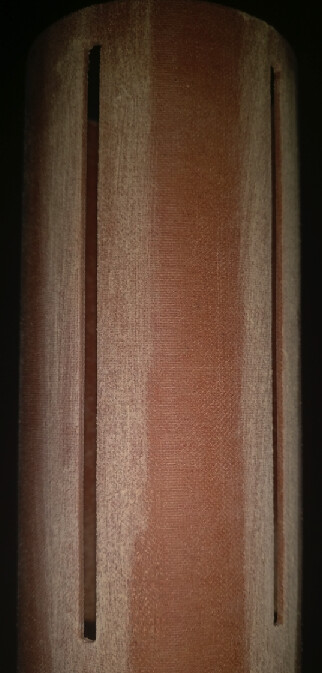
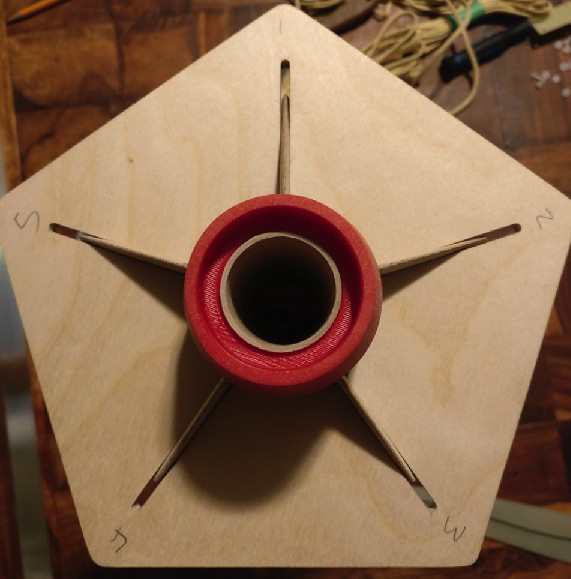
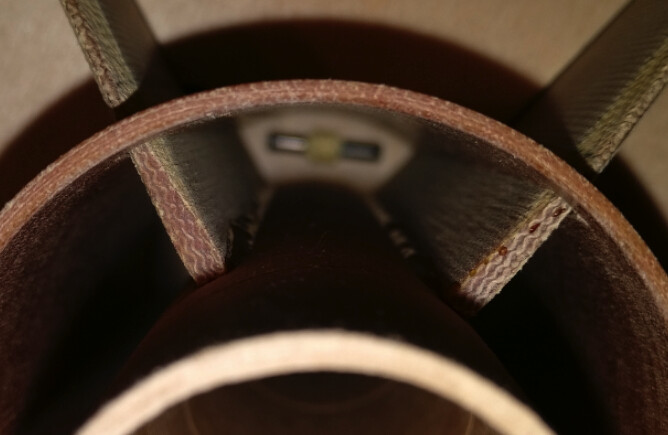
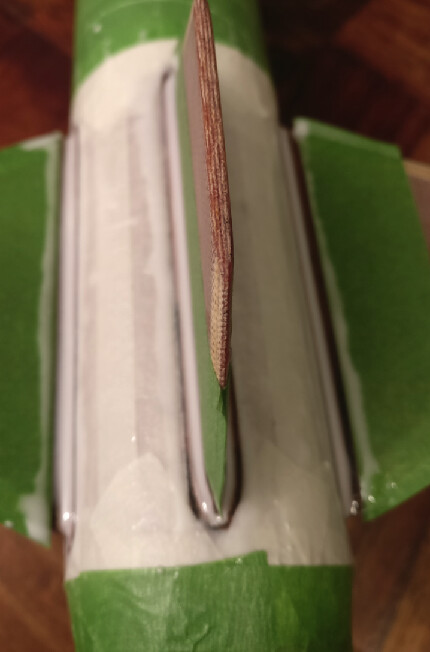
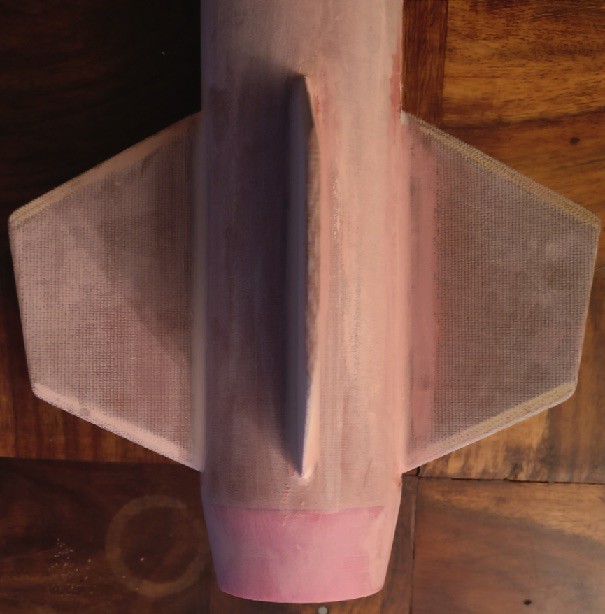
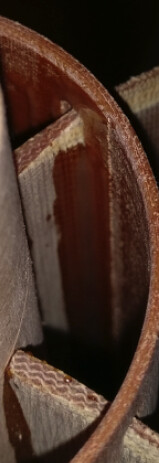
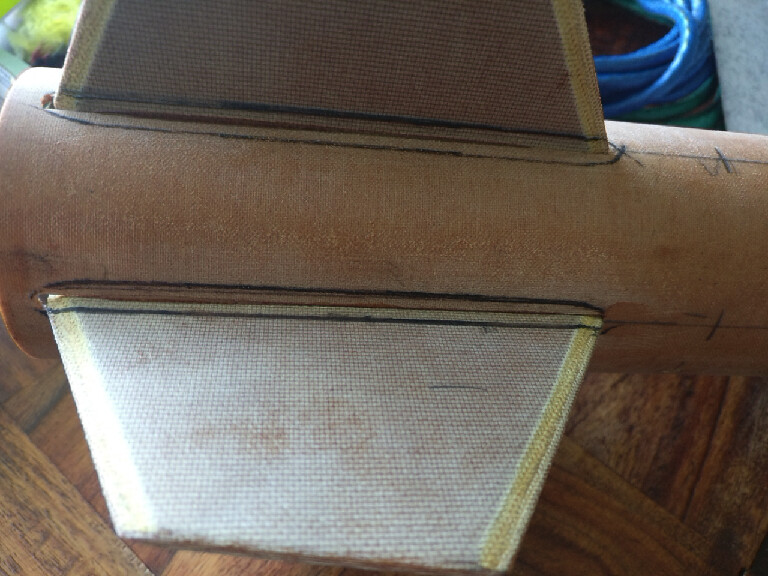
So after a bit of thought I decided to take a .2" diameter dowel, butter it lightly with epoxy along the length of the fillet I planned to do, and insert it into the fin cavity. Once the dowel bottomed out on the forward CR, I moved and rotated it towards the fin while holding it flat against the BT. Once it rotated 180 degrees I then drew it out and just like that I had a small, efficient, very even fillet with almost no mess or waste. As a matter of fact it was so easy I decided to do fillets on both the body tube/fin and fin/motor tube. I was done in 15-20 min, and there was almost no waste and very little clean up.
The results speak for themselves and the technique is so easy that it can make anyone look like a pro.
This was the fifth fillet of what would be 4 per fin, times by 5 fins, 20 in total...and they all looked this good.
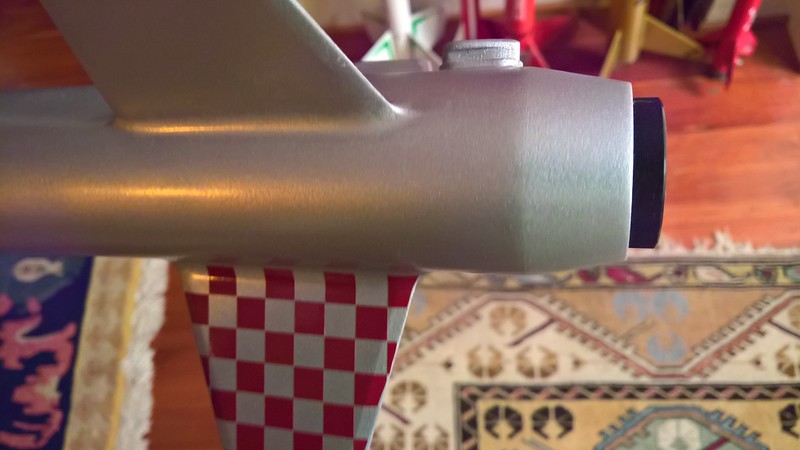
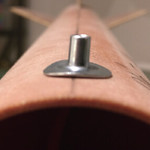
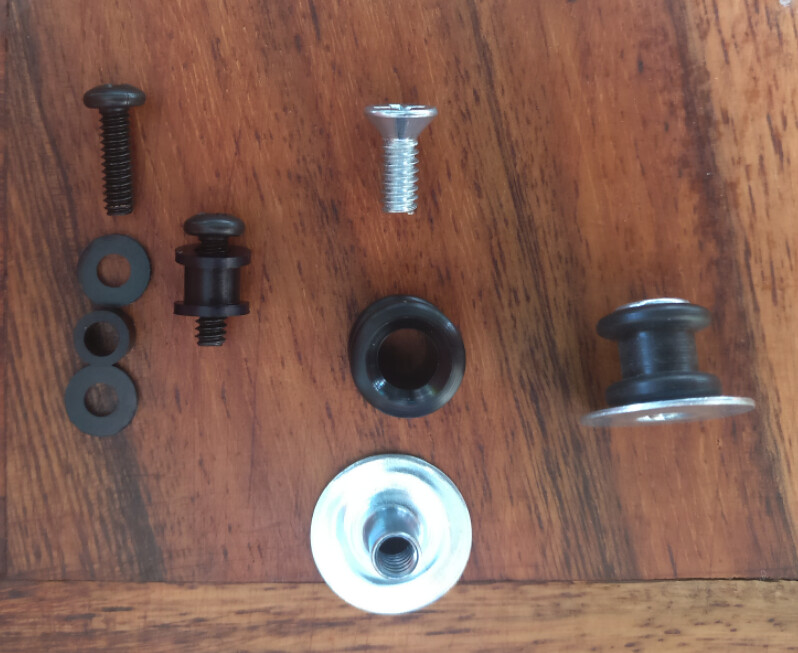
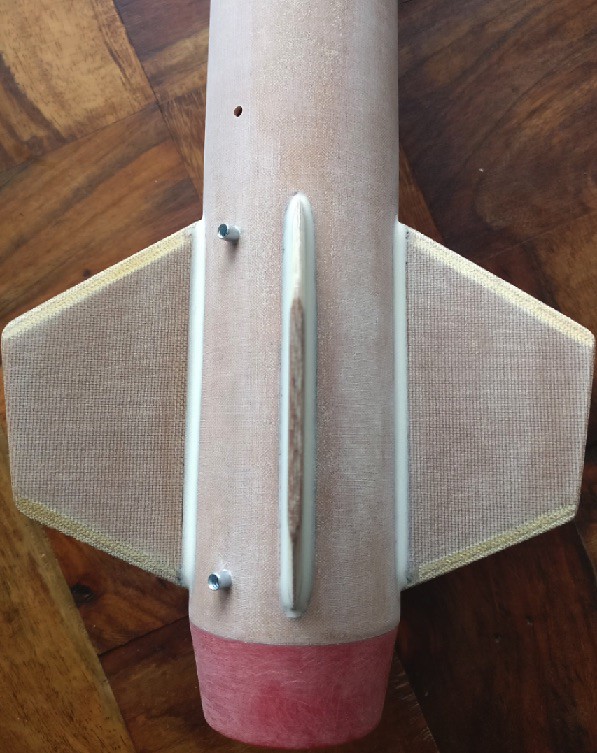
Next up, what to do about rail guides. My initial thought was to use the mini rail buttons, however Rick (EXPJawa) quickly talked some sense into me. Then Rick generously offered to give me some really nice surface mount rail guides, that he designed and had 3D printed. I believe Rick had them printed at a relatively high resolution so they do not look like the typical 3D printed components that we are used to, they look high quality and they appear to be pretty strong. However after giving my theme some thought and whether I would mask/paint the theme, or use the decals, it occurred to me with the tight space between the fins that it would be a bit trickier to work with Rick's rail guides. So I decided to use the 3 piece 1010 rail buttons that have the backer/threaded post that you epoxy in the the airframe, and can then easily swap out the buttons for maintenance. Plus painting is a breeze with them.
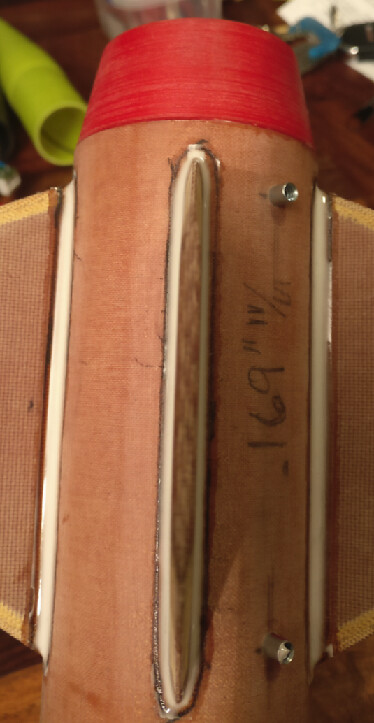
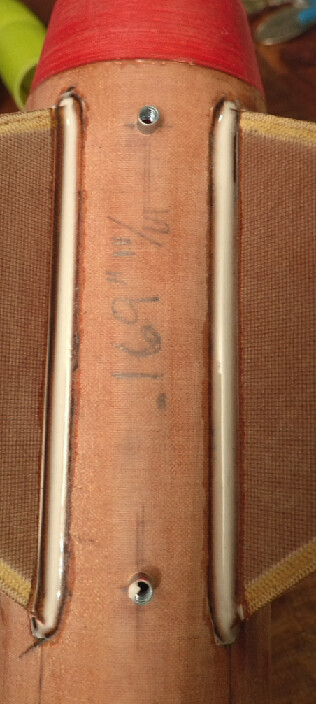
Because the airframe can distort when they are tightened, I profiled both the backer/post and button to roughly match the airframe.
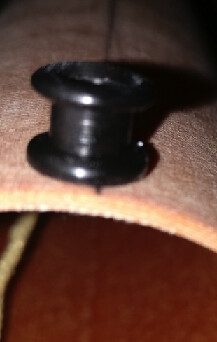
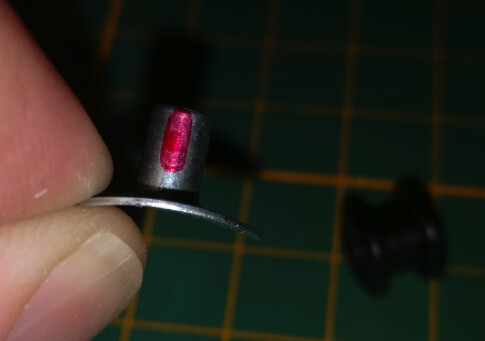
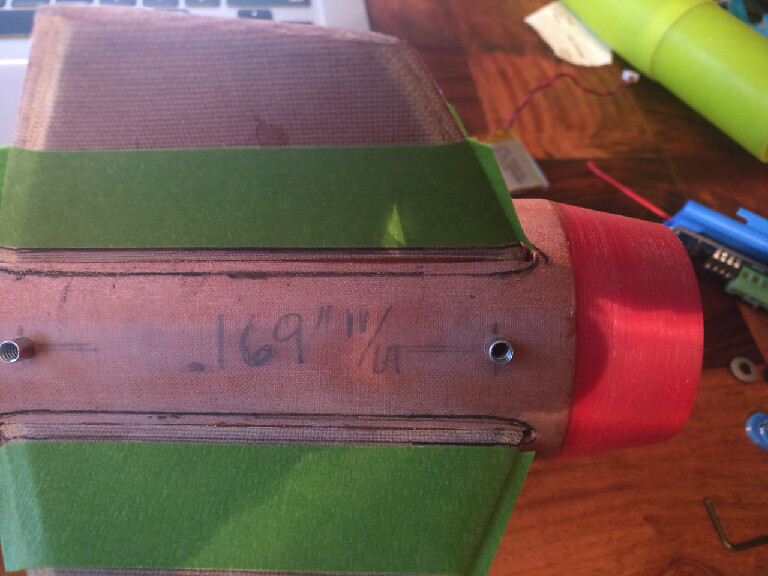
Once I did this I realized that if the post turned while I installed and or tightened the button down, that I would need an easy way to turn it back into position. So I simply took a red sharpie and marked the aft side of the post, which allowed me to quickly see it if was still aligned correctly and adjust if not.
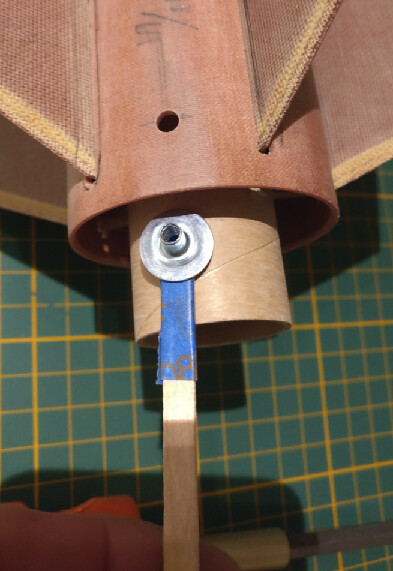
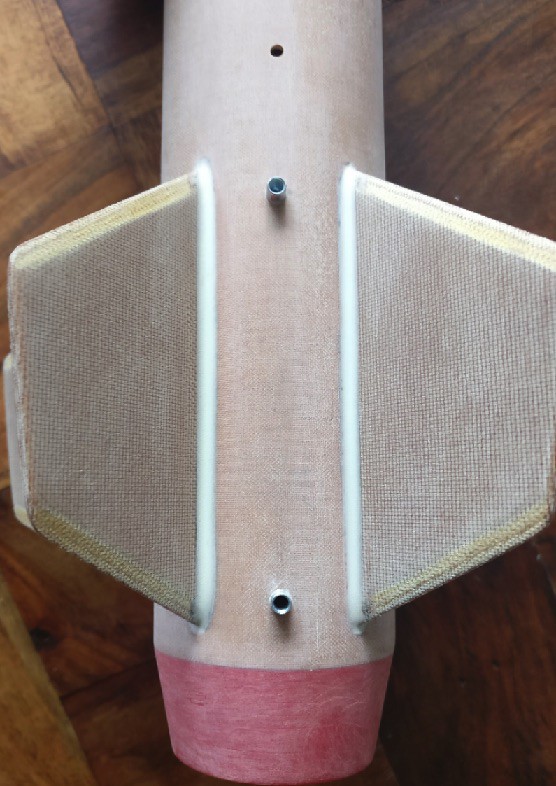
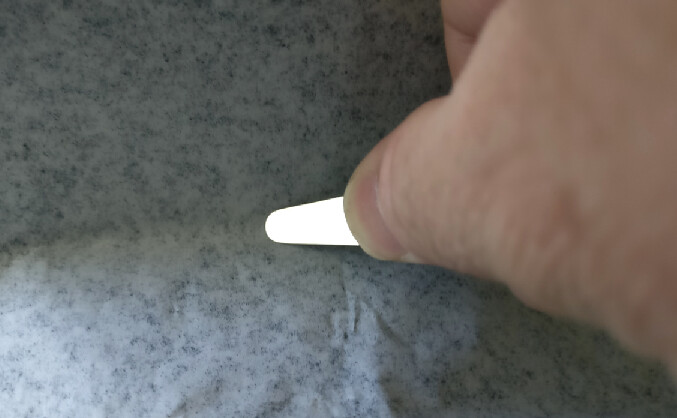
To install them I used a long popsicle stick with some tape wrapped around it that had some sticky side up. This allowed me to stick the backer/post to the popsicle stick and butter a small ring of epoxy around the top edge of the backer/post, insert, then once in line with the 11/64 holes I drilled, I pushed it through the airframe. These holes are a perfect fit and once in they provide enough resistance that it kept the post aligned so no adjusting was necessary.
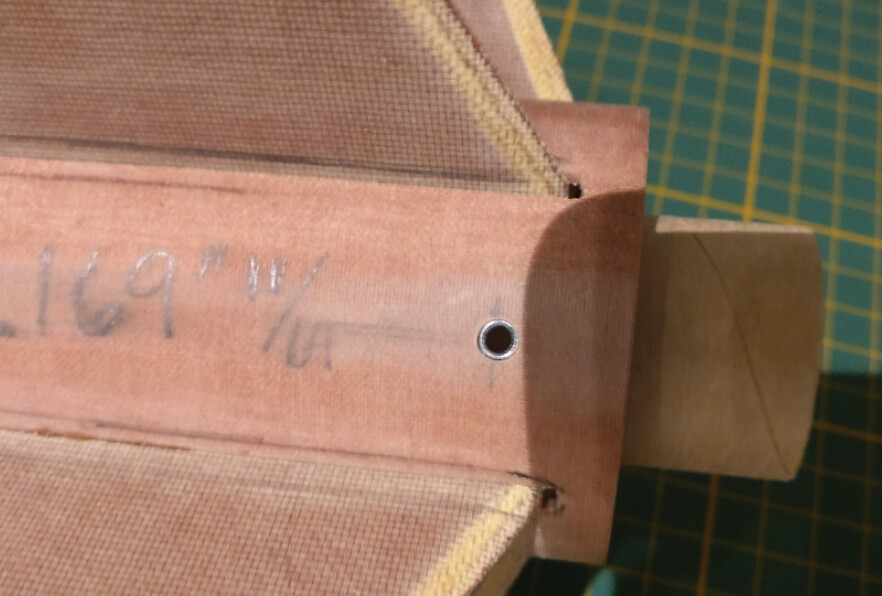
Then I installed the rail buttons, tightened them up and set the build aside to allow the epoxy to set for 24 hours.
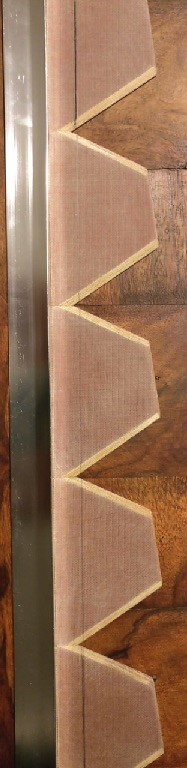
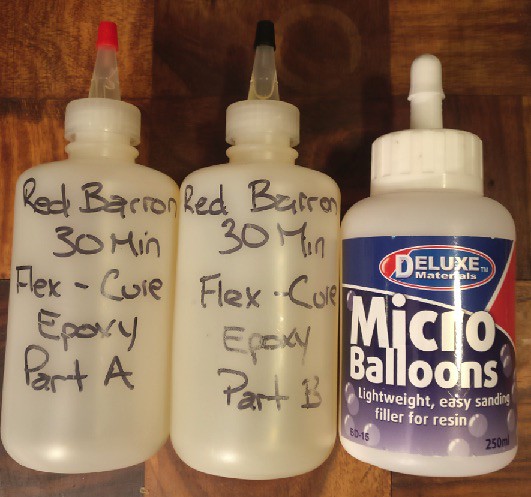
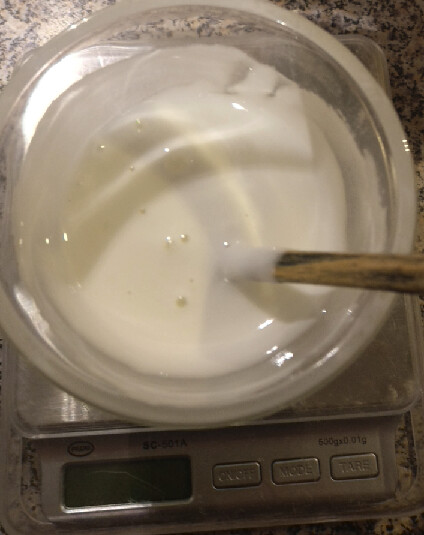
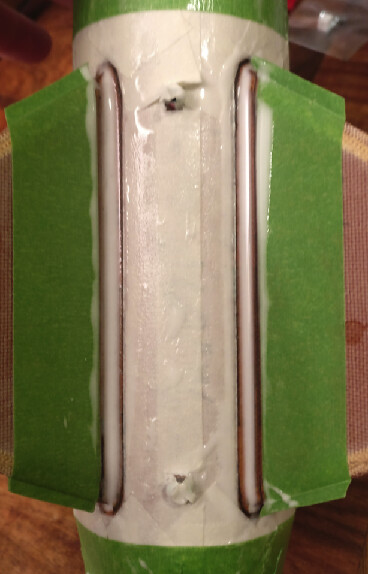
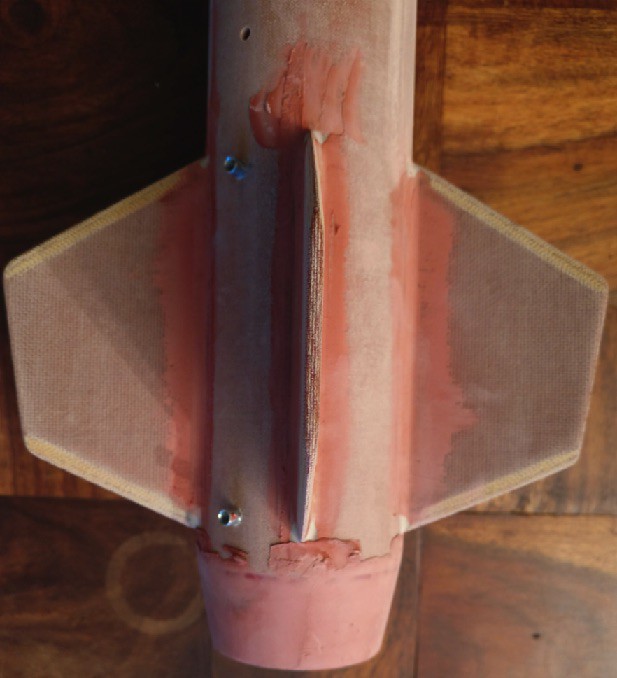
Today I started re-marking the fillet area so I could then mask it off in prep for the fillets. The plan is to use Red Barron 30 min Flex Cure epoxy mixed with roughly 50% micro-balloons. This should result in a very light fillet and considering the internal fillets this is not required for strength but more appearance. I have used this mix on several mid-power builds and it results in a somewhat flexible fillet that is really easy to work with from a body work perspective as it sands very well.
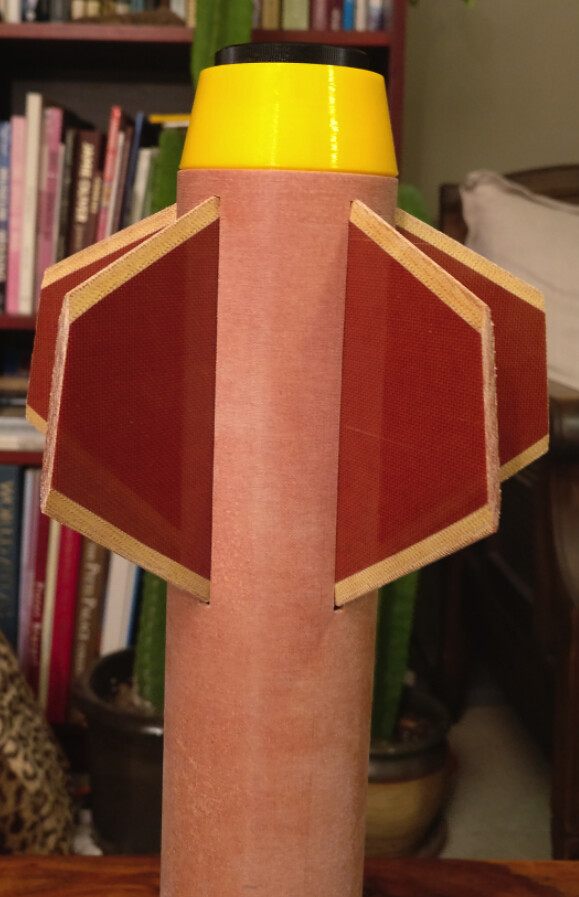
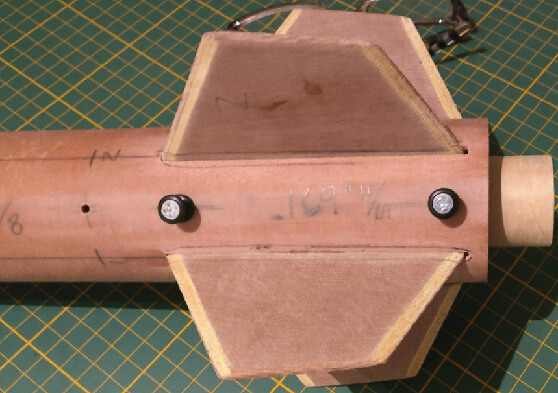
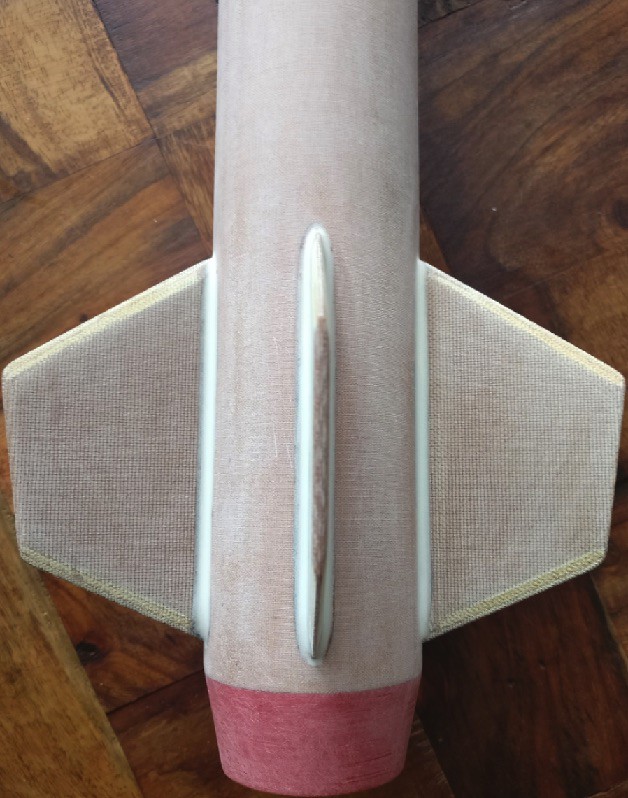
I masked the fins and tried to mask the body but the low tack green frog masking tape does not stick very well to the canvas phenolic BT. So I switched gears and epoxied the tailcone in place, now that I am finished with the internals. Currently the build is sitting aside curing. Tomorrow sometime I will grab some higher tack tape and finish masking the BT, then hopefully lay down some, if not all, of the fillets. This is how she looks now, rail buttons were removed now that the mounting posts have cured.


 Still out of the box it will do what it was designed for, quick build, simple and really tough.
 I may have to build one sooner or later too...