Cool. I don't want to derail the build thread, so I'll hunt that filet thread down myself. Thanks!
I'm interested as well, so if you find it first, please post a link and we can debate it over there if needed.


Cool. I don't want to derail the build thread, so I'll hunt that filet thread down myself. Thanks!
Thanks for the info. I suspected that was the reason it wasn't in the instructions, but it's nice to have confirmation. No point in adding weight if there is no strength benefit for it.
Inspecting the internals with a flashlight looking through the MMT, they look good. So I'll move on to the externals next.
For holding the payload bay to the AV-bay, has anyone used well nuts? It seems like a decent option, particularly as I have one hole about the right size drilled when testing the rivets.
Oh so that's why your Formula 200 seemed to weigh 14 tons when I was carrying it back from the field in LDRS")
For the external filets, I'm leaning towards using a 1" PVC coupler to pull the epoxy out. Any reason to use a different size?
Are you asking for the length of the fin root? I can measure that, the two fin sets are slightly different lengths.What is the fin root measurement? Isn't the standard something like 4-8%?
For the external filets, I'm leaning towards using a 1" PVC coupler to pull the epoxy out. Any reason to use a different size?

It's because of the fillets, foam, and thrust plate... You are right. His did weigh a ton when Gus and I carried it out after the second flight.
Man, you guys haven't lived until you've carried one of Tom's rockets across the field. And I mean in pieces! :grin:
Man, you guys haven't lived until you've carried one of Tom's rockets across the field. And I mean in pieces! :grin:
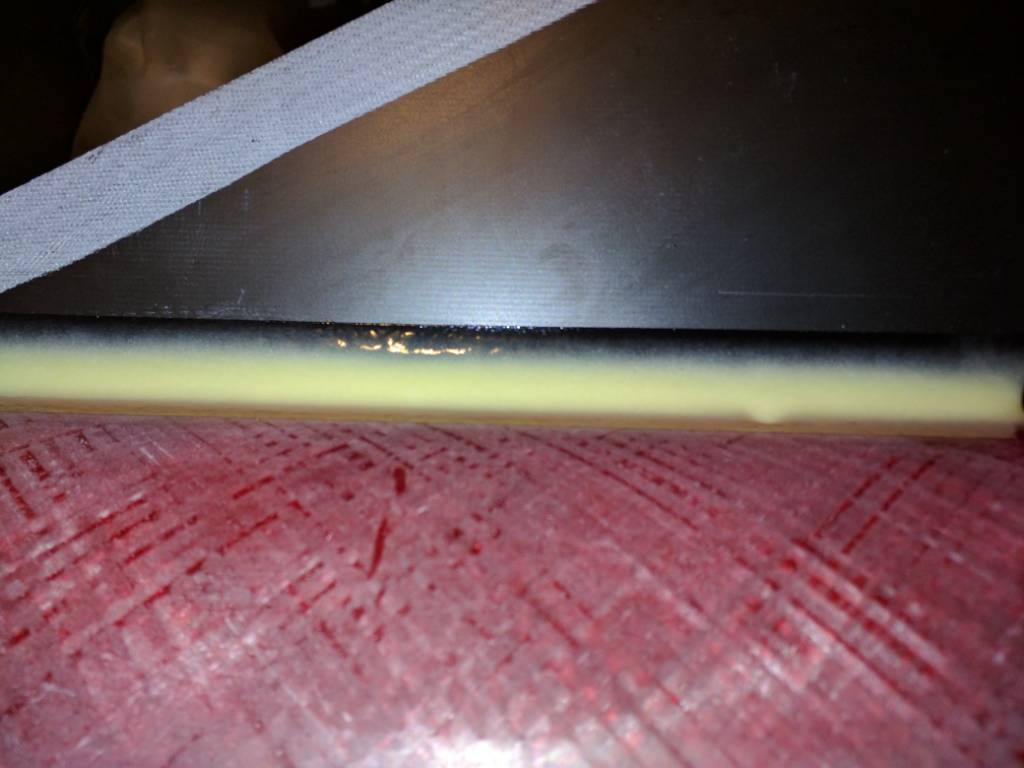
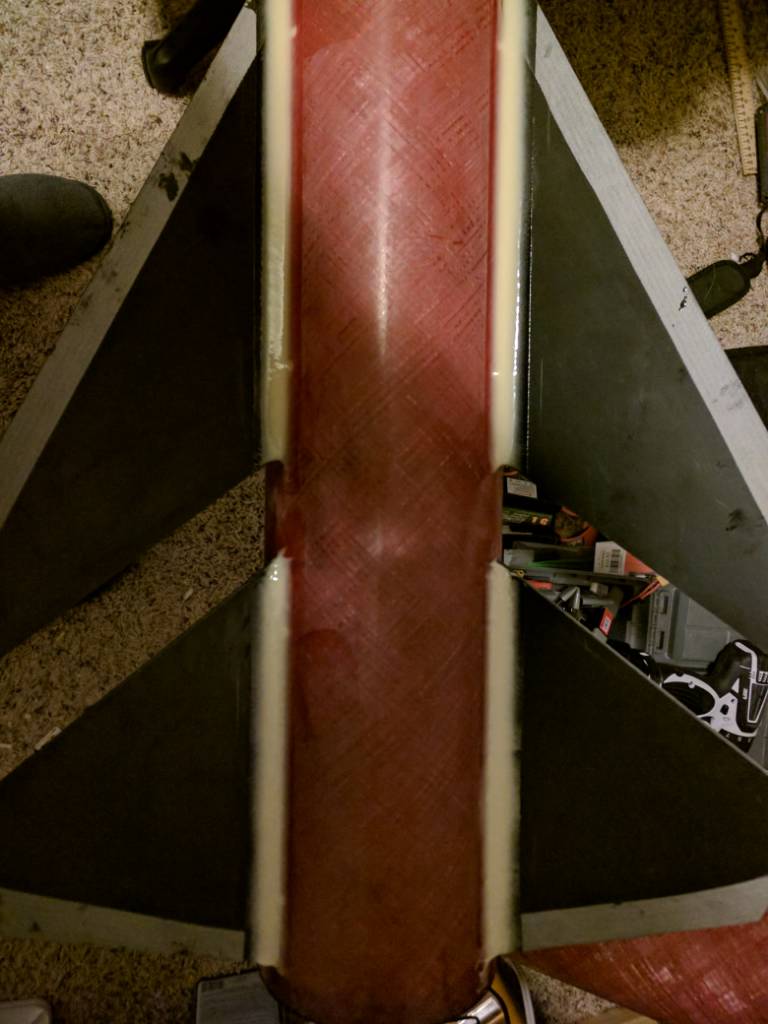
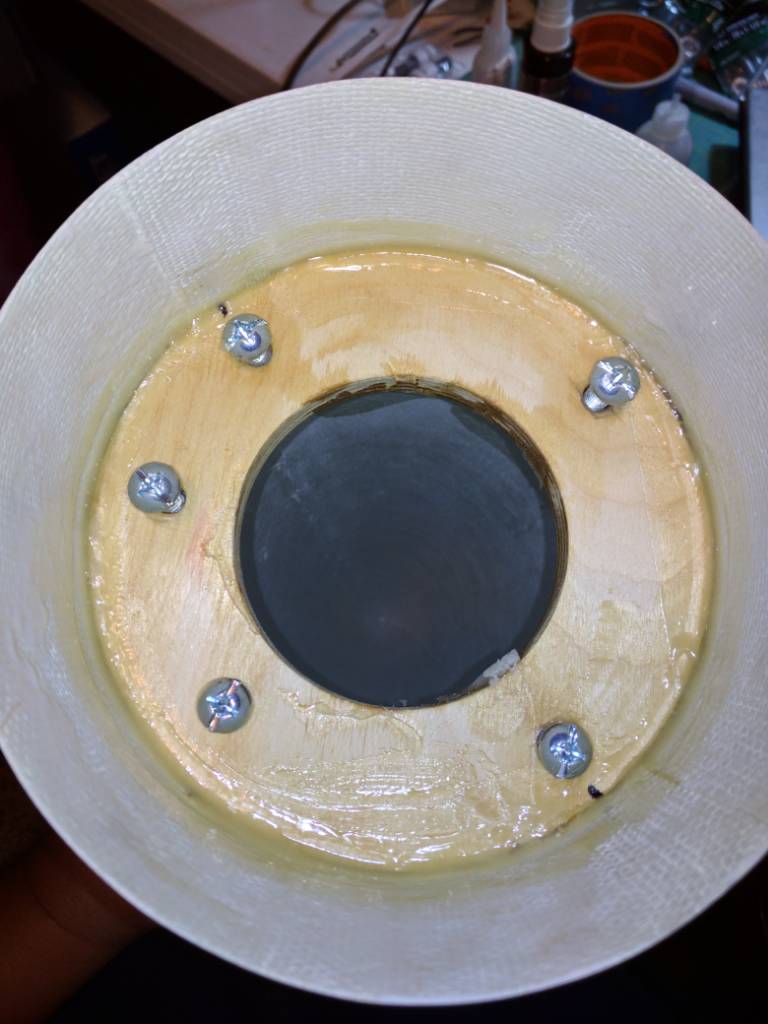
Filets completed. I need to drill the injection holes closer next time, they didn't stay filled in. I'm planning to use some Aeropoxy Light to fill them in, and maybe a little at the leading and trailing joints to the airframe.
For installing PEM nuts in fiberglass, any reason they won't pull in with the screw? Or do I need to get a clamp or long pliers to seat them? I'm thinking to use the 3mm I have, but haven't decided if I want to countersink flathead screws or just use something like a cap screw.
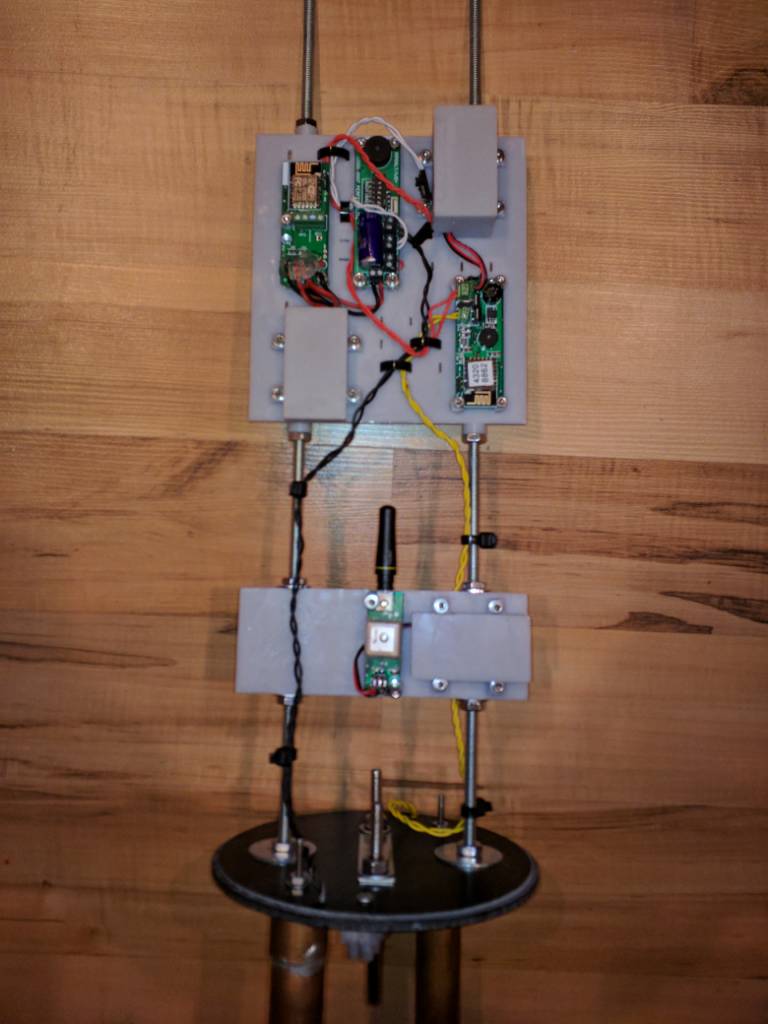
I plan on doing an electronics bay in the nose cone for tracking. That looks simple enough. I might have to cut a centering ring for that. Then the main av-bay.
For painting, is it worth going to an automotive type sprayer? I have a large compressor to run it. I would need to set up a spray booth of some sort. I suspect I'd have to buy a case of rattle cans.
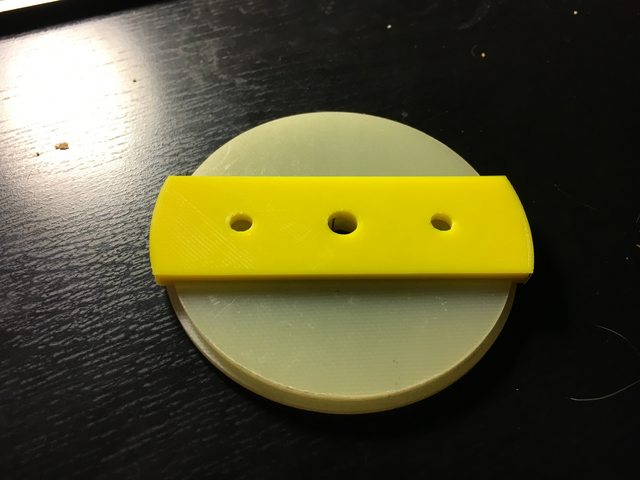
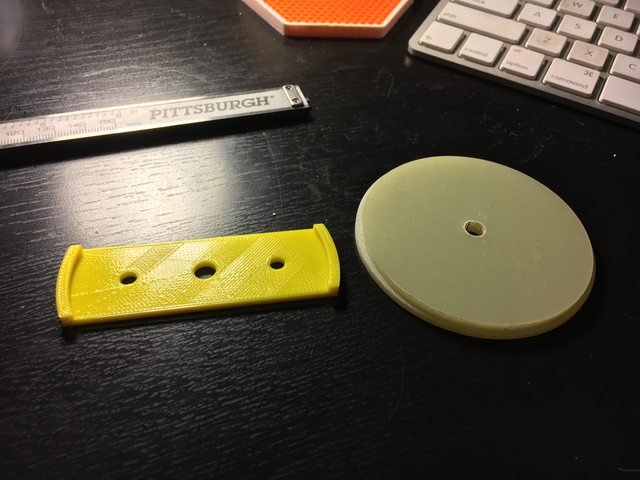
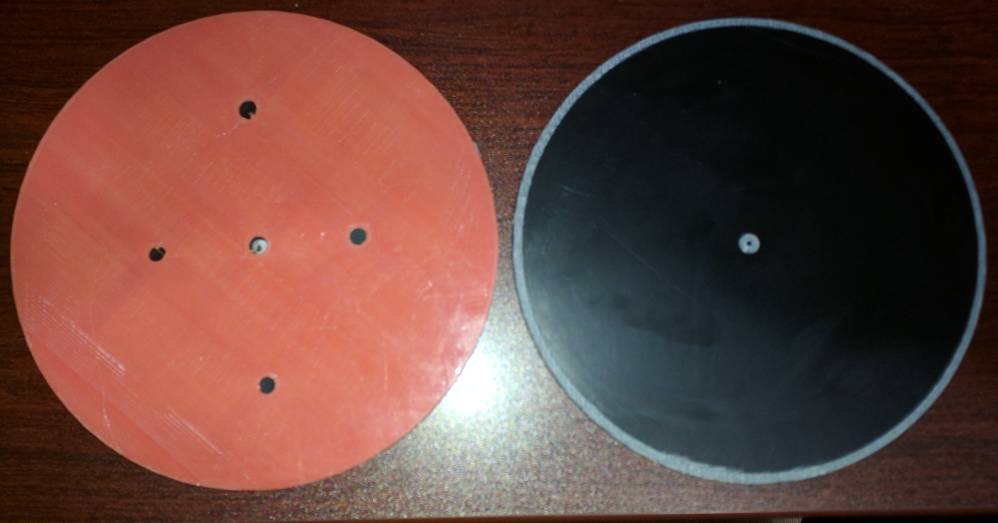
Planned flight is August 5 at Hellfire. Had a weird thought and made a 3D printed drill template for the AV-bay caps....
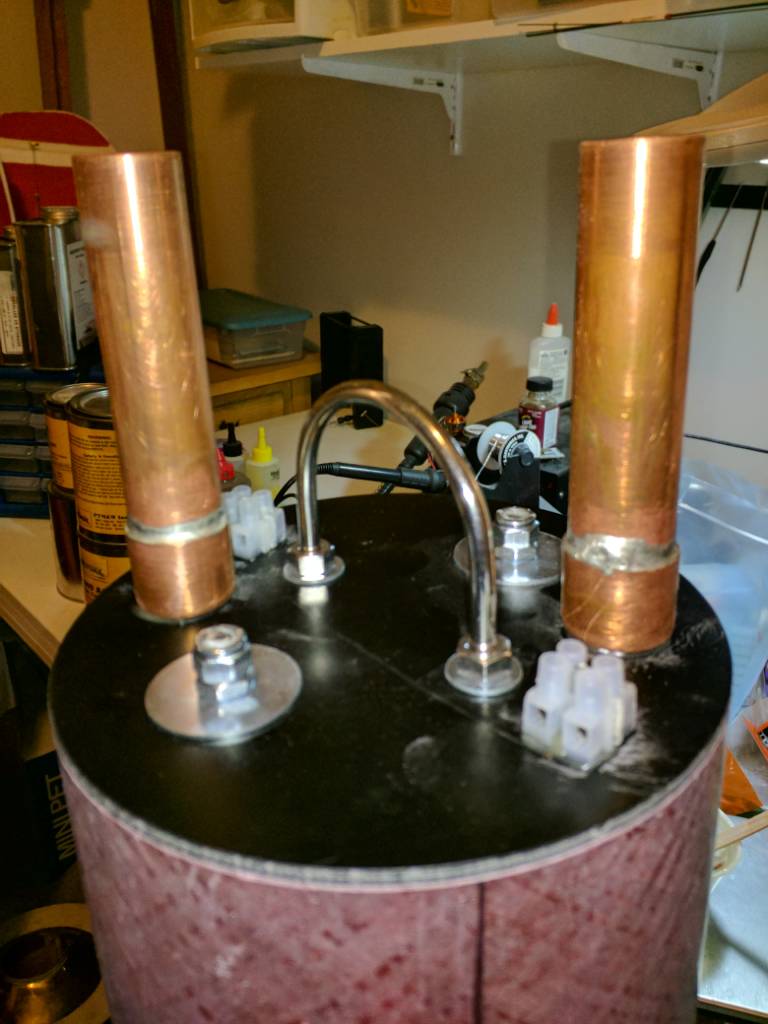
Just for the u-bolts and tie rods.
What's weird about that?
Perhaps not "weird" so much as "I don't think I've seen people do it before". I was originally playing with the CAD program to see how things would fit on the plates, but suddenly realized I could make a template and avoid laying them out by hand. I put the charge holders and terminal blocks on the template just to check fit and it's downright spacious compared to what I'm used to.
It was a somewhat tight fit on my printer, but managed to get it to fit by using the ledge that fits inside the bay as the ID. It snaps over that and fits near perfectly. I must be getting a little better at estimating the "shrinkage" of holes that get printed.
Oh, just noticed your L2 bird is a Vertical Assault. I like that rocket. Managed to break mine when the apogee charge didn't happen. Main deployed, so most of the lower airframe is good and saved the motor case. Keep meaning to get some new tubing and fix it up.
However, it did take about 5 hours to print, so there is that. I like your idea, I might have to try something similar. It would be easy to cut a slot out of the middle of the circle in the CAD. You're absolutely right that I used way more material than I needed to. I also have a pile of pellets I make filament out of, so it's not as expensive to print it as you might think.
I'm beginning to think a lathe is like a hammer, when you have one, everything looks like a lathe project.


Enter your email address to join: