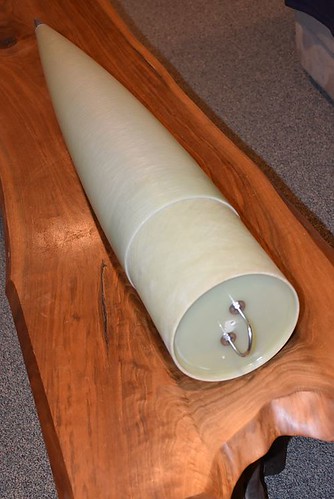
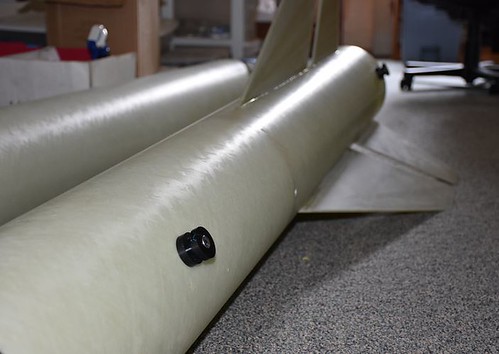
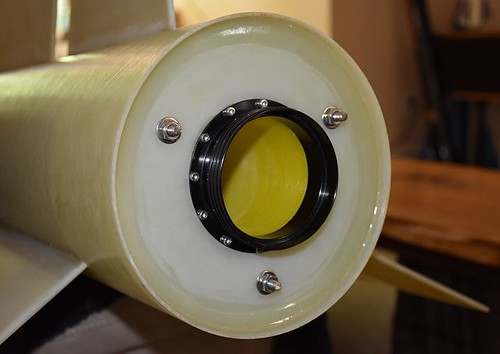
Rail buttons are installed. These are unistrut buttons.
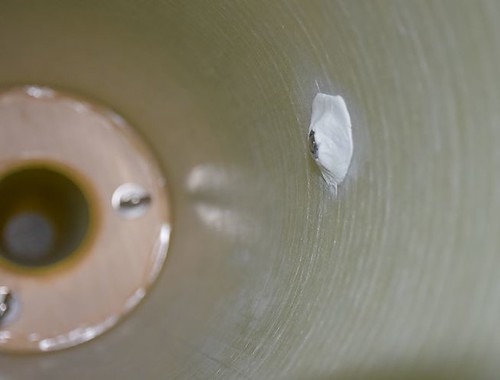
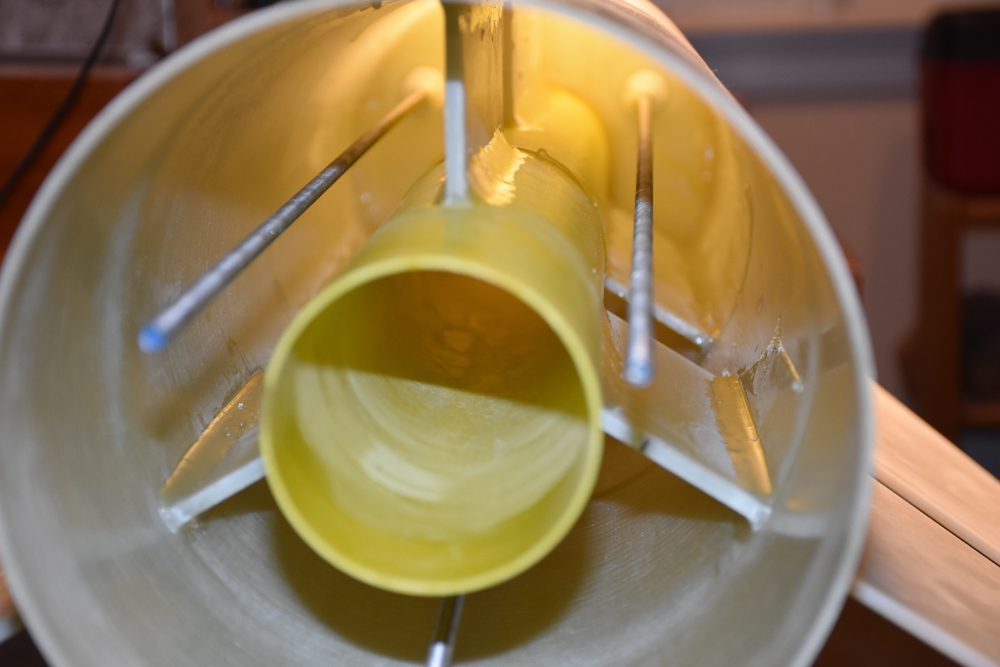
The rail buttons are attached with removable 1/4" bolts so I can easily replace them if they get damaged. I can also switch between unistrut and 1515 buttons because they both use 1/4"-20 bolts. Not sure if I would ever want to use 1515 buttons on this rocket but it's an option. The bolts are screwed into locknuts that are held in place with epoxy putty. The epoxy putty doesn't have to be strong enough to hold the rail buttons on; the nuts hold the rail buttons on. The epoxy putty only has to be strong enough to prevent the nuts from rotating.
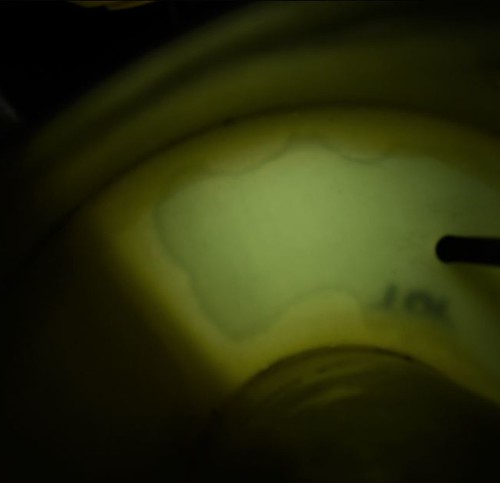
For the upper rail button I filed down the bolt so that it doesn't stick out past the nut and possibly snag the recovery gear.


")