

- Joined
- Jan 17, 2009
- Messages
- 5,204
- Reaction score
- 1,547
Yeah, that's more like it!
UGH! Let the magic smoke out.
Hmm, is is possible that the battery polarity was reversed?
Did you have to customize any connector wiring such as battery to Rx or Servo to RX?
Sometimes the pinout sequence for one brand of receiver, and a different brand of servo, are different. Not sure that the wrong wiring to a servo plug could cause the Receiver to smoke, but perhaps (more likely to damage the servo).


It appears that I reversed the polarity. Apparently "black" is positive on some lipo batteries.
Soooo.......I decided to reverse the polarity (after comparing to other lipo setups) and plugged things in......
View attachment 314529
Linked right up to my transmitter [Tactic transmitter & receiver & servo], and appears to be functioning well.
My brain is now fried.
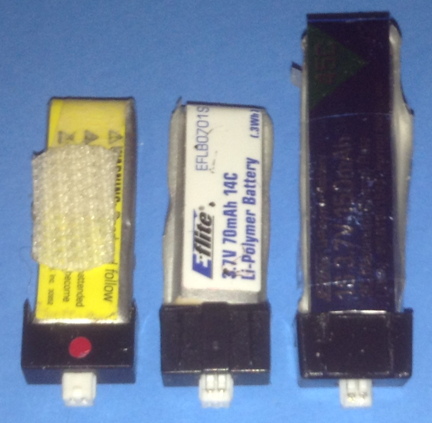
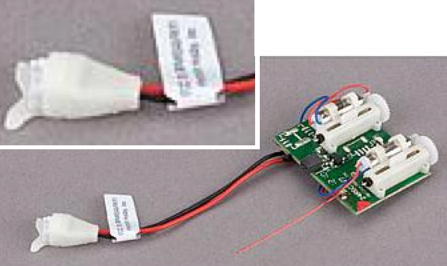


 I cut the wires, and soldered what I thought was positive and negative. I was wrong the first time...
The connector for the lipo battery did NOT designate black/red wires; both wires were red.
Really cool project. Have you given any thought to conversion of this one: (probably needs some re-scaling of wing to make it glide, not a glider in the first place)
https://www.estesrockets.com/rockets/kits/skill-1/003230-estes-jetlinertm
Reflective streamers are really easy to spot across a field in the sunlight, that might help find a pop-pod. Also known as bird-deterrent tape at hardware stores.
Enter your email address to join: