- Joined
- Feb 5, 2016
- Messages
- 257
- Reaction score
- 40
I've never done a build thread before so I thought I would try my hand at it.
My plan is to take a PML Miranda and convert it to a Dual Deploy rocket. I am currently L1 Certified, since this rocket has a 54mm MMT I may use this as my L2 rocket.
The standard kit is a 3" rocket with Quantum Tube airframe and payload sections. The default kit uses a piston ejection system. I will be ditching the piston, (however I have figured out how I could switch back to the piston if I decided to fly single stage motor recovery, more on that later maybe)
This rocket included PML's quick switch motor mount which allows you to fly the rocket on 54mm, 38mm, or 29mm motors. So I had to decide how I was going to retain the motor. I was looking at PML's HAMR motor retainer and it occurred to me that the biggest disadvantage of the system was the largest motor I could put in it was a 4 grain motor because the quick switch system retains the reduced tubes by a fitting at the forward end of the MMT. This fitting blocks a long motor from going in past the fitting. At this point I decided to go with an aero pack 54mm retainer and aero pack 38mm adapter. This also gives me flexibility in future 54mm rockets. All that said I do have to say that PML's quick switch is a cool system and I would have used it if not for the fact that it blocked the longer motors.
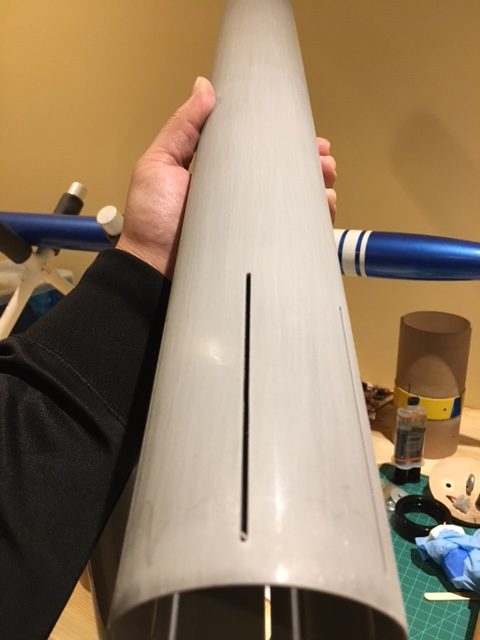
The default kit used a single 1/2" nylon strap glued to the side of the MMT 4" past the forward centering ring. The other end of this strap normally attached tot he piston. I modified this by cutting a second notch in the forward centering ring 180 degrees from the first attachment. This kit included a welded D-ring, I threaded this onto the nylon strap and sewed it in place at the center of the strap with my trusty speedy stitcher. I then slid a piece of heat shrink over the stitching to protect it. The two ends of the strap were then epoxied to the sides of the MMT. I now have 2 points of failure on my recovery harness. A shock cord will be attached to the D-ring by way of a quick link and then attached to the bottom of the AV bay. I have not yet decided if I will fly a drogue chute.

D-ring attached to recovery harness.

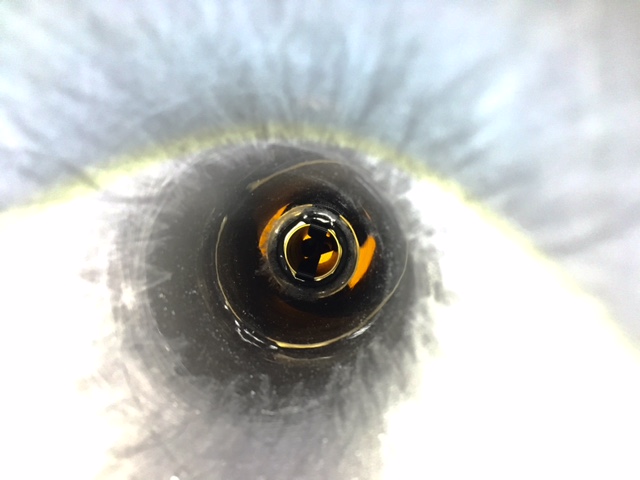
Recovery harness epoxied with to the MMT with rocketpoxy died black

The harness presents two points of failure, if one side were to fail the the D-ring would remain attached tot he second strap sewn together.
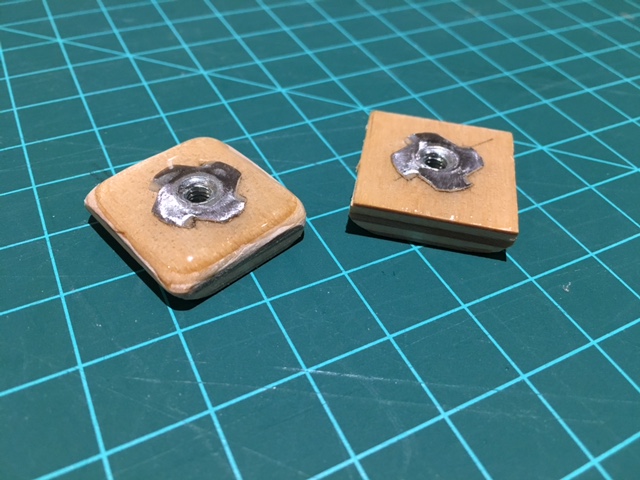
The coupler AV bay will fly without a switch band. I plan to attach the AV bay to the payload section with mechanical fasteners (likely machine screws into t-nuts in the AV bay. For electronics I will either fly an eggtimer or an eggfinder TRS. I may also invest a eggtimer quantum so I can activate via wifi, we'll see where I end up on that.
That is all for now, I'll keep you all updated as the build progresses.
Thanks
Mendal
My plan is to take a PML Miranda and convert it to a Dual Deploy rocket. I am currently L1 Certified, since this rocket has a 54mm MMT I may use this as my L2 rocket.
The standard kit is a 3" rocket with Quantum Tube airframe and payload sections. The default kit uses a piston ejection system. I will be ditching the piston, (however I have figured out how I could switch back to the piston if I decided to fly single stage motor recovery, more on that later maybe)
This rocket included PML's quick switch motor mount which allows you to fly the rocket on 54mm, 38mm, or 29mm motors. So I had to decide how I was going to retain the motor. I was looking at PML's HAMR motor retainer and it occurred to me that the biggest disadvantage of the system was the largest motor I could put in it was a 4 grain motor because the quick switch system retains the reduced tubes by a fitting at the forward end of the MMT. This fitting blocks a long motor from going in past the fitting. At this point I decided to go with an aero pack 54mm retainer and aero pack 38mm adapter. This also gives me flexibility in future 54mm rockets. All that said I do have to say that PML's quick switch is a cool system and I would have used it if not for the fact that it blocked the longer motors.
The default kit used a single 1/2" nylon strap glued to the side of the MMT 4" past the forward centering ring. The other end of this strap normally attached tot he piston. I modified this by cutting a second notch in the forward centering ring 180 degrees from the first attachment. This kit included a welded D-ring, I threaded this onto the nylon strap and sewed it in place at the center of the strap with my trusty speedy stitcher. I then slid a piece of heat shrink over the stitching to protect it. The two ends of the strap were then epoxied to the sides of the MMT. I now have 2 points of failure on my recovery harness. A shock cord will be attached to the D-ring by way of a quick link and then attached to the bottom of the AV bay. I have not yet decided if I will fly a drogue chute.
D-ring attached to recovery harness.
Recovery harness epoxied with to the MMT with rocketpoxy died black
The harness presents two points of failure, if one side were to fail the the D-ring would remain attached tot he second strap sewn together.
The coupler AV bay will fly without a switch band. I plan to attach the AV bay to the payload section with mechanical fasteners (likely machine screws into t-nuts in the AV bay. For electronics I will either fly an eggtimer or an eggfinder TRS. I may also invest a eggtimer quantum so I can activate via wifi, we'll see where I end up on that.
That is all for now, I'll keep you all updated as the build progresses.
Thanks
Mendal