Hyperion--TRA Level 3 Build

The Rocketry Forum

Help Support The Rocketry Forum:

This site may earn a commission from merchant affiliate links, including eBay, Amazon, and others.
After looking at your google document I have another suggestion regarding the main and back up altimeters.

I wanted to use 2 RRC2+ altimeters for my L3. My L3 TAP's were not comfortable with the 1s drogue delay of the back up RRC2+ (apogee +1s is the only option for the RRC2+). The concern was possible over pressurization (confetti) if the main and back up altimeters fired closer than 1 second apart. One of my TAP's had that happen to one of his rockets.

I have a Stratologger CF that I used as the back up altimeter and set the back up drogue to apogee +3 seconds.

You currently have the RRC3 as the main and the RRC2+ as the back up. You could just swap the altimeters you already have (RRC2+ and RRC3). Use the RRC2+ as the main and fire the drogue charge at apogee. The RRC3 could then be set to a delay longer than 1 second after apogee (the RRC3 has a user adjustable delay from 1-30 seconds).

I use a MW RRC3 for main and the RRC2+ for back up set for +1 second. Works flawlessly, as all my MW altimeters do. I fly this combination in several different rockets. Yes, you can go the other way. Just saying it works fine for me. YMMV
 
Very cool. Subscribed. Is it just me, or is TRF unusually invested and excited about this build thread? LoL!
Best of luck, and we're rooting for ya.
 
15491452_10154068572609249_1213016905_o.jpg


Here's the next little something that will be arriving sometime in the next few days. :)
 
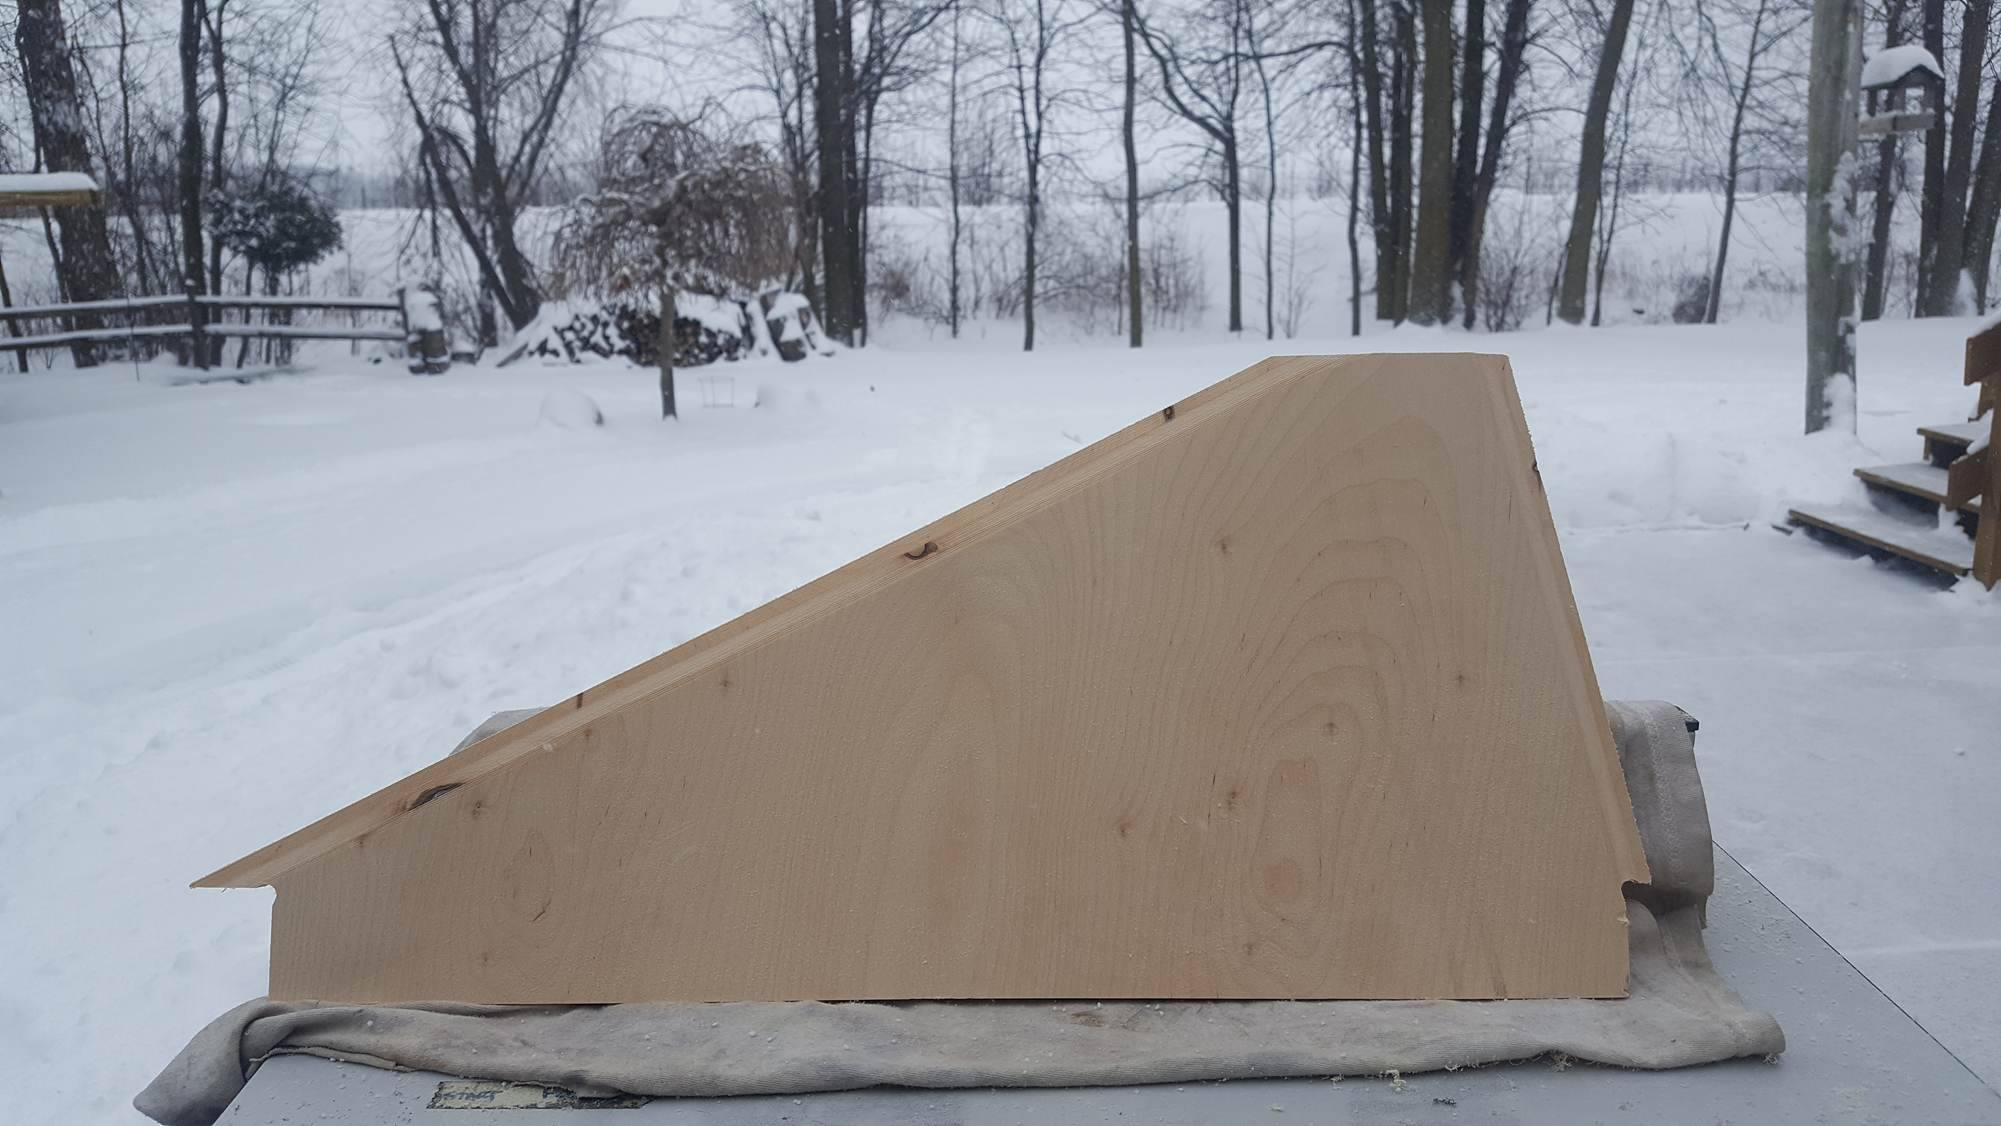
Also, here's a quick clip of finishing up the fins.
Tn3vGl.gif
 
Last edited:
Too much fraternizing (posting)--the death knell of so my L3's.

You...:no: Growwwwwl...:dark:

Matt, as i mentioned the other night by phone i will be watching your build thread with excitement from afar as i normally don't wander over here too much.

1. I think you've picked a great design that utilizes FOUR fins.
2. I like the fact that even though you could build it in fiberglass that your going "Old School" here...
3. You've already upgraded the original idea of a 75mm motor mount to a 98mm...That i also agree will open many more opportunities (motor wise).
4. Fully expect that even though you have an idea about the projected mass now...Plan that it will come in a little heavier in the end.
5. Be prepared to add reinforcement in some areas. (Tubing, Fins and, Coupler above what is planned now) So as to give this design a higher chance of longevity.

I have three recommendations right now that i want you to consider-

Put another layer of glass over the fins.
Prepare that you may choose another motor (Not to knock you down) to meet your flight performance goals if..if this thingy gets heavy.
When it comes to your deployment charges and, testing them. I want to see a noticeable separation NOT a little *pop*...So some thought has to go into this.

I fly 99% of my flights with the same Altimeters riding side by side...set at the same settings.
NO ONE has ever proven to me exclusively that using two different: Brands, Styles or settings ALWAYS works to the best.
When you consider the design of your AV Bay, vent holes, matches and type/compaction of BP...things don't always work the same in a non Six Sigma world of model rocketry. Your design will have to be robust enough to handle whatever happens when those charges fire...and, i would never go beyond two seconds of delay past apogee.

Whenever i prep a rocket (and, i know you will have this mindset) the *funny* comes off. You have to consider many things and, adhere to the fact that what your doing is serious business. You throw in the factor that your safety and, the lives of the people and, the damage incurred to the property around you are directly affected by decisions you make. Some things can go beyond your control but, you realize that by stepping up to L3 levels you have to see the "Big Picture".

I really hate using that analogy but, you have to remember that i spent many years screwing together Nuclear ICBMs for the USAF and, everyday i went to work...that responsibility was drilled into me. Mistakes we could make were very harsh to pay for.

Keep up the good work and, i will check in periodically mostly by PM, text or phone...Consider and, take the advice of your peers with notice but, in the end "Uncle Jimmy" and, i will be more than happy to offer our advice on any issue you may have...Time will go by fast, LDRS 36 will get here sooner than you think but, when you stand out on that field i want you to know that you have done everything within ability to build your best rocket ever and, be able to explain WHY its that way.

I know you will...:cool:
 
...I wanted to use 2 RRC2+ altimeters for my L3. My L3 TAP's were not comfortable with the 1s drogue delay of the back up RRC2+ (apogee +1s is the only option for the RRC2+). The concern was possible over pressurization (confetti) if the main and back up altimeters fired closer than 1 second apart. One of my TAP's had that happen to one of his rockets.

I think your TAP is being overly cautious here and might be assuming that the charges did in fact go off at the same time. Without on-board video, you don't know for sure.

Take a look at this on board video of of one of my L3 class rockets. (2) RRC2+ altimeters on-board, one set with the +1 delay on the drogue. At 3:20, the primary drogue goes, just before 3:21, the back up goes: [video]https://youtu.be/njWzZfwI6jY?t=2m52s[/video]
 
Also, here's a quick clip of finishing up the fins.

Wait, those fins aren't "finished".:wink: What's the thickness on those bad boys? I like the shape!

Like Gus, I like everything about this project. Good size, like the materials, design, 98mm mount! This is going to be fun; can't wait to see it all come together.

-Eric-
 
3/8" birch ply from Amazon.

Shape was designed in order to minimize any extension of the fins beyond the aft end of the rocket.
 
Not sure exactly what you mean...

Also, I'm sad to report that there was, in fact, a fatality while working on this project.

While cutting parts on the shopbot, the attendant helping me put some screws through the wood in order to hold it in place a bit more. (The vacuum table was letting one part wiggle a bit.) Cue router bit at 36,000 RPM meeting screw at 0 RPM. Cue death of router bit. On the bright side, I got to keep the parts of the bit. ;)

Geez, man, I thought you were going to say you killed a cat or something. :facepalm:
 
Well, my fins went through a bit of weight reduction surgery... Thanks Mr Cayemburg!

 
Well, my fins went through a bit of weight reduction surgery... Thanks Mr Cayemburg!

You're very welcome!:) About 23 grams per fin, lost about 1/5 of a pound in the rear without losing fin area and while gaining aerodynamic efficiency! Happy to help; stupid snow!:wink: Heading back your way on Monday.

-Eric-
 
I'll be heading up to a club member's house today to get the tubes fiberglassed. He has a rotisserie to spin the tubes while we glass them. :p
 
Well, my fins went through a bit of weight reduction surgery... Thanks Mr Cayemberg!


L:D:DKIN;) G:D:DD Matt! Didn't know that you folks get so much snow down there in "Manitowac" North Carolina though...:confused:

You're very welcome!:) About 23 grams per fin, lost about 1/5 of a pound in the rear without losing fin area and while gaining aerodynamic efficiency! Happy to help; stupid snow!:wink: Heading back your way on Monday.-Eric-
Eric's backyard! Duh! :cyclops: Matt, if you visit "Manitowac" bring LOTS of Dramamine...I hope to tell you a very funny story at LDRS 36 about "Captain Crunch's" last visit up der...

Looking forward to seeing how the Tubes glass out! :eek:
 
Well, the glassing went spectacularly. I also picked up the motor tube (going with a 98mm PML tube). I'll upload pics in a few.
 
Alrighty, back on my computer. Time for a report of what I did today.

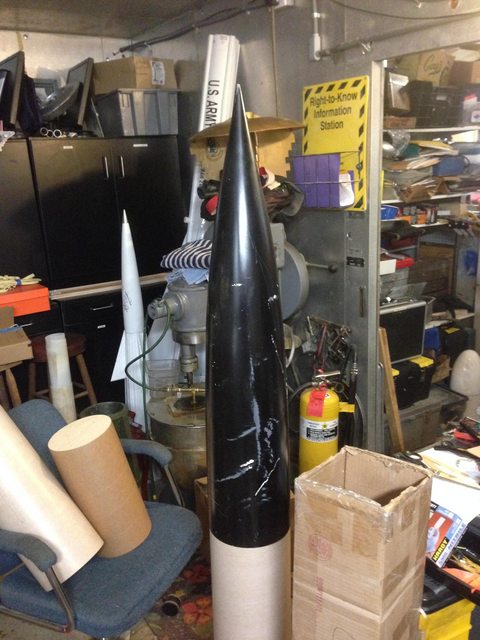
First off, I picked up the nose cone. This is a 6:1 fiberglass nose cone, with 15 pounds of nose weight. I'm working on taking out some of the weight because I don't need the weight and I'm already overstable.


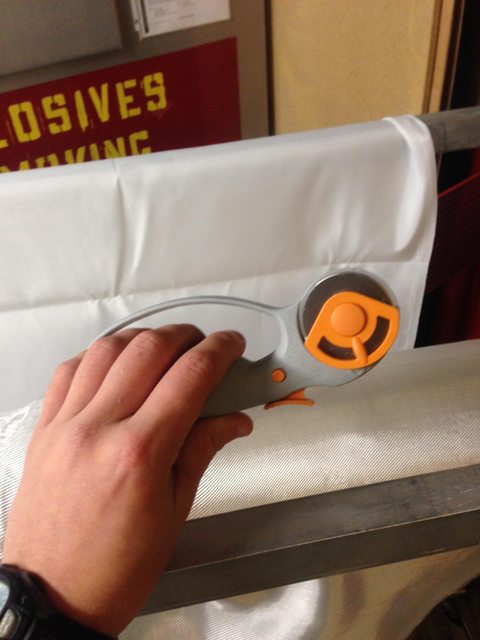
I picked up a new toy from Amazon. If you don't have one of these, get one. They are about $12 and totally worth every penny. Cuts through FG cloth faster and cleaner than the pair of $80 shears that the fellow who was helping me was using.


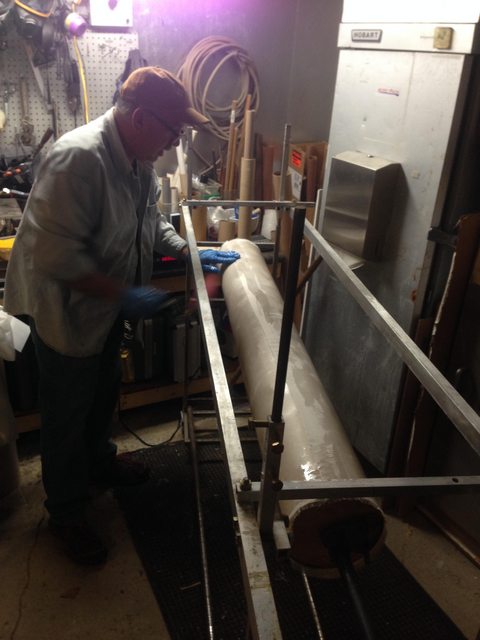
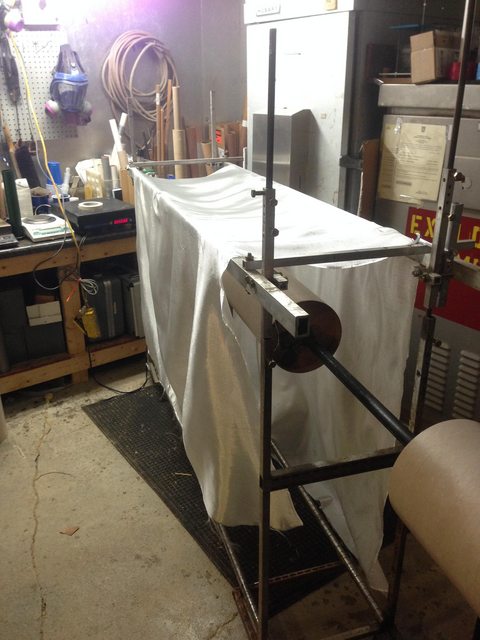
I started with getting the tube on the mandrel.


Followed by getting the glass cut out:


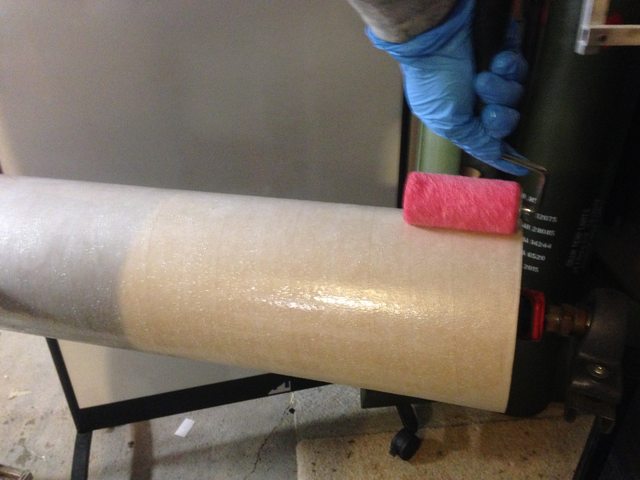
I learned the magic of rollers today. I'm placing an order for more tonight. :p


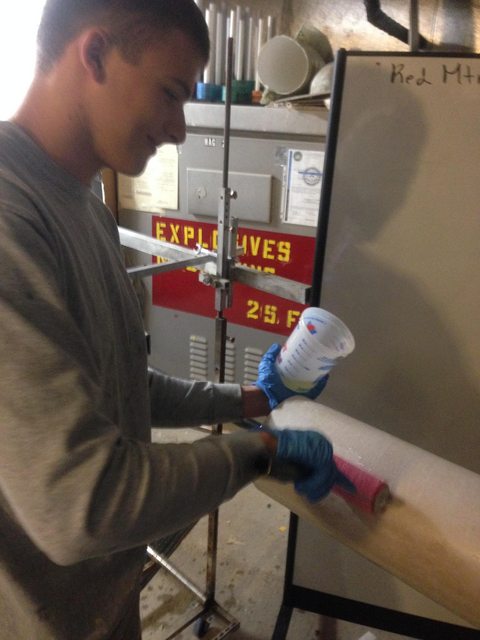
Continuing to wet out the epoxy.


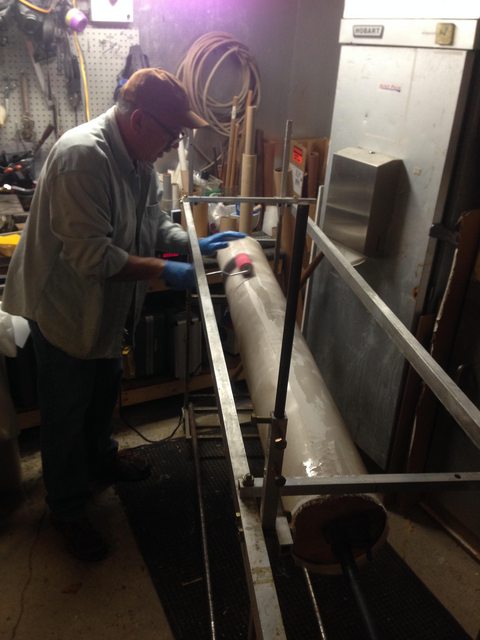
I pulled off my gloves at one point to put dry gloves on so I snapped another picture of the setup.


The tubes will continue to cure for another 6 hours in a heated shop while being turned about 2 RPM. I'll go back up to pick them up in a few days where I get to do the best part about fiberglassing, peeling off the peel ply. :D

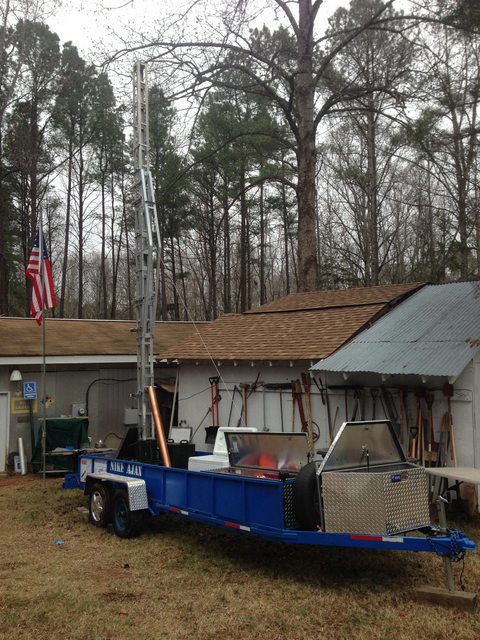
After we finished glassing the tubes, we screwed around for a bit looking at rocket stuff. Anyway, here's the launch pad I'll be using. Full hydraulic launch pad that can support nearly a thousand pound rocket. (Quick plug here, check out the Tripoli North Carolina project sometime: https://www.facebook.com/TripoliNorthCarolina/?fref=ts. They're building a half scale and a full scale Nike Ajax, and will be flying the half scale at LDRS. Give their page a look when you get the time. :) It's an awesome looking project and I can't wait to see it fly.)


Anyway, thanks for watching! As soon as the fins get back I'll be assembling the fin can.
 
Last edited:
Matt- Things are really looking good here! It's always cool when you can borrow equipment like that rotisserie and, the experience behind it too accomplish your goals. ;)

I also like using rollers when spreading epoxy on my fin layups...really gets it spread in nice. My rolling efforts though- Not so Kosher :flyingpig: Oooooow! :eek:
 
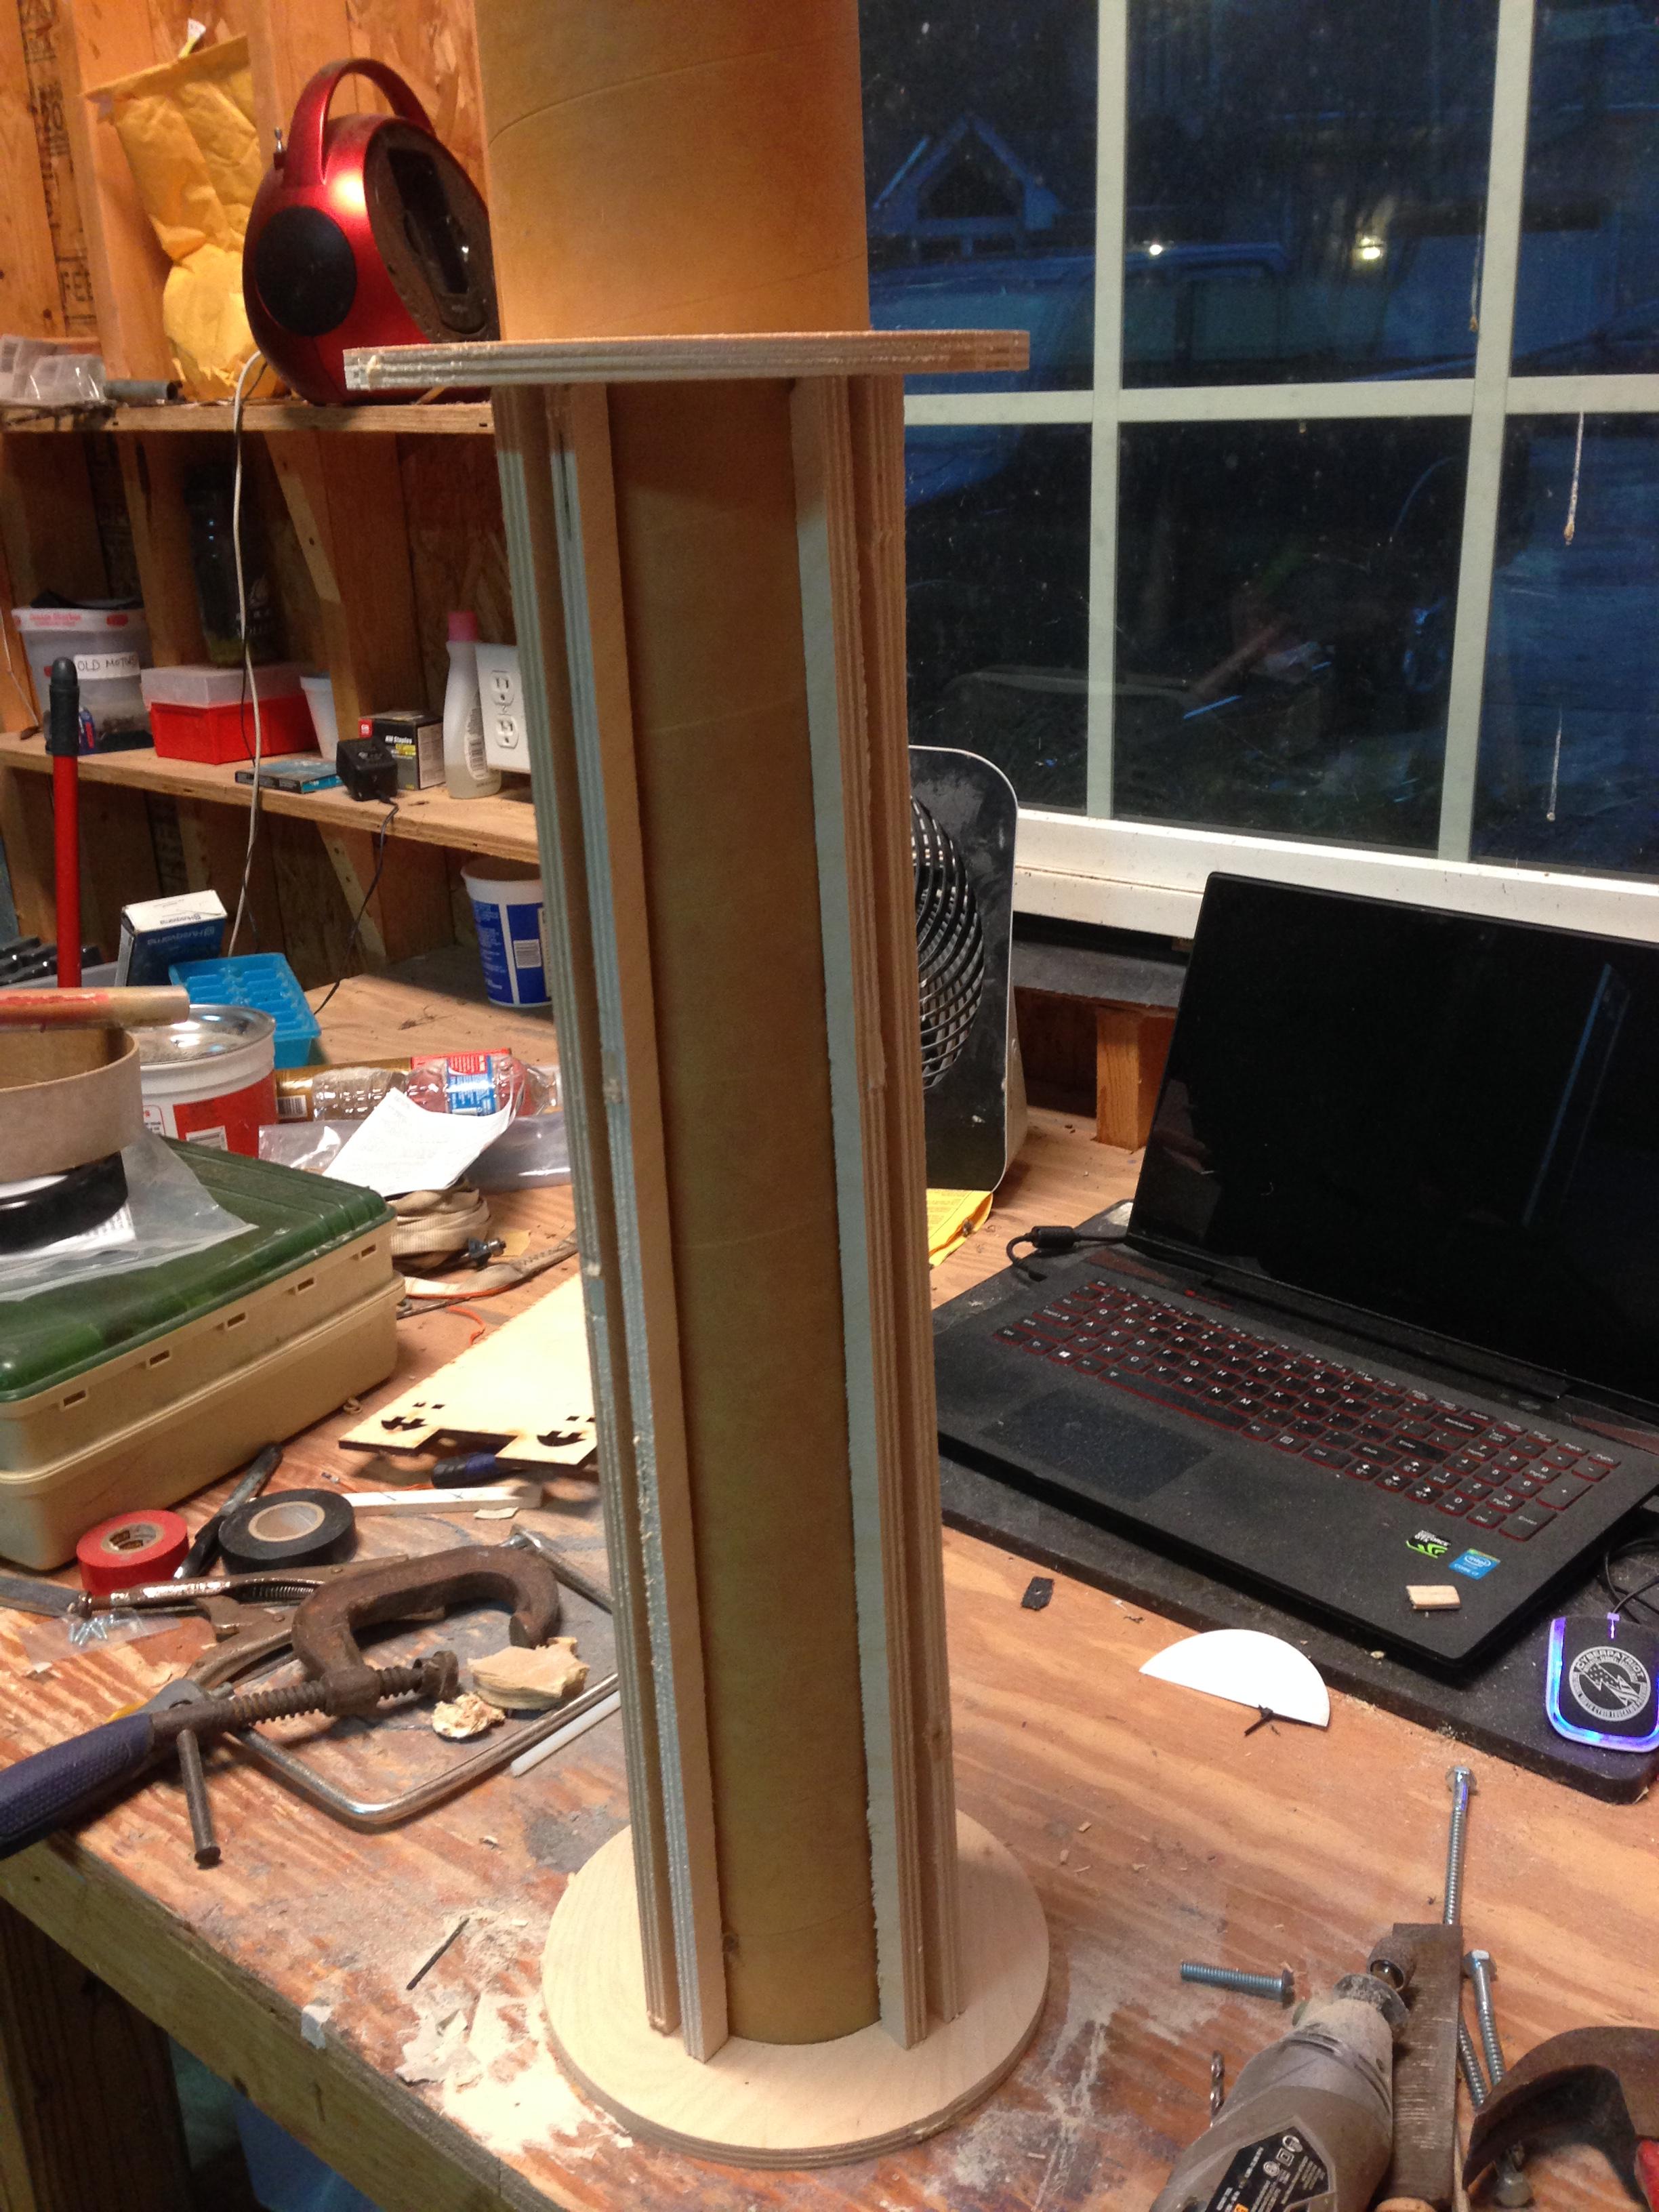
Here's my current plan for the fin can.


These are 3/8" thick plywood, 1/2" wide, and 22" long (same length as the fin root). They will be glued in pairs approximately 3/8" plus a hair apart.

There will be 8 of them, intended for fin reinforcement. :D

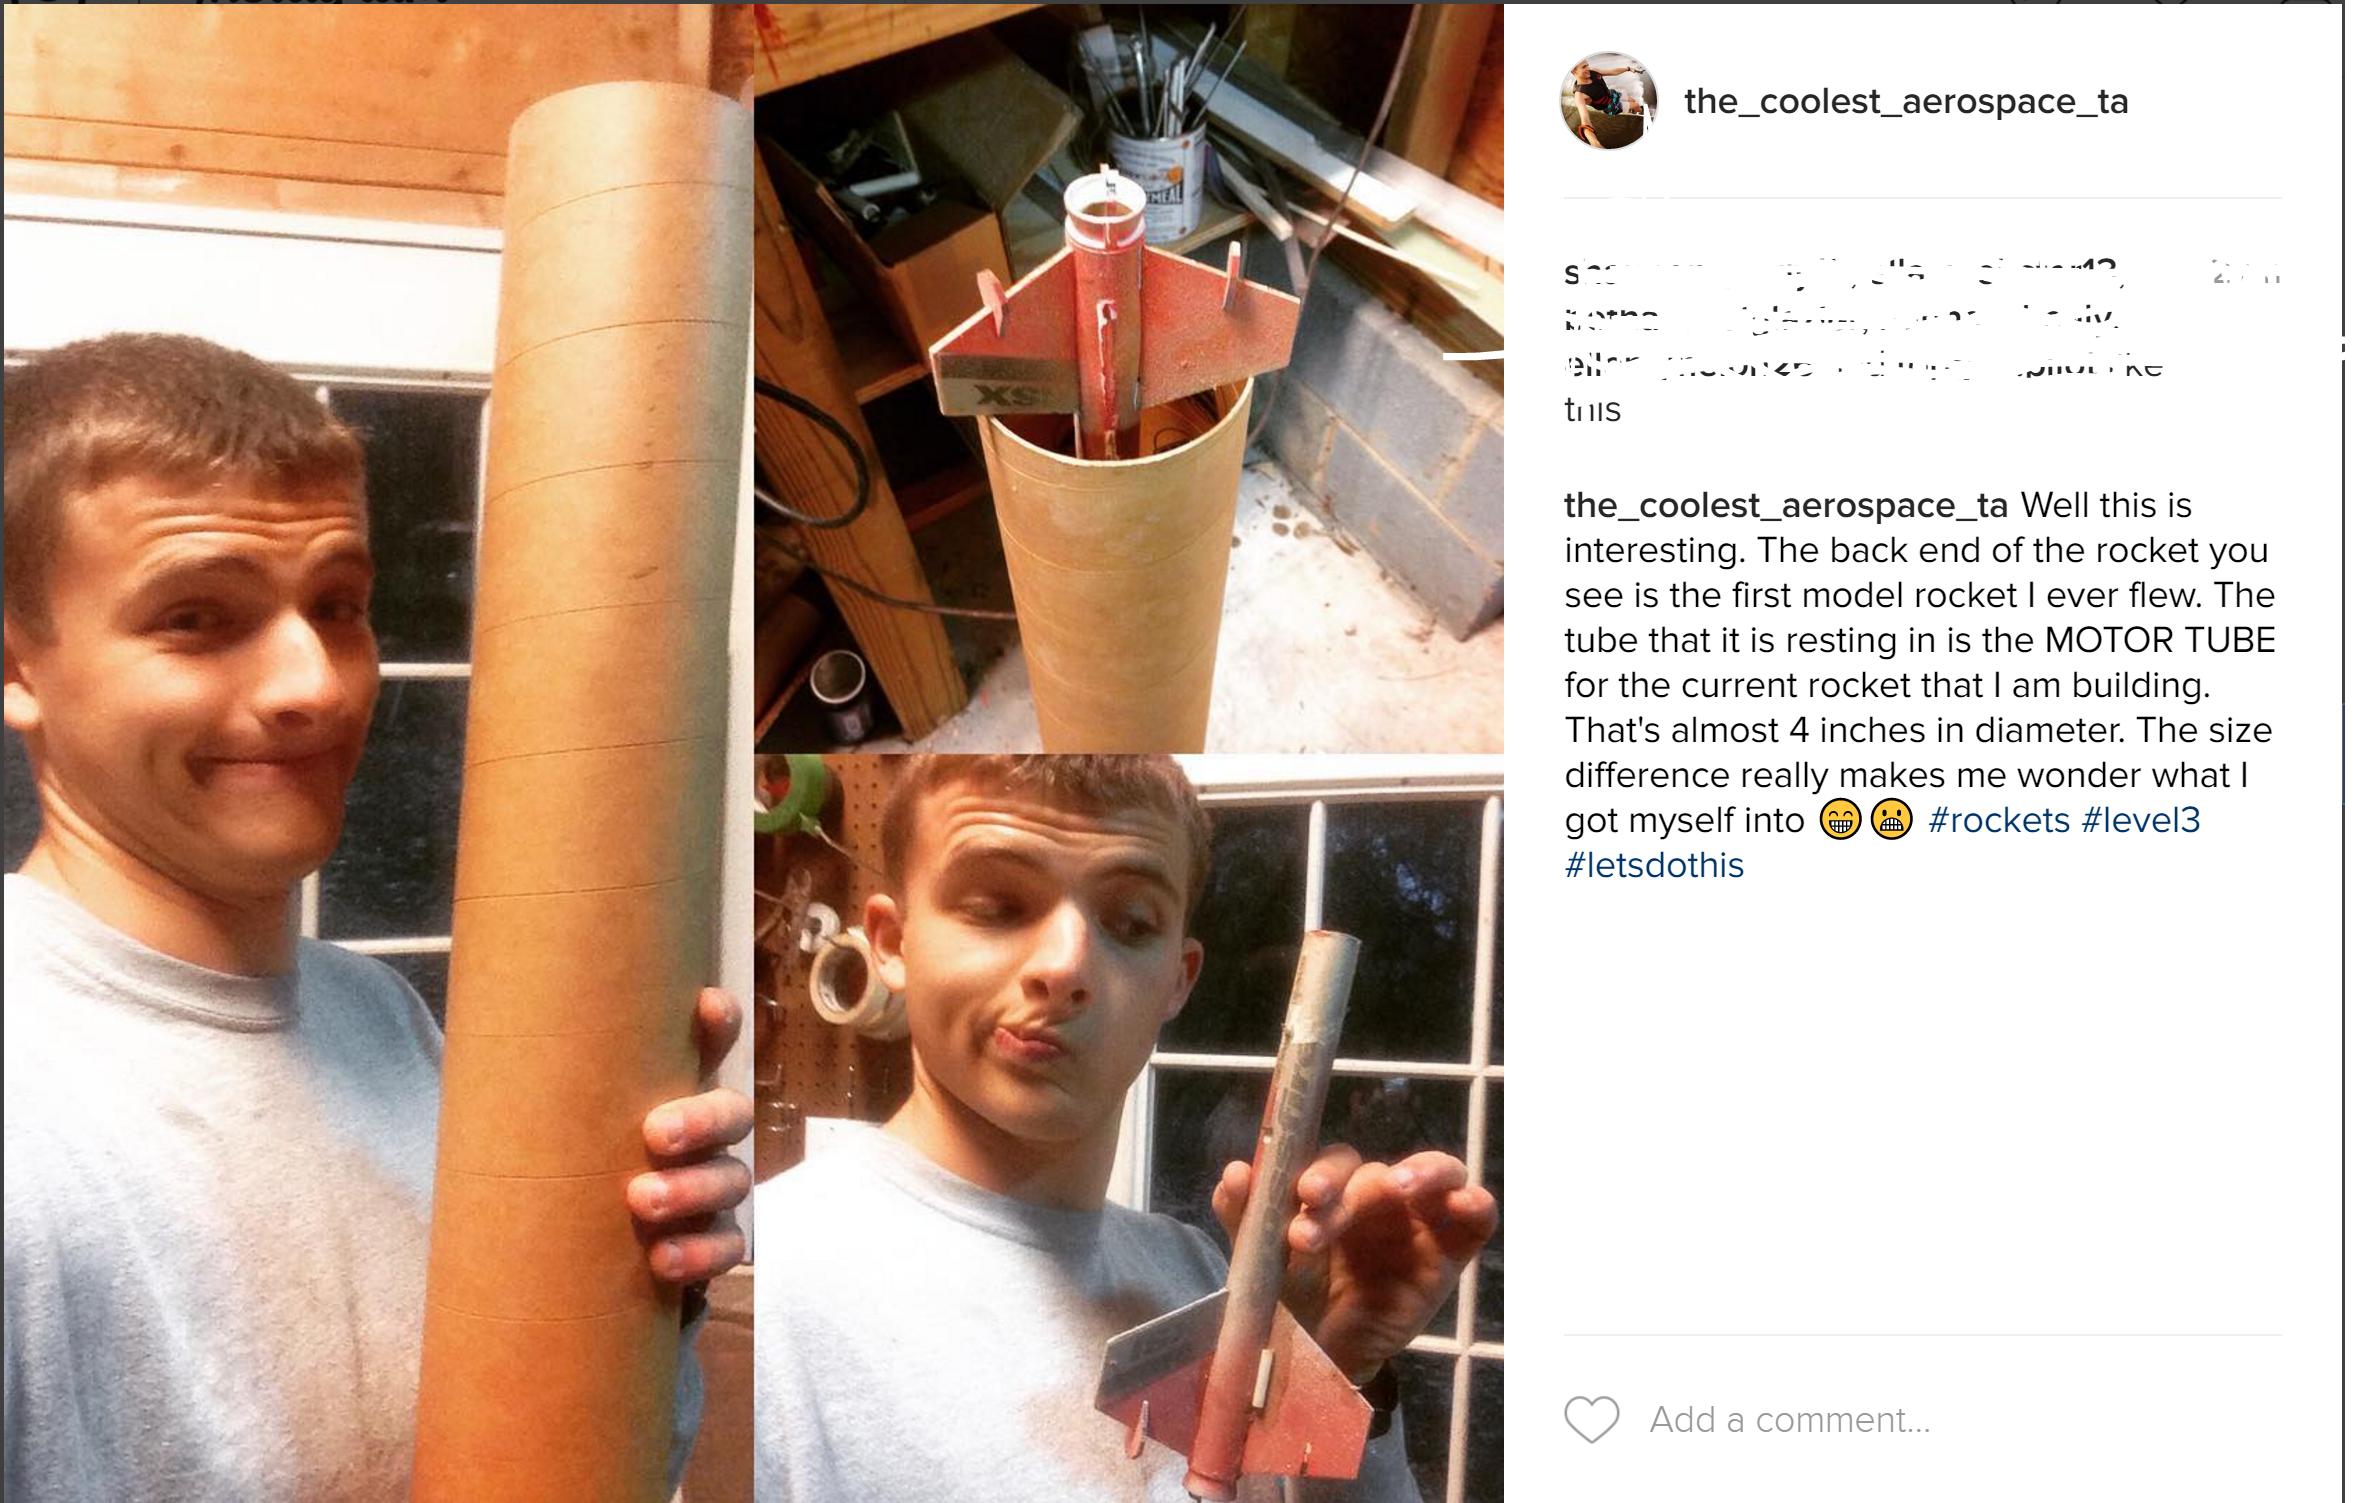
This is really getting exciting to watch the build happening. My instagram post from earlier pretty much sums this whole thing up.

 
Matt , what are you doing for surface prep on the LOC tubing? if you don't heavily scuff or remove the glassin ( the thin smootj layer on the outside of the tube ) that fiberglass will peel right off. The mechanical bond will not be very strong if left unpreped .

Eric
 
I gave it a quick scuff before, but not too much. The guy who was helping me has glassed a $%^&*load of tubes, and he said that scuffing it too heavily will result in the tube sucking up WAY more epoxy than necessary, causing a battleship type weight. The epoxy definitely had wet out the tube beforehand, however.
 

Matt- I really like the reinforcement spars that will be attached to motor tube/fins. Do you plan to insert small screws through them to the fin or just glue them in? Either way i like the added strength at the root of the fins.

By the way, did you know your a real HAM?! :point::lol: I wish i could go back to 1979 and, recover my first rocket...long gone. Its most likely a *Post Consumer Content Toilet Paper Roll* by now...:sigh:

No screws. Just chopped carbon fillets.
 
Back
Top