- Joined
- Mar 16, 2016
- Messages
- 276
- Reaction score
- 358
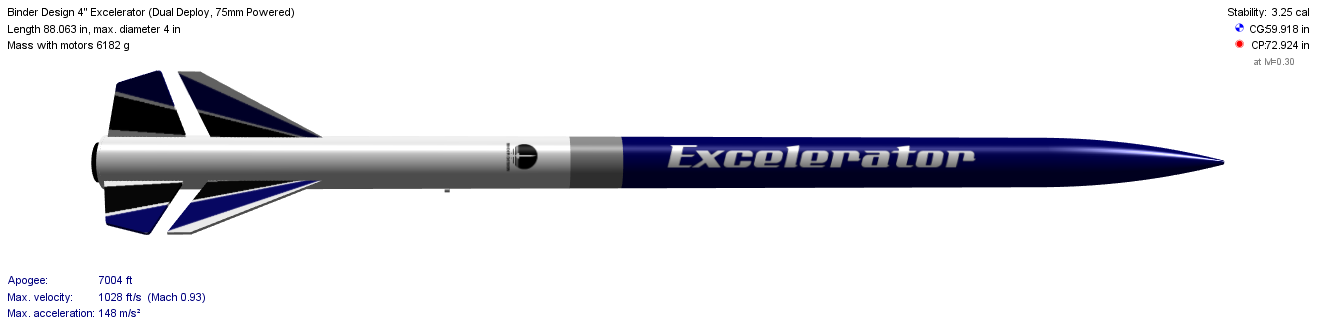
I just received my Binder Design Excel kit with the dual deploy option and I'm looking forward to building it. This will be the second mid/high power rocket I've built, so, I'm open to suggestions on things I can do to make it better. I've gone with the 38mm motor mount since 38mm motors seem like they are a bit more cost effective than 54mm and I'll probably build something that handles larger motors once I've gained some experience with this kit. Depending on how this goes, I may eventually just build another booster section for this with a 54mm motor mount.
So far, I like the design of this kit and I'm sure it would work well if I just built it as described by the directions. The instructions are very detailed and at first glance all of the components look solid. I'm planning to use AeroPoxy structural epoxy for most of the construction and I'm considering a few other minor changes. First, I'm considering putting in a longer MMT so that I can reach the eye bolt. I realize there are ways to attach the harness to the MMT without touching the eye bolt, but, it might be nice to be able to reach it directly. If I do this I'll probably add another centering ring at the upper end of the MMT. The other change I'm considering is replacing the stock motor retention with an Aero Pack screw on retainer because I've had good luck with that on my other rocket.
Once complete, I may launch it a few times without the dual deploy kit, but, eventually I'm planning to configure it for dual deploy using an RRC2+ altimeter system.
When I have time I'll post pictures as I go along.

 op:
op: