


amell
Well-Known Member
- Joined
- Dec 22, 2013
- Messages
- 153
- Reaction score
- 3
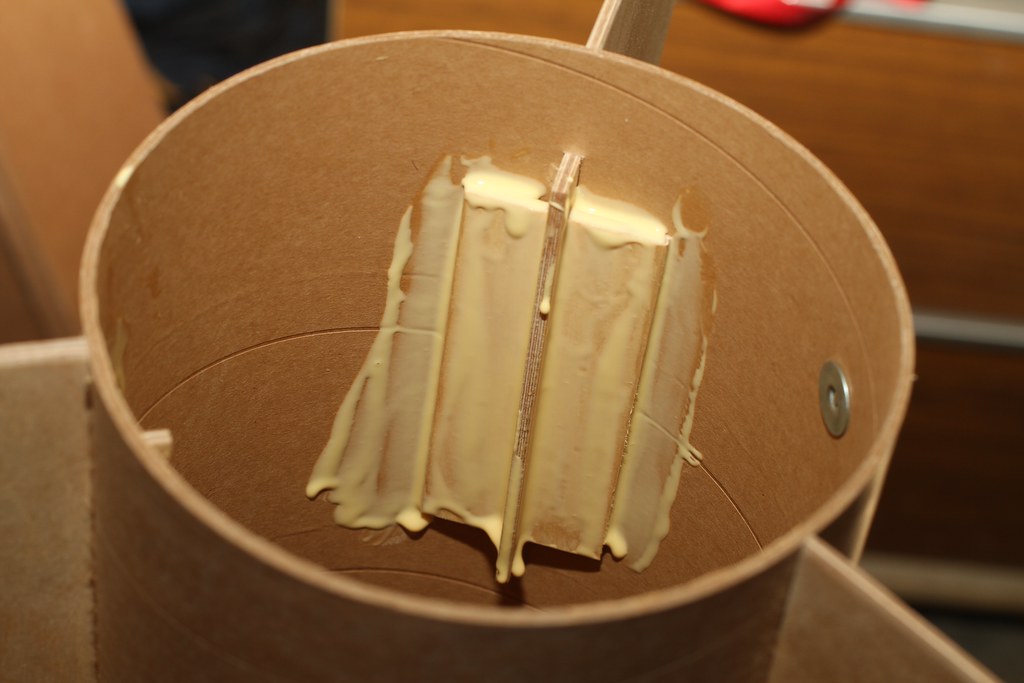
Started on building a Minie Magg today. Was surprised to see the fin attachment method - I'm not overly keen on this method and I'm concerned about its resistance to lateral force on landing. It's done with wedges through plywood (see pic) and they are not attached to motor tube. What have others done here?
Some options:
Fins - lots of epoxy and chopped strand Mat for strength on the inside of the tube. Maybe some microfibres in the epoxy too if I have some left.
Thinking about fibreglassing the tube by taking the glassine off and putting a couple of wraps on so that the external fillets get a better bond. Only trouble with that is that it will add thickness to the tube and so the nosecone will no longer be completely flush on the top edge.
Other mod I will make to the kit is to have two lifting eye bolts in the upper bulkhead to help resist zippering forces.
I'm keen to not add too much weight as motors are expensive here in the UK but I'd like the option to be able to fly it on J motors on the odd occasion.
")


