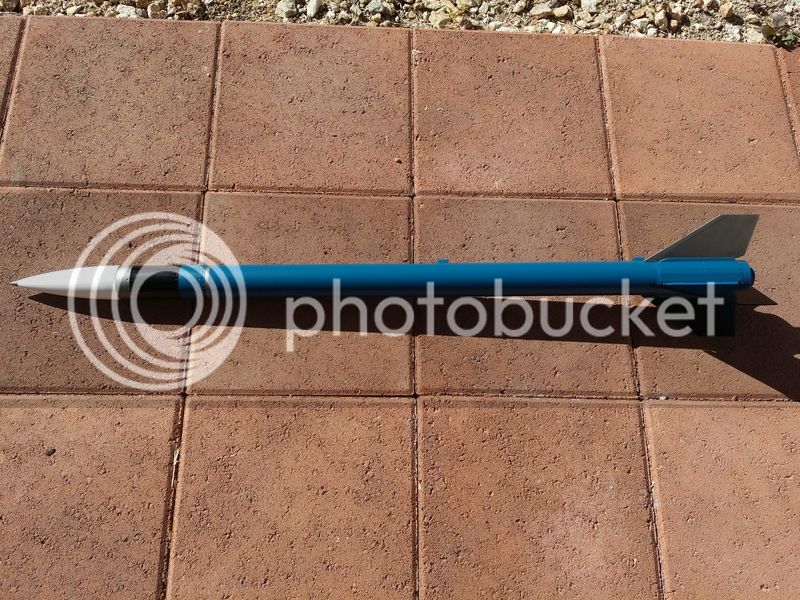
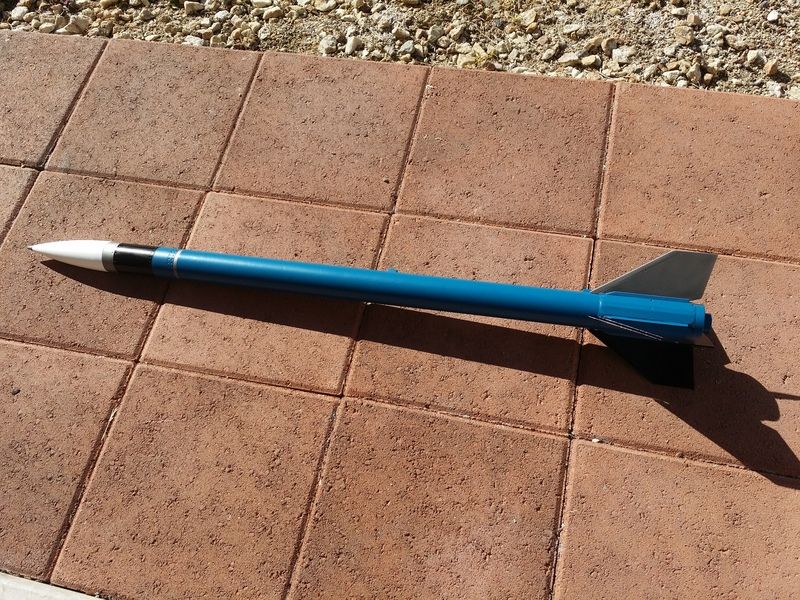
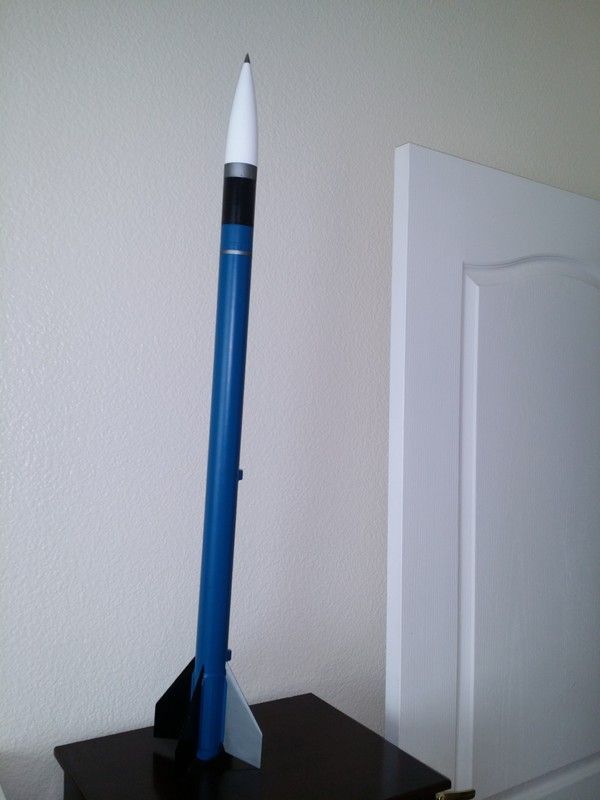
Just finished up my Patriot build in the LPR section, check it out, I think it came out well.
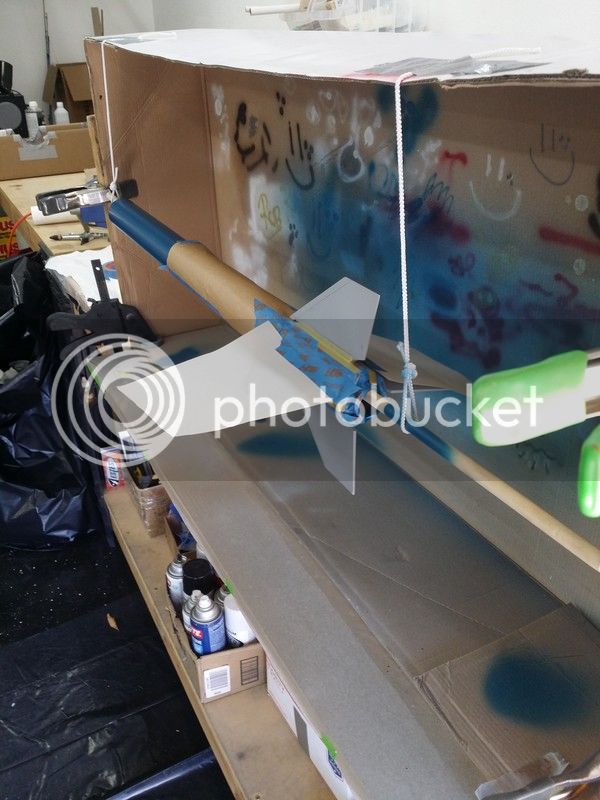
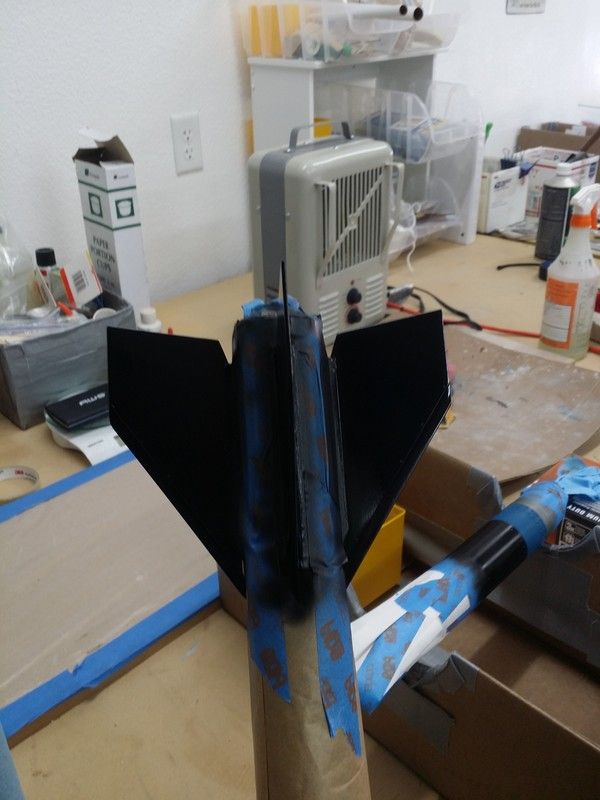
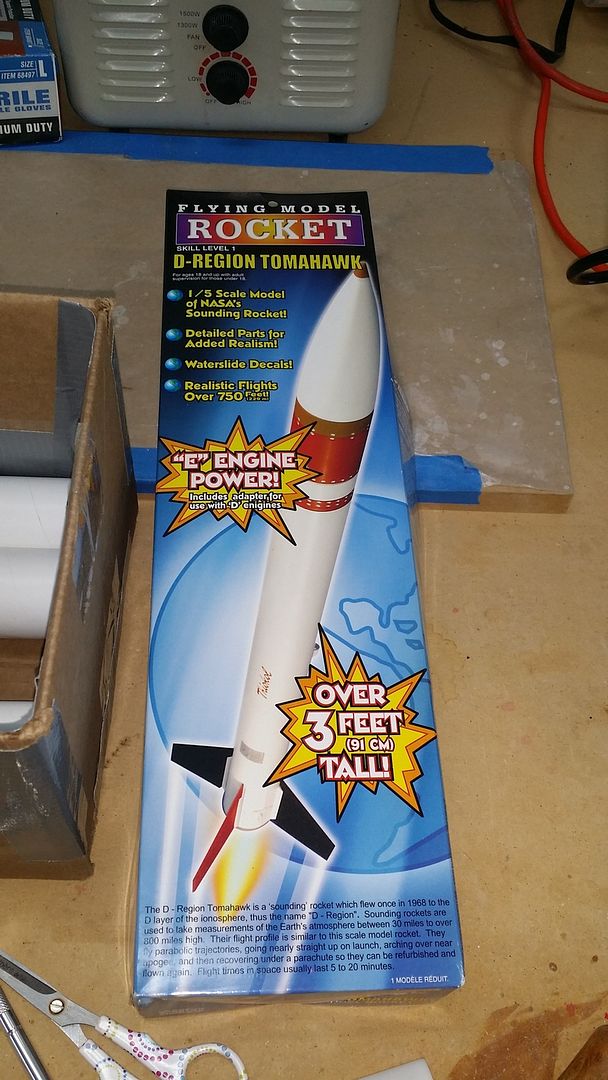
This is next in my build box and I plan on some small mods to the original plans, as well as a Paint scheme inspired by the 1971 Centuri face card. It might not be a scale paint scheme or the same exact rocket, but I haven't seen one painted like that and I like it.
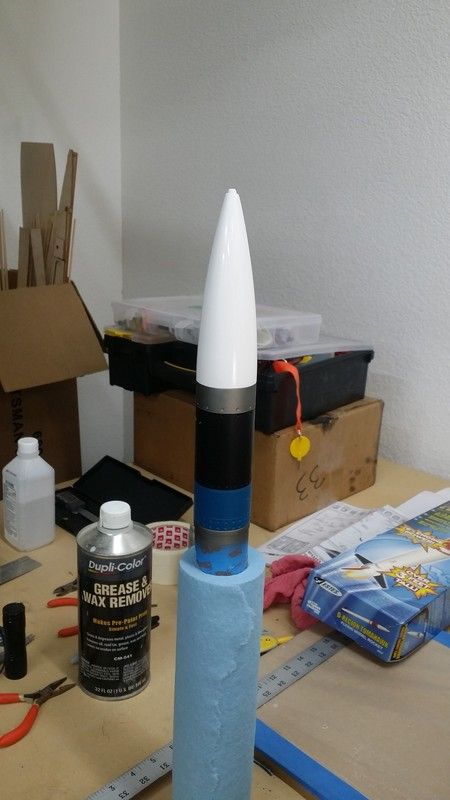
More to come, here is where we are starting.
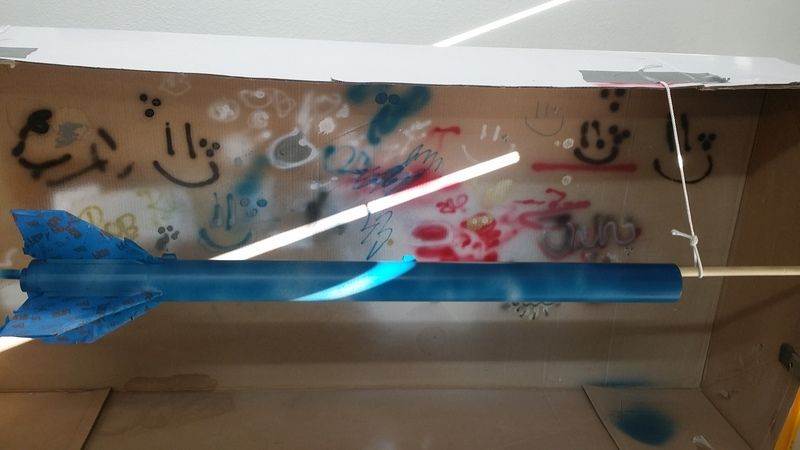
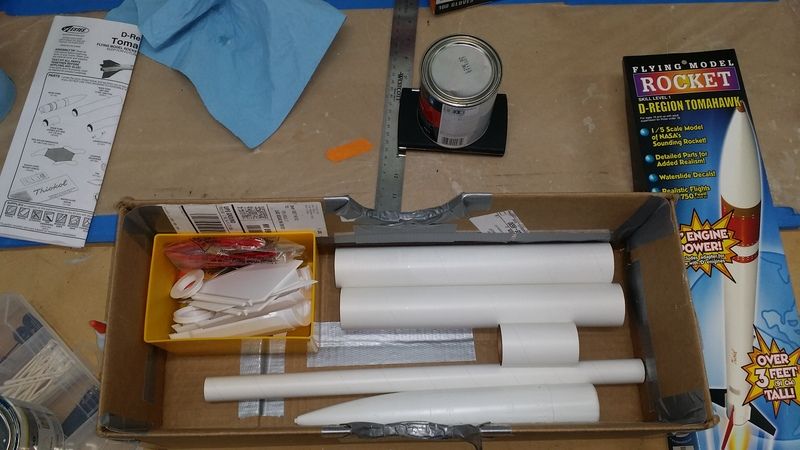
In the build box
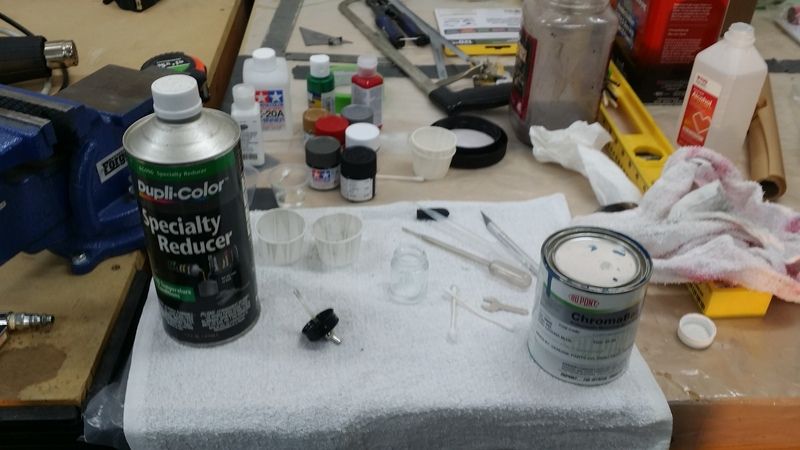
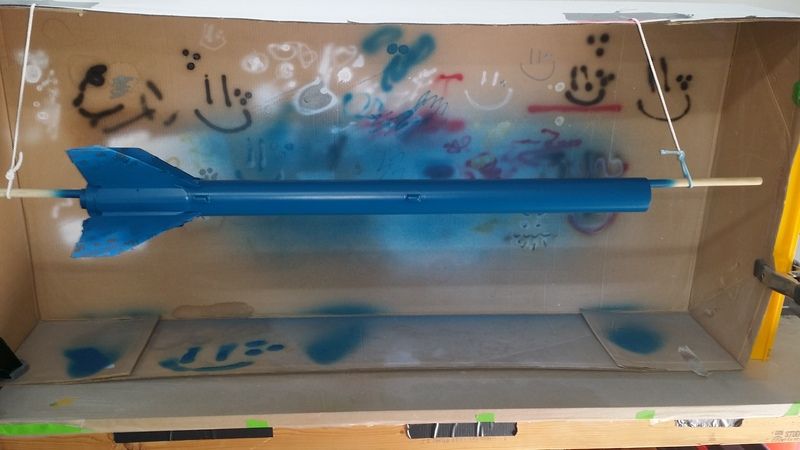
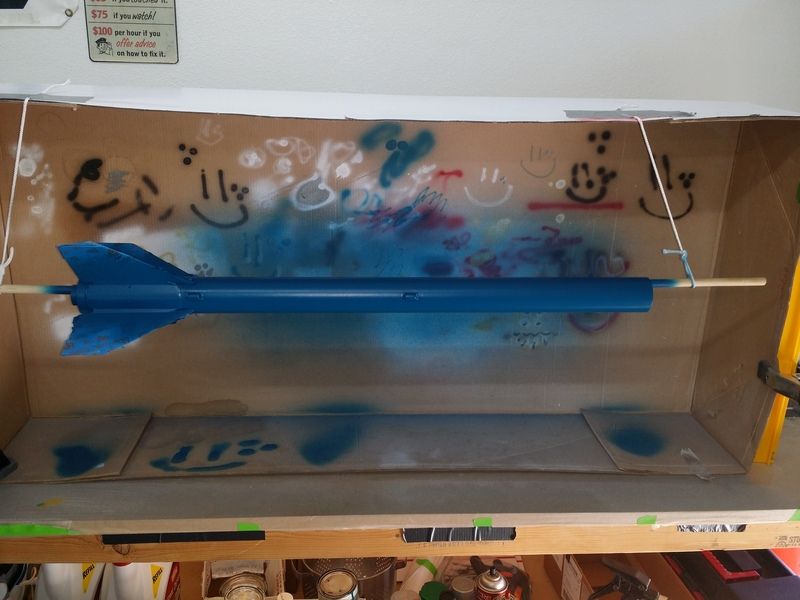
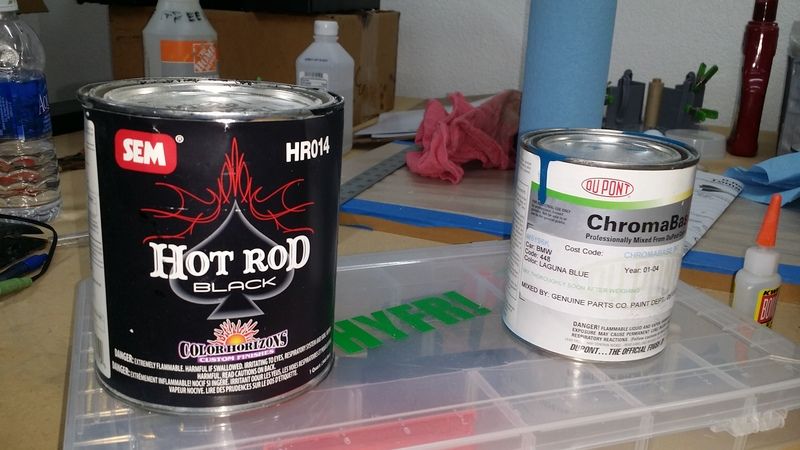
sneak peak at the paint scheme colors...
...and the inspiration.

This is next in my build box and I plan on some small mods to the original plans, as well as a Paint scheme inspired by the 1971 Centuri face card. It might not be a scale paint scheme or the same exact rocket, but I haven't seen one painted like that and I like it.
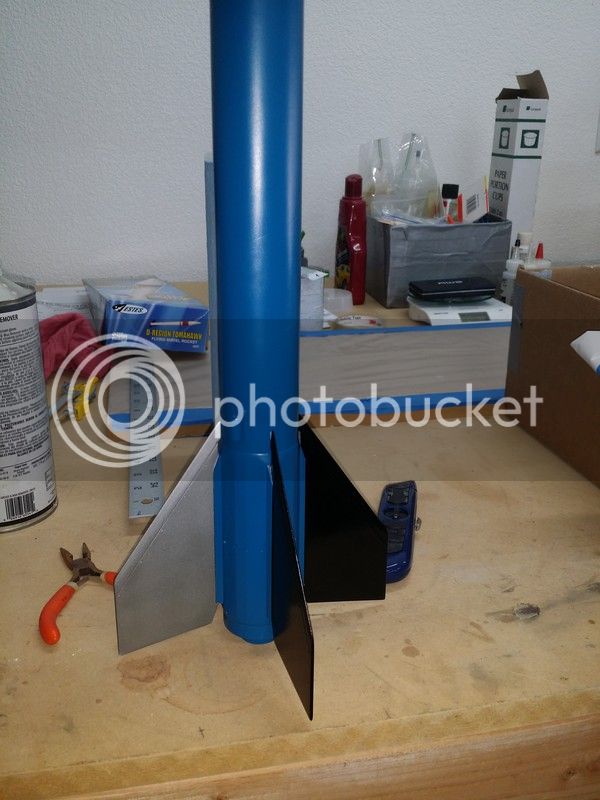
More to come, here is where we are starting.

In the build box

sneak peak at the paint scheme colors...

...and the inspiration.
Last edited: