Post Your Jigs and Such

The Rocketry Forum

Help Support The Rocketry Forum:

This site may earn a commission from merchant affiliate links, including eBay, Amazon, and others.
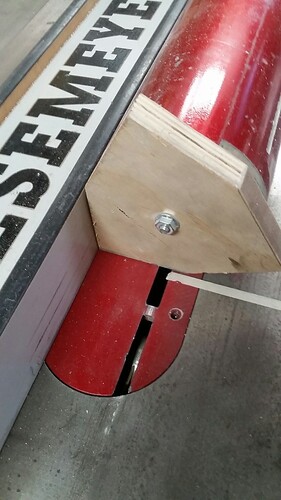
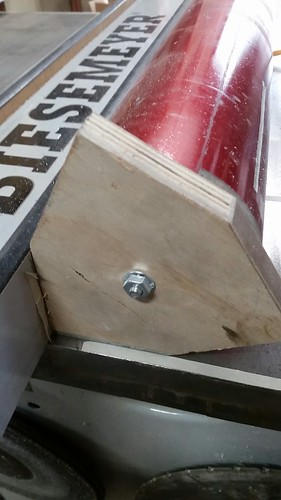
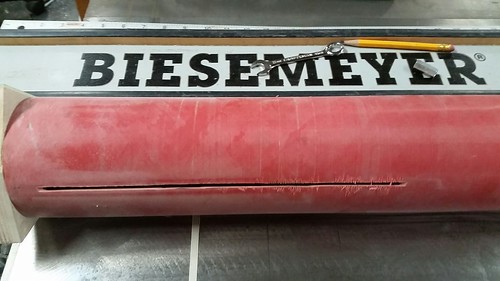
Dave, I do the same thing. For a pilot drill. I use the top end off of single use motors. You can also leave the bottom bulkhead in place even when you go to glue the new motor tube in place. I drill/file "half holes next to the fin tabs. Then apply "thickened" epoxy to the motor tube at 1/3 circumference marks. Line up the epoxy with the "half holes" and insert motor tube. Once in place give it a slight spin to engage the epoxy to fin tabs.

Tony
 
The Pad Cam
Now that I have several Mobius HD cameras for my rockets I hardly use the old GoPro 3. I got tired of watching onboard video where's there no sound until it launches. Kind of boring on a long video sitting on the pad.
Inside I mounted the GoPro looking slightly above horizontal so I can place it about 20' from the pad. It has a Lexan window to keep the camera clean.
Inside is a recycled 500watt UPS, USB charger & GoPro power cable along with the large micro SD card. It lasts about 7-8 hours, a typical launch day.
The bonus is a long range baby monitor receiver on the outside of the box.
Your onboard camera AND my GoPro capture all the LCO chatter including the countdown. I place the transmitter on the pole of one of the PA speakers.20180324_114331.jpeg20180324_114336.jpeg
 
The Motor Rack
Again, got tired how I transport things, especially motors in the trailer.
I'm running out of wall space so I wanted to build a motor rack that handle all the loaded motors and spare cases I would need for 1 launch.
The only space I had was near the side door and half of it would be over the 6"deep wheel well.
The right half of the 6" deep box that houses the shorter motors sits on top of the wheel well. The left side of the box is about 11" off the floor, ideal for my longer motors so the weight of all of them rests on the side on the wheel well or the floor. Just a handful of screws to the wall and it's installed.20180318_123620.jpeg
 
Next week I'll be getting the trailer ready for the MDRA Sod Farm launch. I should have some good photos how to maximize the inside of any trailer.
 
My 3rd version of a tube slotter, I am working on making it simple to make and easier to use.
The plexi-glass glide is a fluting jig from Rockler.
 

Attachments

  • 20180131_103015 (1).jpg
    20180131_103015 (1).jpg
    163.5 KB · Views: 109
  • 20180131_103345.jpg
    20180131_103345.jpg
    153 KB · Views: 104
  • 20180131_103352.jpg
    20180131_103352.jpg
    106.8 KB · Views: 107
The other day I made a jig to slot FG tubes on my table saw. I started by finding a "Incircle of a triangle" Calculator https://keisan.casio.com/exec/system/1223428152
An incircle triangle is what's the larges circle that can fit inside a, in this case a equilateral triangle. I then squared off the three points. These would ride up against the table saws fence. I bolted this 'thing' and a bulkhead to one end of some 1/4 all thread. The other end of the all thread had a inside centering ring and then another ring with that matched the OD of the tube.
44812203765_1fffa1f341.jpg


Then I needed to find a blade that cut .125" which I had. Also where and when to start the cut. I marked the places with some tape and made sure I only raised and lowered the blade 2 turns each time.
44812203865_98f8b0e724.jpg

44812203795_70f92cb593.jpg


It came out nice and straight..some 'splintering' but that will just give my fillets and tip to tip something to grab on to.
44812203875_6b878e1860.jpg


Tony
 
just an old mitre box for tube marking and launch lug alignment
plastic fin jig for 18, 24mm
 

Attachments

  • IMG_20181022_090113120.jpg
    IMG_20181022_090113120.jpg
    158.8 KB · Views: 87
  • IMG_20181031_100543337.jpg
    IMG_20181031_100543337.jpg
    107.2 KB · Views: 82
  • IMG_20181031_100427421.jpg
    IMG_20181031_100427421.jpg
    94.7 KB · Views: 85
It came out nice and straight..some 'splintering' but that will just give my fillets and tip to tip something to grab on to.
44812203875_6b878e1860.jpg


The filament wound tubes are under a fair amount of tension, that contributes to the splintering of the edges sometimes more than my carbide blade causes. You will find once you cut 3 or 4 slots, the area around the slots will distort to a into a more square shape, once you force the centering rings into them it will go back to a round shape. When I slot them with the router, I have to make several passes or the fins will not fit.
 
Back
Top