Daughter's Flutter-By

The Rocketry Forum

Help Support The Rocketry Forum:

This site may earn a commission from merchant affiliate links, including eBay, Amazon, and others.

kcobbva

Well-Known Member
TRF Supporter
Joined
Nov 8, 2015
Messages
1,401
Reaction score
78
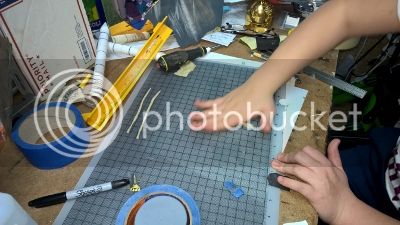
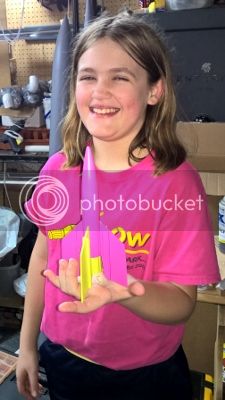
While working on my Dr. Zooch Space Shuttle, my daughter said, Dad, can't we work on mine instead? So, I put my stuff up and we opened yet another kit. Snow is so much fun! Anyway, so here's her progress for the day. Her second build after the Big Daddy. However, most of it is done by her this time without my assistance minus a few things here and there.

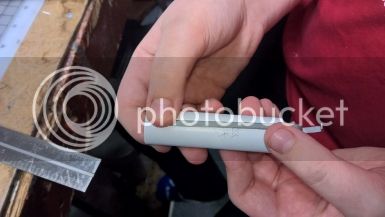
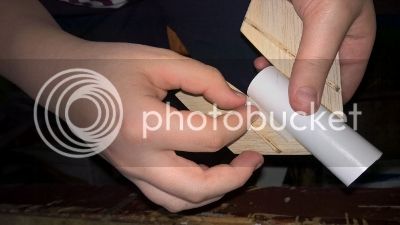
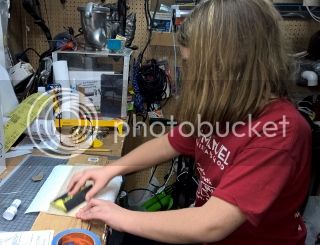
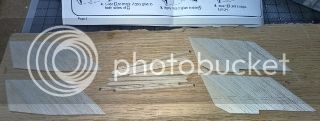
Learning to sand first, and then cut second.
WP_20160123_15_35_27_Pro%20320x245.jpg
WP_20160123_15_38_49_Pro%20320x180.jpg


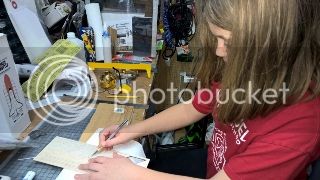
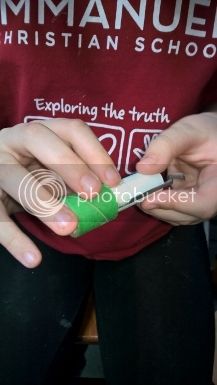
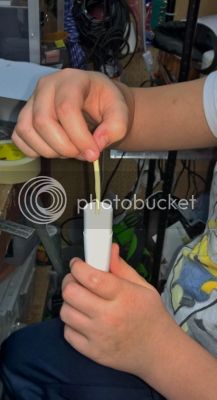
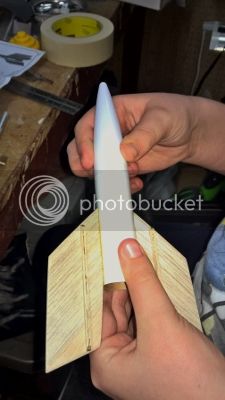
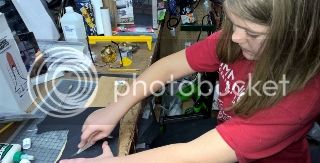
Now she's learning to sand the edges even. I did the rounding afterwards to help her learn how to do it.
WP_20160123_15_52_27_Pro%20320x163.jpg


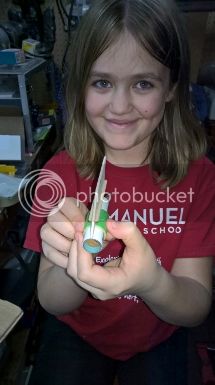
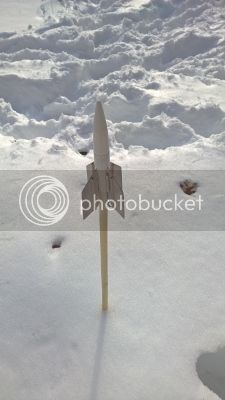
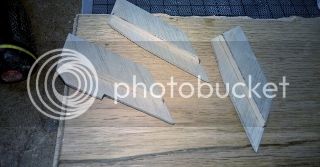
All cut, sanded, and ready to go
WP_20160123_16_21_52_Pro%20320x121.jpg


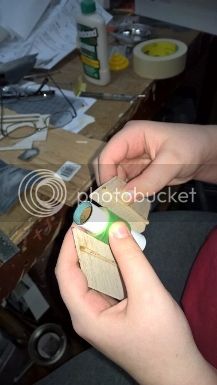
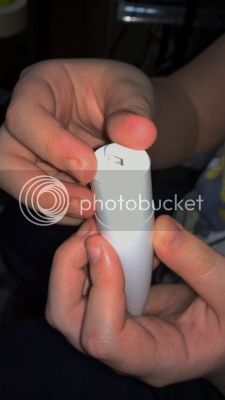
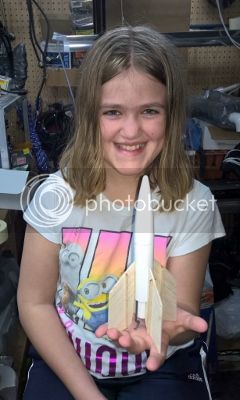
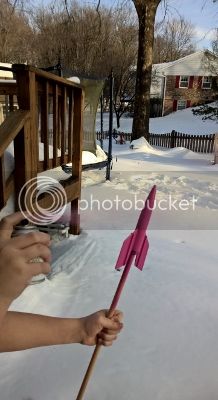
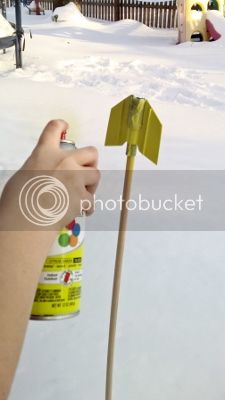
Then she completed the fins
WP_20160123_16_35_56_Pro%20180x320.jpg
WP_20160123_16_36_03_Pro%20320x167.jpg


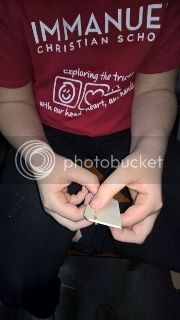
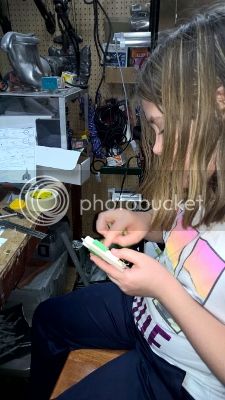
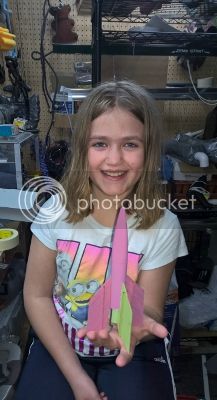
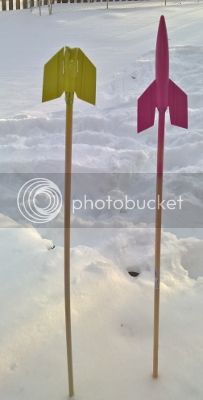
Following this: Dad, I'm ok now. I want to go back outside and play in the snow. I love daughters!!! :)
 
That's fantastic! I'm sure it will come out looking great! Any thoughts on paint scheme?

Just don't show her the glitter paint...bane of my existence :facepalm::
DSC_1422.jpg
 
No paint scheme yet; but I'll take that advice! One of my builds in progress is the cosmic interceptor! I see yours in the background already painted! Awesome. Mine is hanging in the shed with primer; but the snows to deep to get the shed open right now!
 
Nice! I would recommend not using that lovely butterfly decal and instead I'm sure your daughter has better butterfly stickers (I doubt it could be any uglier ;)).

Be aware that launching this on anything other than A8s tend to make them magically disappear.
 
That's just too cool,,
you have your daughter building rockets...
Good for you man...

Teddy
 
Thanks guys. It's a lot of fun. I need one of those decal makers Ken so we can make cool decals! Teddy my goal is one day she'll be ordering harnesses etc, because she wants to and is building big rockets! We'll see. I'll be talking to you soon during my Level-2 rocket build. Think I can do that one smarter with one of your harnesses!
 
Be aware that launching this on anything other than A8s tend to make them magically disappear.


And fly with two spotters, one to watch each half. It's a fun rocket no doubt. However it's also got the recovery success rate of the original Estes Mosquito.

-Hans
 
Thanks guys. It's a lot of fun. I need one of those decal makers Ken so we can make cool decals! Teddy my goal is one day she'll be ordering harnesses etc, because she wants to and is building big rockets! We'll see. I'll be talking to you soon during my Level-2 rocket build. Think I can do that one smarter with one of your harnesses!

Oh man,,
Anything you want,,
I just think it's the coolest thing in the world what the 2 of you are doing right now..
When she's in her 30's and your at her house and she's making dinner for everybody
the two of you are going to bring this up and have a really good laugh over it.....

You'll both remember these times always.....

Teddy
 
My first FB made three filghts one, the last one, was on a B. A8 is my standard in my current one.
 
My daughter and I flew ours on a B6-4 one time, at a big field. We got the parts back, eventually.
It's a nice park flyer on a A8-3.

We have two more in the build pile; I suppose we could start them sometime.
 
Sounds like we need to stick with the A and skip the B!

So we progressed a little more this evening. She learned to cut a slot for the engine retainer and did actually very well. Day one and no mishaps with the Xacto Knife! Yeah!
WP_20160123_20_10_58_Pro%20385x217.jpg


Next she struggled to get the CR in place, but did ok with a little assistance.
WP_20160123_20_17_45_Pro%20217x385.jpg


Finally she got her first fin on; then went to watch a show upstairs.
WP_20160123_20_23_35_Pro%20215x385.jpg


I love snow days! :)
 
That last pic is super cool...
Yyyyyaaaaayyyyyy. ...

Teddy
 
Ok, so she got cold and came back in! Time for more fins.

My daughter got the second fin on the lower engine mount tube on the Flutter-by.
WP_20160124_16_48_25_Pro%20217x385.jpg


Now she's trying to eyeball the proper alignment of the fin. This has been a trying, but great learning experience for her. She's getting it!
WP_20160124_17_04_15_Pro%20211x385.jpg


Fin on. Knock at the door. Back out for more sledding. Well, we got two more fins done!! :)
WP_20160124_17_06_44_Pro%20385x227.jpg
 
Back from the hills and another fin down
WP_20160124_18_44_50_Pro%20208x385.jpg


This is when I learned I told her wrong and we (I) messed up the lower section! She sanded the root edge down until the fin touched the CR and then glued that wing to the CR as well as the tube. After the upper was completed I then realized it was supposed to slide over that into place. Don't know what I was thinking, but I very carefully sliced through the glue and then shaved a small amount of balsa away until we could slide the upper section down properly. Last fin is drying now.
WP_20160124_18_57_19_Pro%20400x378.jpg


At least we came up with a plan. She learned to troubleshoot an issue and overcome it. More importantly, she learned no new words!! :)
 
I had to change a shorty water heater that was under our kitchen counter in our old house...my daughter reminds me not to use water heater words to this day.
 
This is when I learned I told her wrong and we (I) messed up the lower section! She sanded the root edge down until the fin touched the CR and then glued that wing to the CR as well as the tube. After the upper was completed I then realized it was supposed to slide over that into place. Don't know what I was thinking, but I very carefully sliced through the glue and then shaved a small amount of balsa away until we could slide the upper section down properly. Last fin is drying now.

At least we came up with a plan. She learned to troubleshoot an issue and overcome it. More importantly, she learned no new words!! :)

Great trouble shooting! Yeah, there will definitely be :facepalm: moments when building rockets, so trouble shooting is a great skill to have and learn! Kudos! :)

BTW - I would recommend bigger glue fillets where that bottom fin meets the fincan. In my experience with this rocket, the large fins seem to snap off more easily in a hard landing since the the contact point is less than half the wing and it's coming down with the spent motor casing. For my next one, I'd likely add more strengthening (ex. - label paper strips or a bit of epoxy over the joint). YMMV.
 
I like using epoxy with balsa dust mixed in. I mix it to a consistency something like CWF.

Sent from my SAMSUNG-SM-G870A using Tapatalk
 
Well getting back to it tonight. It was time to cut the clay in three strips and begin rolling. She said, "Clay? I LOVE Clay. Can I make things out of it before we stuff it?!" My budding artist! Anyway, having more fun with nosecone clay than I've ever had!

Rolling Clay.........................................................................Stuffing the nose
WP_20160124_22_31_10_Pro%20400x225.jpg
WP_20160124_22_32_15_Pro%20217x400.jpg


Then off to search for my sons' models to find the modeling glue. He built his first "glue together" tank model last month. Found it and finishing the nosecone.
WP_20160124_22_34_49_Pro%20225x400.jpg
WP_20160124_22_35_09_Pro%20225x400.jpg


Next, thanks to a little help from d11rok, I realized the two sections didn't glue together and sanding the coupler would make it separate a little easier. Was a tough fit at first. She didn't even complain about sanding! How about that!!
WP_20160124_22_37_32_Pro%20225x400.jpg


Then she trimmed back the launch lug carefully rolling it back and forth with the Xacto blade and glued it in place. It seemed a little long to us.
WP_20160124_22_47_15_Pro%20400x225.jpg


Then using the model cement, she completed the upper section gluing on the nosecone.
WP_20160124_22_49_13_Pro%20225x400.jpg


At that point, she test fit the Flutter-by and I think the picture says it all. Happy young lady (and a proud papa)!! This was a real joy to do. Gotta say, I now love snow days!!
WP_20160124_22_52_10_Pro%20240x400.jpg


Finally we sat down and looked at every color known to man on the computer. She really liked the flutter-by with glitter that d11rok did; but finally changed her mind..yeah. Then the color matching began and let's say I had to just bite my tongue as we see things much different. Alas, it is HER rocket, and I'll just say Yes Ma'am, and do what she wants. So I grabbed her two colors she chose online, copied them and then painted the rocket in Photoshop to give her an idea of what it'd look like. She seemed very pleased, so I guess it's Neon Pink and Neon Green. (I thought orange and black like a monarch, but goes to show what I know!)
flutter%20by%20green%20pink%20copy%20217x400.jpg


well, once the snow melts and it's get's painted, we'll post a pic and a launch status. Megan learned a lot and it was sure fun building with her.
 
My 5 year old daughter and 6 year old son both built one of these last year. We bought five of them at the 3.49 a piece sale! My daughters just about the same pink color as the one above. My sons is black with one red fin a-la-toothless the night fury. I think that is our 3rd night fury rocket... :)
They fly well on A8-3's And actually haven't broken yet after 10 or so flights each! I thought they'd be more fragile than they are. We have done a few B6-4 launches. That's the biggest motor you'll want to use if you want it back!

Now I'm down with the night fury colors!! :)
 
Well snow won't stop her. I got out to Michaels today and picked up her colors. She's never really used rattle cans well before. Just point spray and not move. Today she did really well. I'm proud of her.
Primer:
WP_20160125_13_50_34_Pro%20200x400.jpg
WP_20160125_13_52_36_Pro%20225x400.jpg


Now her favorite color for the top half. And the green for the bottom.
WP_20160125_15_34_55_Pro%20218x400.jpg
WP_20160125_15_41_38_Pro%20225x400.jpg


Finally a clear coat. I know. It's well below 50 degrees, but some times you just gotta do what you gotta do. They seem to have come out pretty well and are drying inside in the basement.
WP_20160125_15_44_04_Pro%20203x400.jpg
 
All done. Green doesn't look green under these lights, but she's very pleased. However, Ken was right. She's not too thrilled with the decal included. gotta figure out how to make a real butterfly decal for her.

WP_20160125_17_33_52_Pro%20225x400.jpg
 
A quick and easy way is to print the design that she chooses on white paper and glue it on with a light coating of white glue on the back. Once it is completely dry, spray clear over it. It's not elegant but it works and is less trouble for her than a waterslide decal.
 
Those are good colors for the Flutter By. Should be easy to spot after they land.
 
Back
Top