Screaminhelo
Shade Tree Rocket Surgeon
- Joined
- Jan 30, 2013
- Messages
- 935
- Reaction score
- 4
I've wanted one since I first saw it and I finally got my hands on one. If this progresses at my usual pace, we are going to be here for a while.
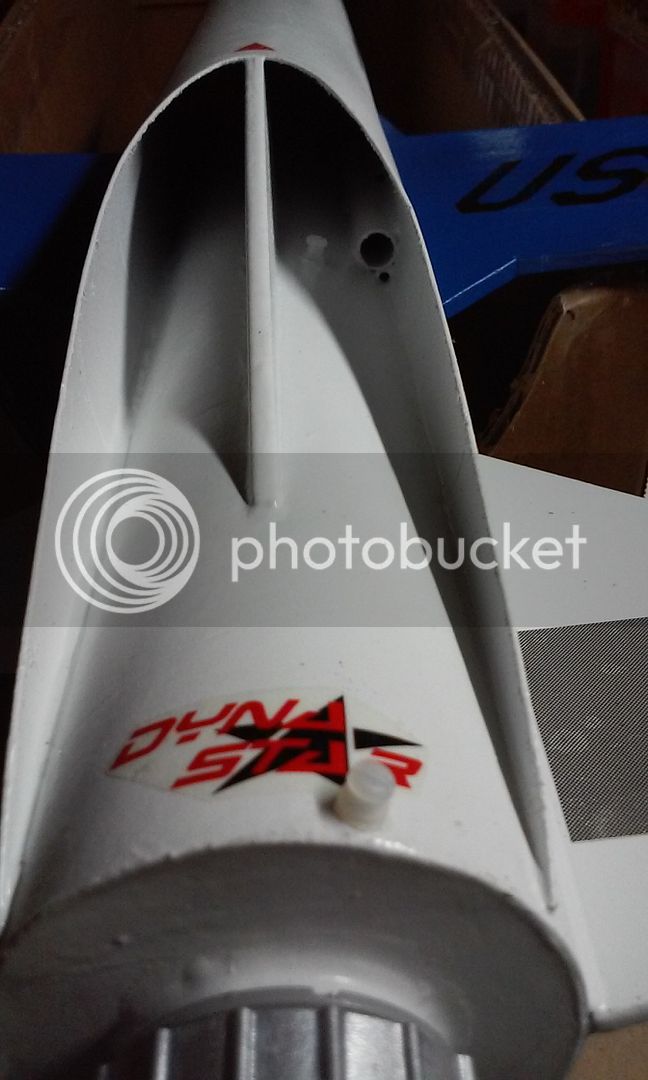
The required first pics are attached. (still having problems with uploading)
And now, the first question:
I would like to use rail buttons but I am not certain where the best place for them will be. Aesthetically, they would look best in the intake but there may not be enough room. Option two would be on the bottom of said intake but the thin wall tube may not handle it well. Option three would be on the body above the wing but that would detract from the look more. BTW, I plan on using mini buttons with MakerBeam rail.
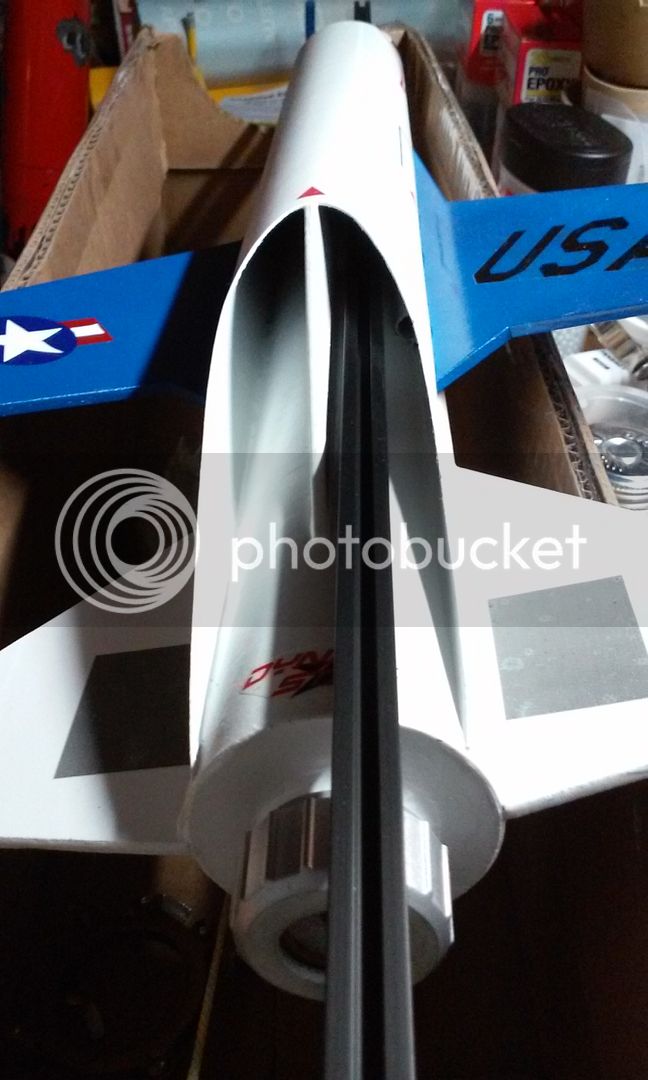
")