


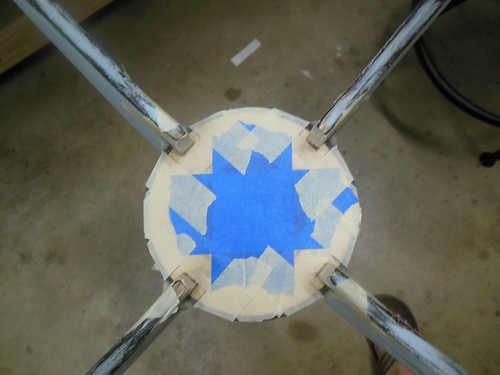
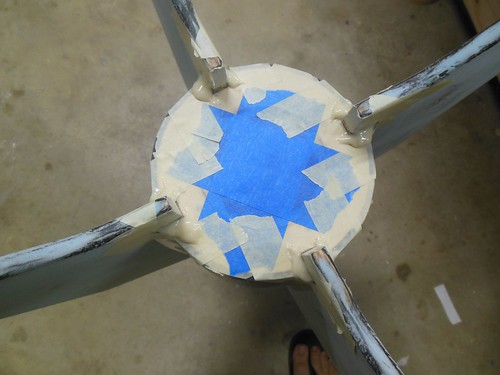
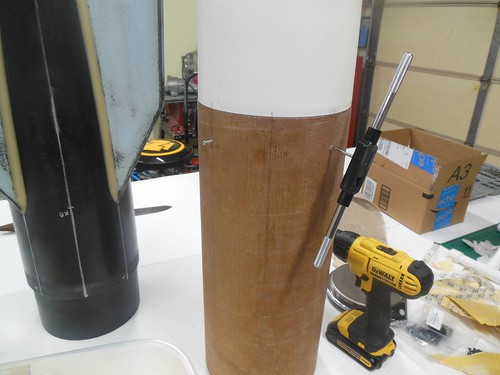
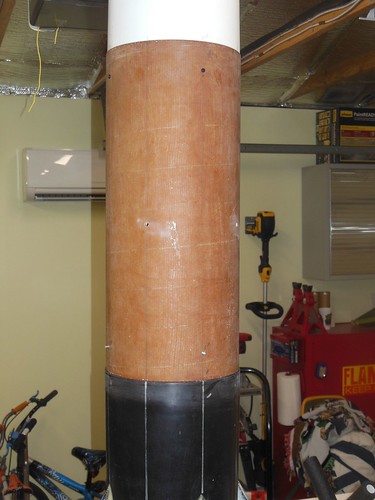
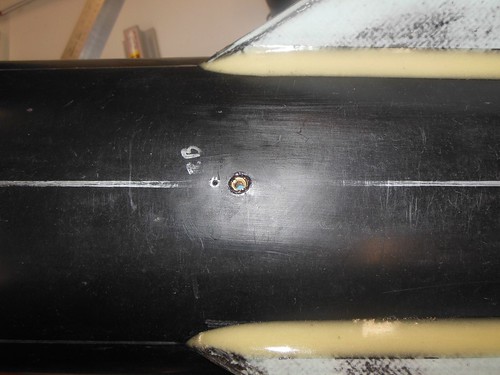
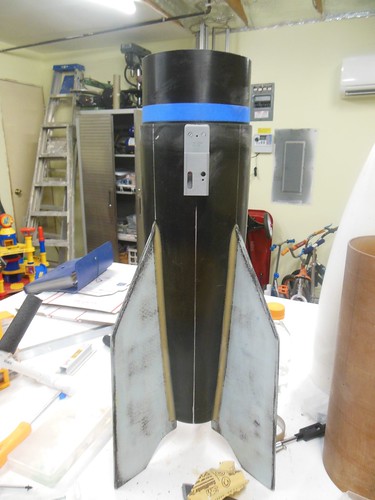
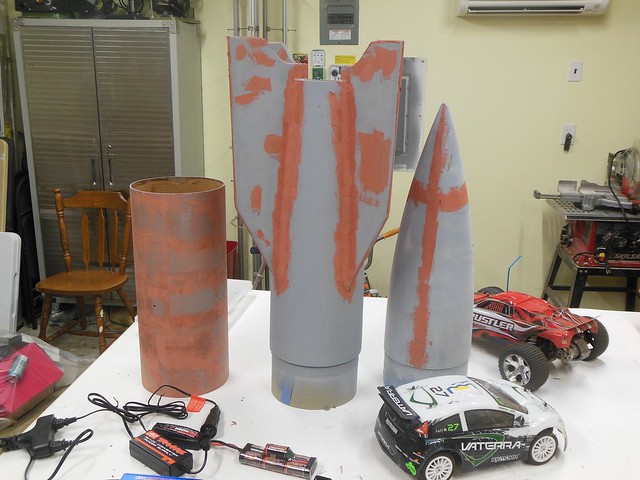
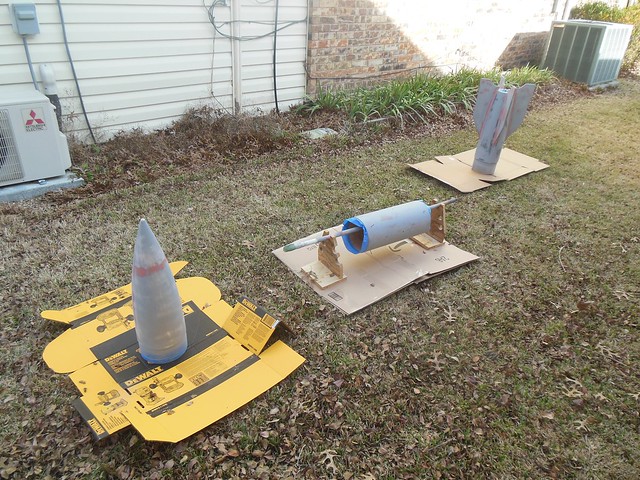
This evening I pulled the last external fillets, and finished the CA/filling of the pullaway plugs.
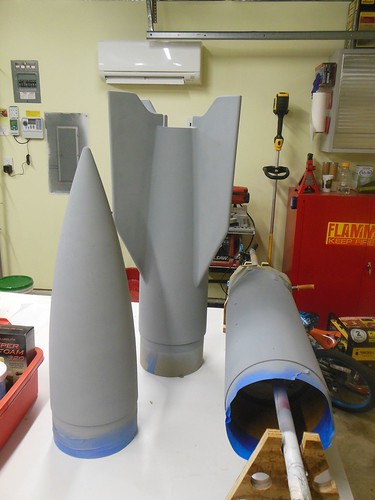
I'm going to really have to shelve this one now...Airfest is almost here.
I'm going to really have to shelve this one now...Airfest is almost here.


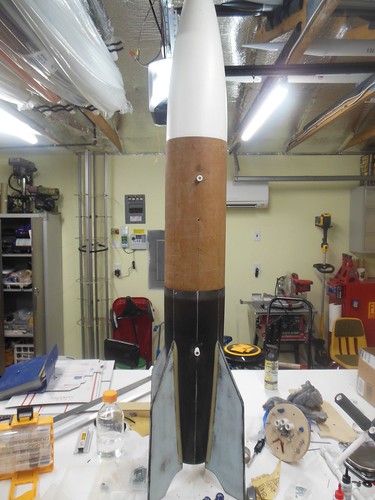
With the front rail button that far forward aren't you worried that it will come off the rail before the rocket hits a reasonable launch velocity?
Just curious, will it need nose weight or are the forward tubes and nosecone heavy enough to ensure stability? Weight can be ones friend especially if trying to stay within a waiver and is needed for balance purposes.
Very nice looking. Kurt
What sort of finishing scheme do you have planned for this beastie?
James
Glad to see you're back at it! Thought I read elsewhere maybe in what did you do today thread. Airfest huh, man I'd love to see your flight. Maybe a plan to go hit the Kansas pasture can be in my future
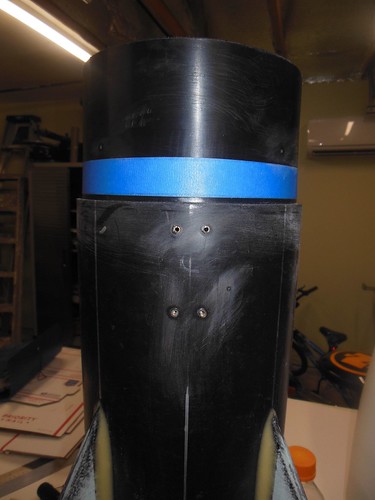
The black and white roll pattern from the first successful flight. Check out post 93 for a bit of discussion and link to a thread with quite a few paint schemes in it.
Some people will cut out holes in the fins, fill them with foam and carbon fiber over the top as a weight reduction technique. This probably won't net too much unless you are vacuum bagging.


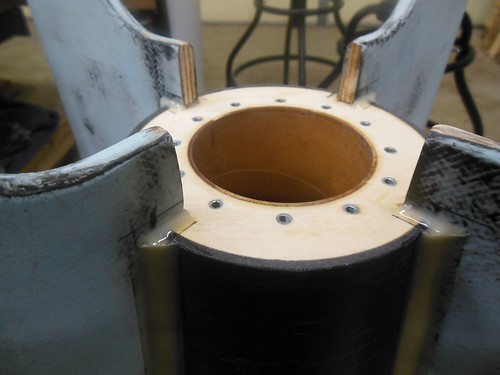
Post 80 of this thread has my composite fin process with before and after masses. Saved about 0.7 lb across the set versus bare ply, or about 1.7 lb versus laminated ply.
Exactly, the weight savings was minimal when I did it on my Cherokee D upscale L3 project, however the fins were MUCH stiffer, the cores were endgrain balsa and the ply was 1/4" Baltic birch with two layers of 5.6oz CF twill each side, and vacuum bagged. The weight savings was about 10% iirc, foam might have saved another 5%.
")
You saved considerably more weight because of the higher percentage of ply removed, very nice work. I have been following this thread since day one.

Which Bondo Spot and Glazing putty do you use?
I picked up a tube and used it on my recent leviathan build, but its white (unlike the red color I usually see in people's photos).
Enter your email address to join: