Sheri's Saturn V.

The Rocketry Forum

Help Support The Rocketry Forum:

This site may earn a commission from merchant affiliate links, including eBay, Amazon, and others.
IMG_0001 (30).jpg The third stage base ring already came with a lathed lip which does help when aligning the coupler tube to this. The older version simply gave you a flat disk to work with and alignment was done by butt gluing both the third stage tube and the coupler on by taking measurements from the center of the ring.
 
Last edited:
IMG_0004 (5).jpg IMG_0001 (32).jpg IMG_0002 (15).jpg After wet sanding with 400 grit paper. You'll notice the grainy appearance itself is all but gone and just a bit more sanding is needed to get ready for paint.
 
I'm presently waiting for (1) 80 grit sandpaper with self adhesive backing, (2) 24" x 24" .030 sheet styrene for the second/third stage adapter, (3) .040 square styrene strips for covering the adapter. The original two piece unit was too small and did not go all around the base of the adapter leaving a good 3/16" gap. Yet another part that is being discarded due to poor workmanship on behalf of Red Arrow Hobbies.
Not very pleased with Dave's work here on this Saturn V to say the least. :no:
 
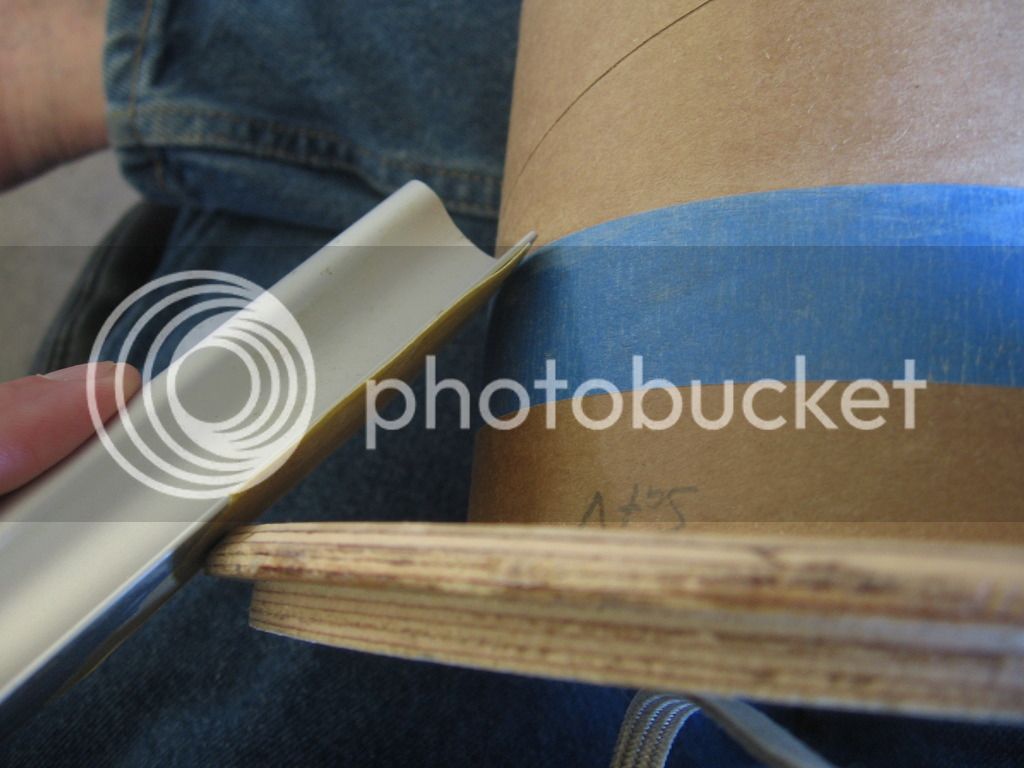
IMG_0001 (34).jpg Alright, so I have to use Photobucket for this. Anyway, I've applied tape at the juncture where my sanding bar would be at a 45 degree angle to the tube. When hand sanding I've found this works quite well as a gauge of sorts.
 
Last edited:
that is a really great idea!! I really enjoy your builds! Just awesome work!


IMG_0001%2034_zpssxrkj5la.jpg
Alright, so I have to use Photobucket for this. Anyway, I've applied tape at the juncture where my sanding bar would be at a 45 degree angle to the tube. When hand sanding I've found this works quite well as a gauge of sorts.
 
that is a really great idea!! I really enjoy your builds! Just awesome work!

Thank you. It popped into my head just prior to doing this. I was thinking of wrapping a piece of paper around the juncture and tracing a line around the tube in place of the tape. Either way works. The tape though does help prevent too many dings digging into the tube.
 
IMG_0001 (38).jpg IMG_0002 (16).jpg The pattern that came with the kit was just not working so I made up my own (again) and this one fit just right. Next will be to lay out the stringers then the lower and upper wraps which I need to cut out from a larger sheet of corrugated plastic. Dave had to send me this extra sheet as the two strips for the third stage never came with the kit.
 
IMG_0002 (17).jpg The original kit supplied you with a three inch coupler where as this version gave me a nine inch coupler. IMG_0001 (39).jpg And the beginning of the stringers. There will be over one hundred forty on this adapter. I only seem to put two maybe three on at a time and then lose interest. Me thinks this will be a time consuming part of the assembly of the kit where I'm concerned. It's too bad the two piece adapter was of such poor quality to begin with, but you just keep working on.
My latest appointment with my doctor has me on Lithium now for the last week and will need ongoing blood work from this week on. The Sertraline was just not cutting it.
 
IMG_0001 (40).jpg IMG_0003 (7).jpg I had made the mistake of gluing on the corrugated section too high covering part of the UI area. It needs to be 1 inch below the top of the tube rather than parallel or even with the edge. So I was able to remove the styrene without much fuss, sand down the damaged area and will re-attach the styrene again in it's proper location. Later on this will be filled and sanded down repeatedly until I get a smooth, blemish free surface.
 
that looks great....tedious I am sure while doing it but in the end it will look fantastic!


View attachment 298718 The original kit supplied you with a three inch coupler where as this version gave me a nine inch coupler. View attachment 298719 And the beginning of the stringers. There will be over one hundred forty on this adapter. I only seem to put two maybe three on at a time and then lose interest. Me thinks this will be a time consuming part of the assembly of the kit where I'm concerned. It's too bad the two piece adapter was of such poor quality to begin with, but you just keep working on.
My latest appointment with my doctor has me on Lithium now for the last week and will need ongoing blood work from this week on. The Sertraline was just not cutting it.
 
I can only imagine Steven! those are the kinds of things that when you are doing them you just wish you could complete it already and move on...but when the project is done you look and say MAN! that looks great! Awesome build by you..as usual! Really enjoy your talent and eye for detail.

Yeah, I lose interest pretty quick after only two or three of them are glued down.
 
I've still got all those super detail parts I had shown near the beginning of this thread. Thanks yet again for your interest.
 
IMG_0002 (19).jpg I just got all the parts and slapped it all together for the first time. It looked a little larger than I had initially anticipated. Notice we haven't been watering our lawn, just everything else around it.
 
Back
Top