Estes Scion, Dual Deploy, Build Thread.

The Rocketry Forum

Help Support The Rocketry Forum:

This site may earn a commission from merchant affiliate links, including eBay, Amazon, and others.

HHaase

Well-Known Member
Joined
Aug 3, 2014
Messages
880
Reaction score
338
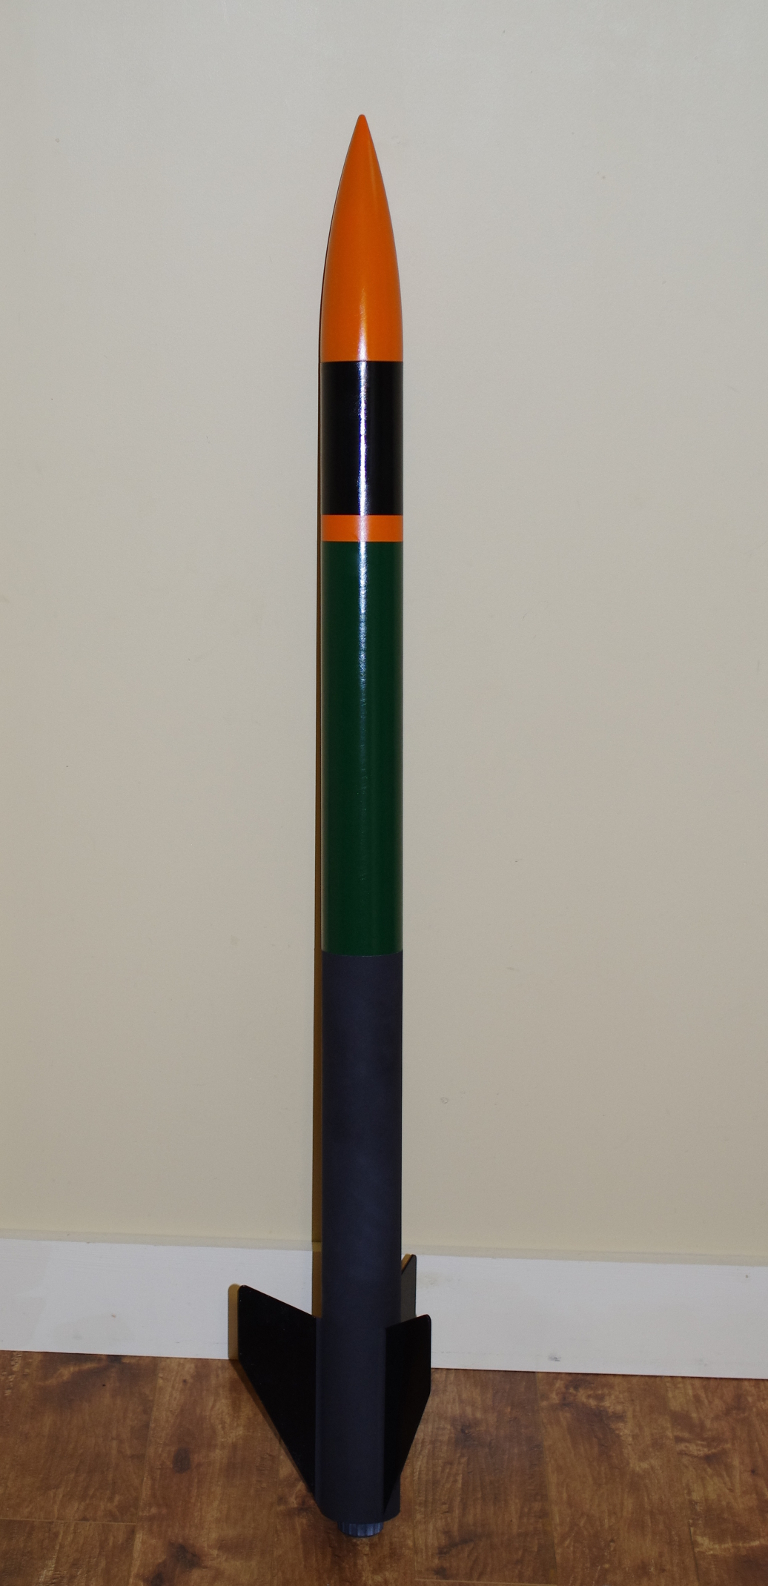
Gearing up for my push through L1 and L2, and I decided I needed another rocket for build and flight experience. Since it's dimensions are very similar to my intended Painkiller L1/L2 rocket, I went with an Estes Scion. It's basically an extended PSII Leviathan, without the pre-slotted body tube, and three fins instead of four. It's also only available direct from Estes, and as others have mentioned, probably is being kitted and sold to clear out excess parts.

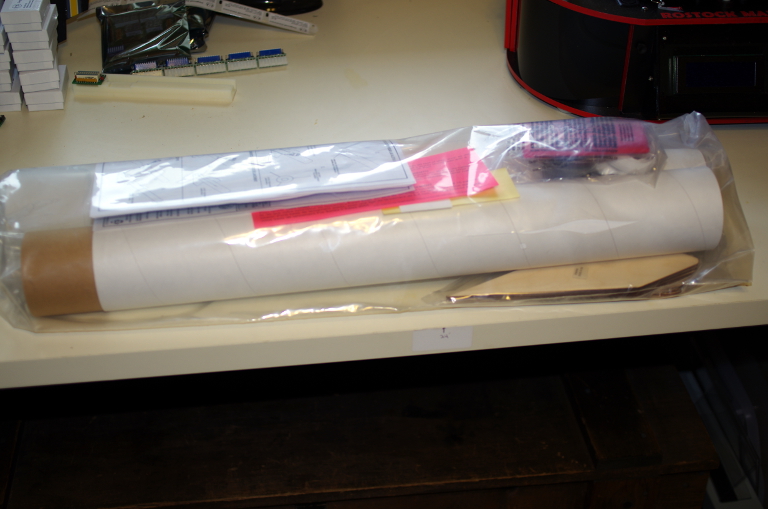
So, how does it arrive? Very plainly. No header card, no fancy photos, just parts and instructions in a clear bag.
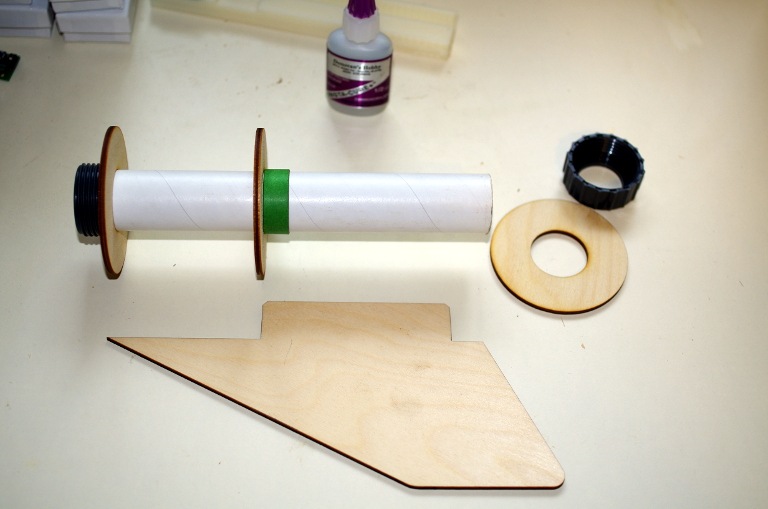
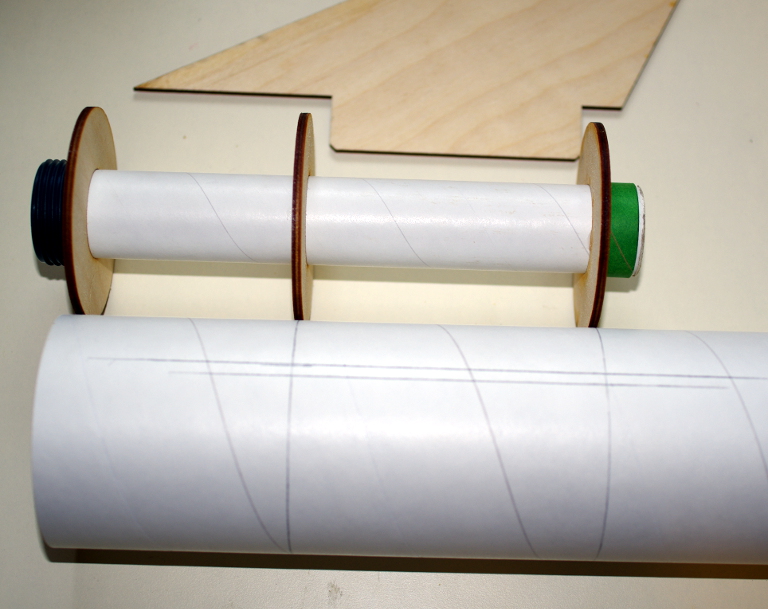
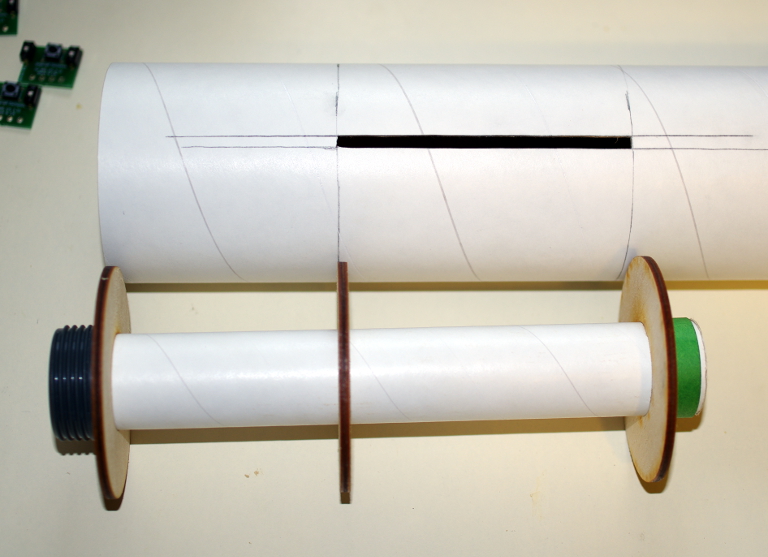
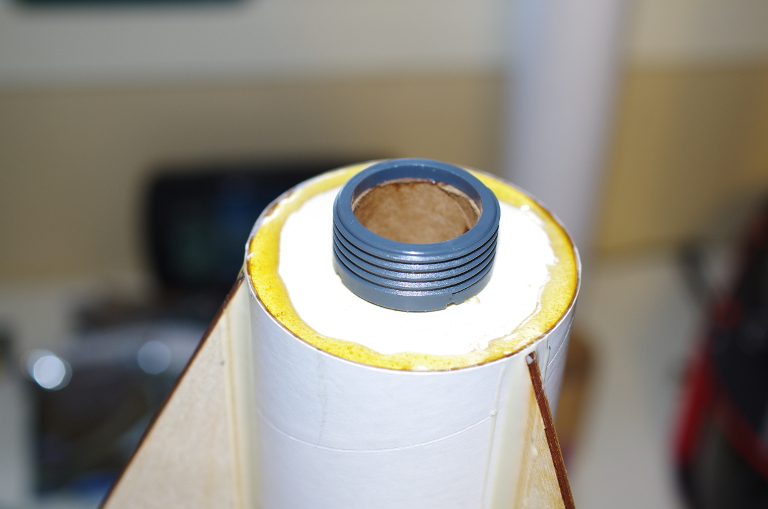
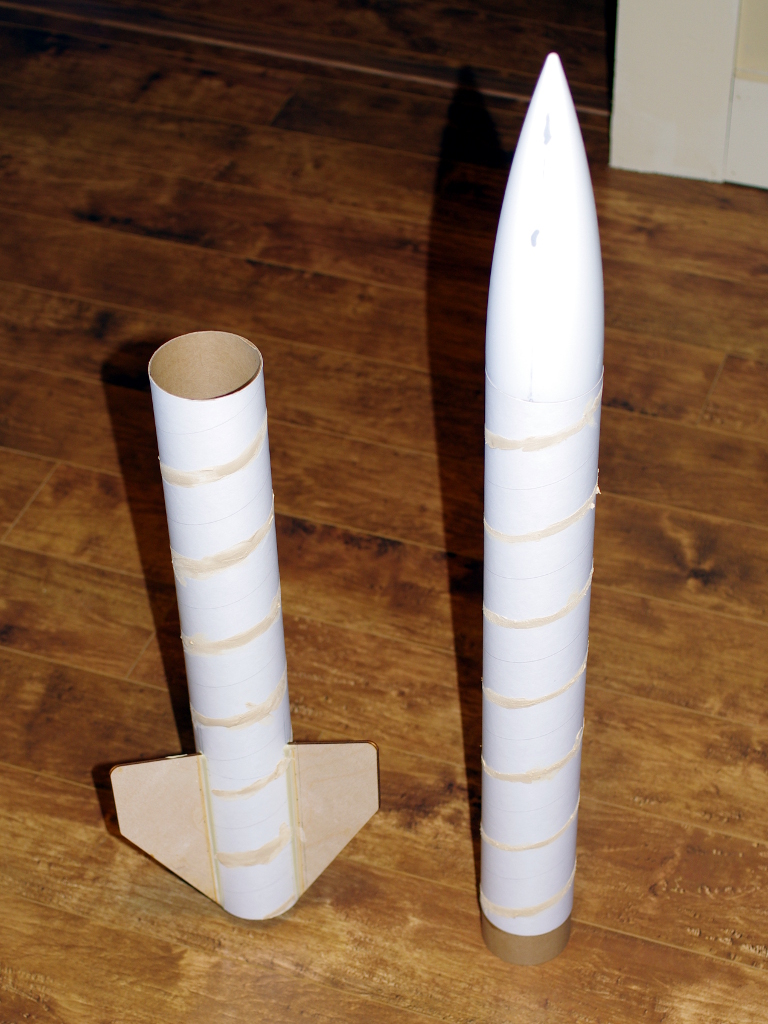
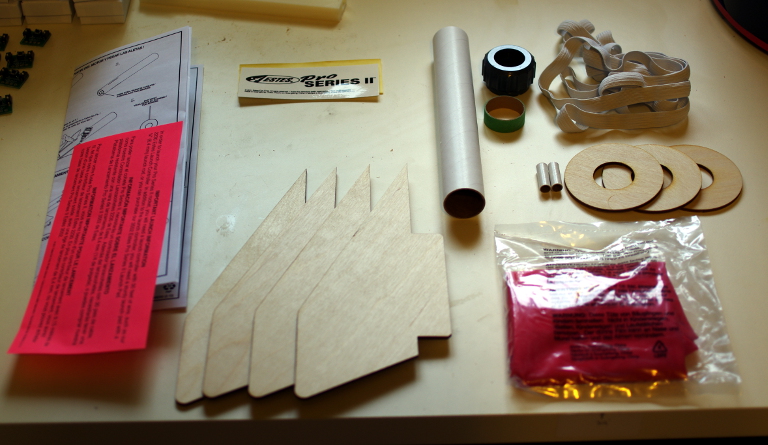
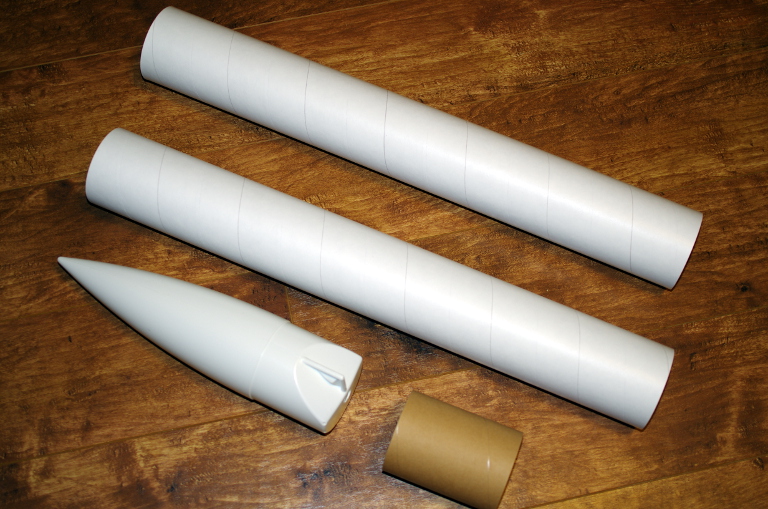
Contents are very straight forward. Body tubes, nose cone, 29mm motor mount set (with plastic motor retainer), nylon chute and elastic, a couple launch lugs, and instruction sheet.
That's it. No sales flyers, no 'warranty card'. Really a bare bones builders kit. The instructions say it should have also come with a template to cut the fin slots, but mine didn't have it.
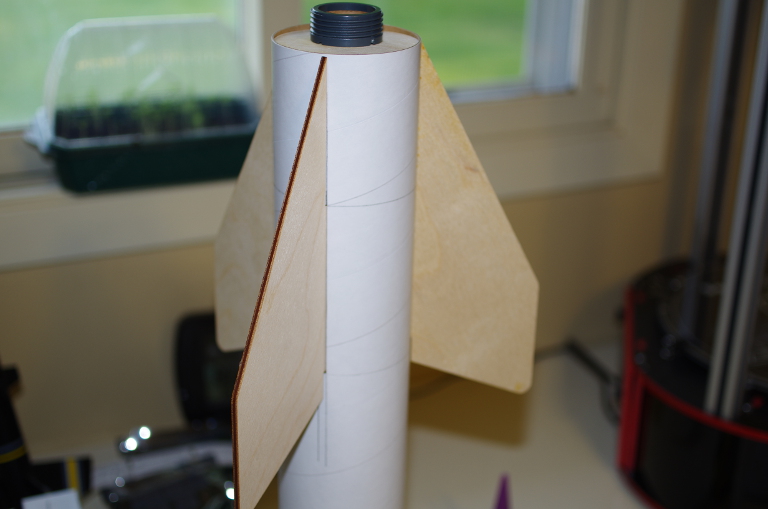
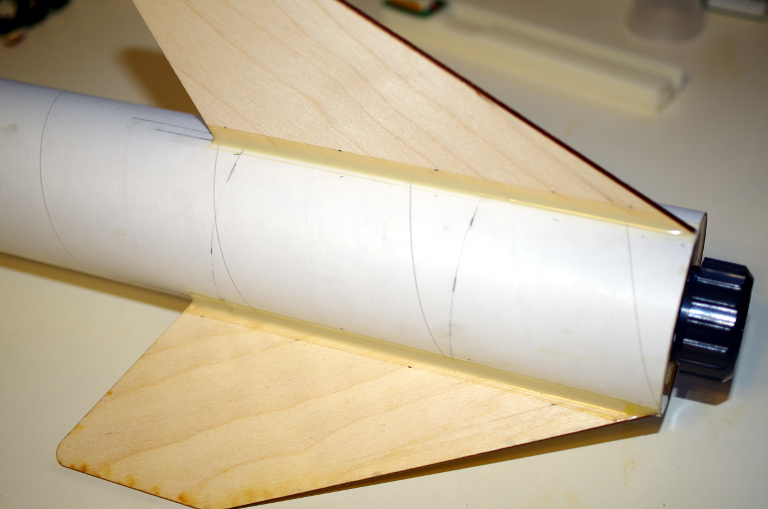
Fins are the same as the Leviathan. Even down to having 4 included, instead of three.

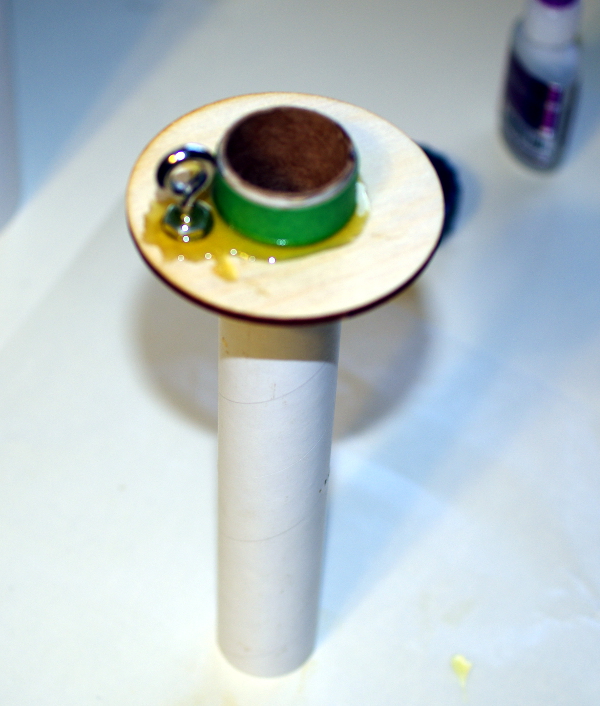
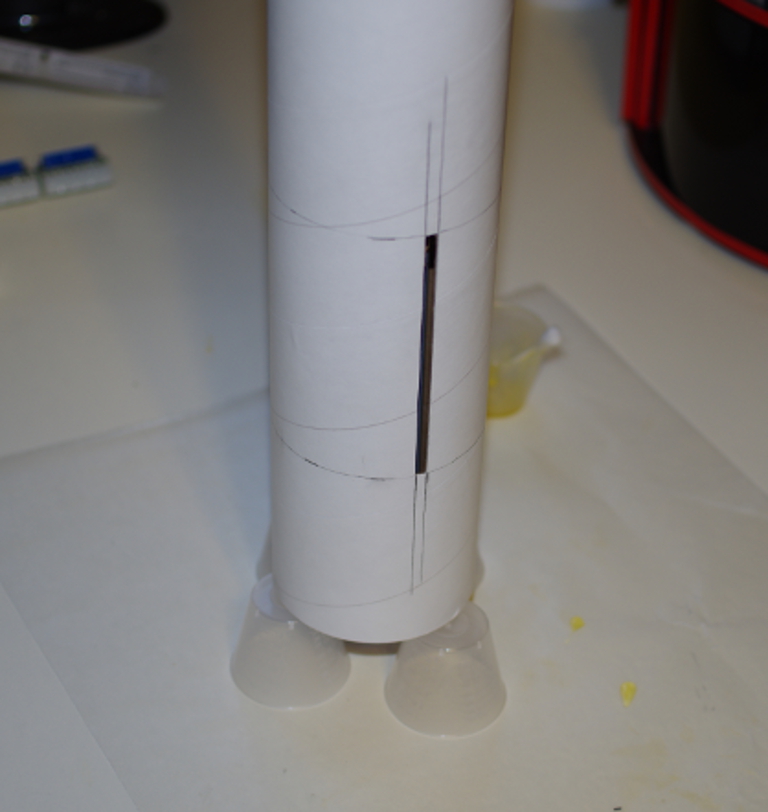
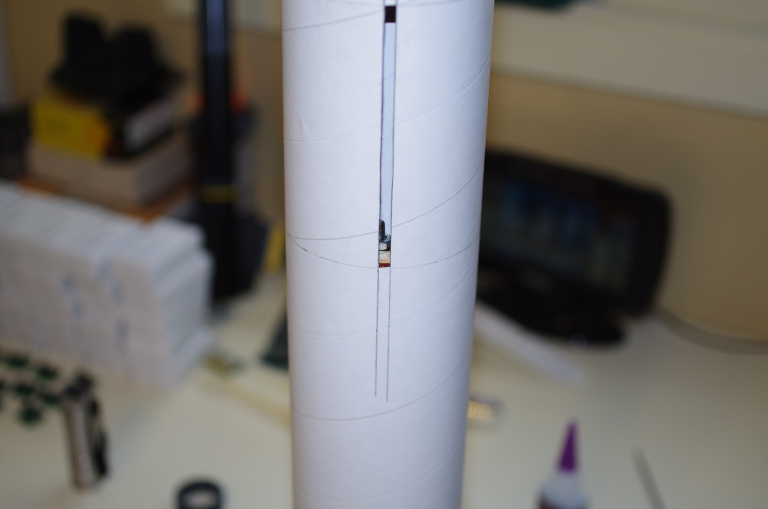
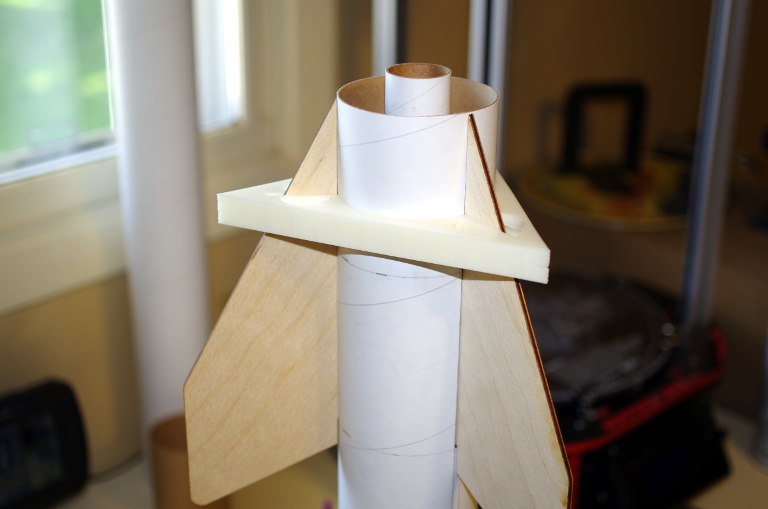
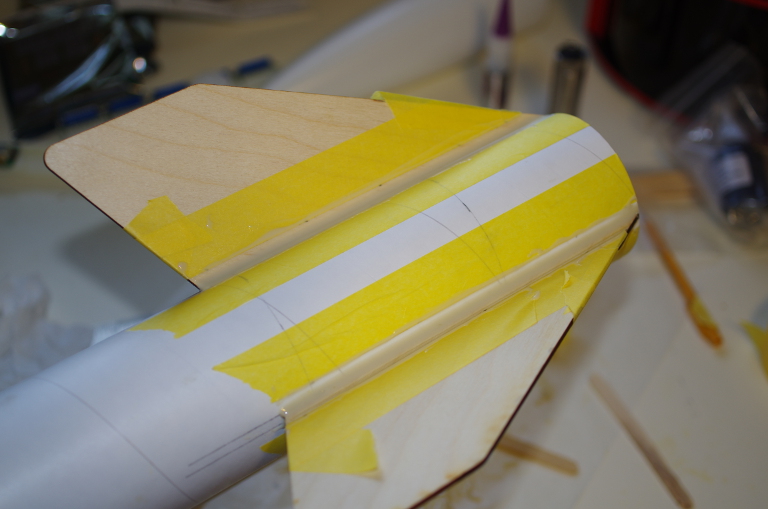
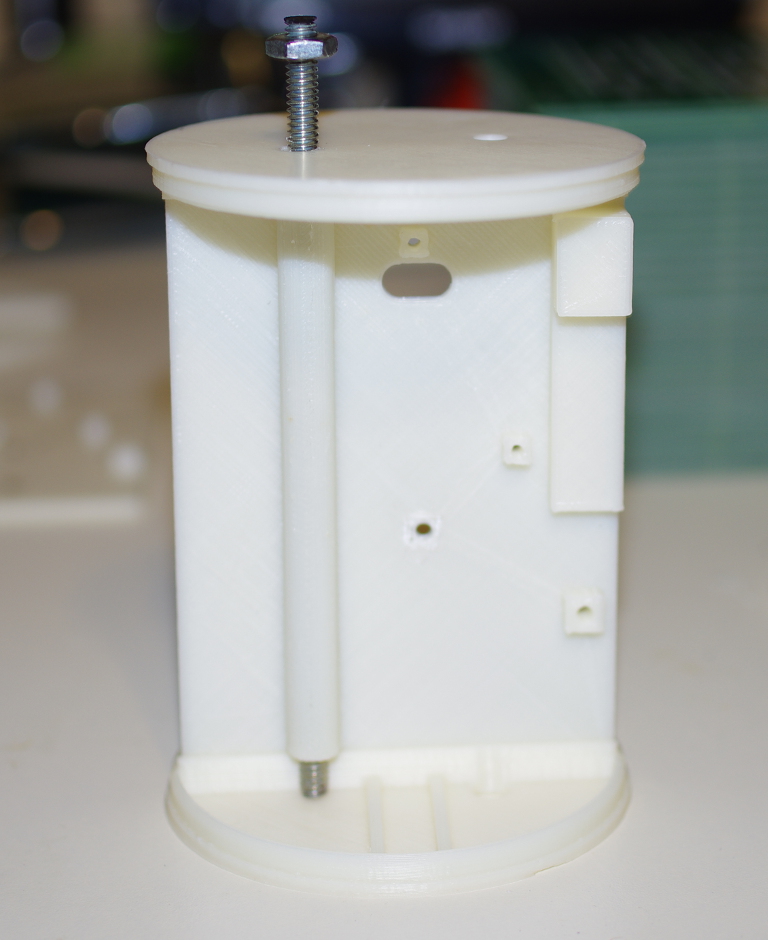
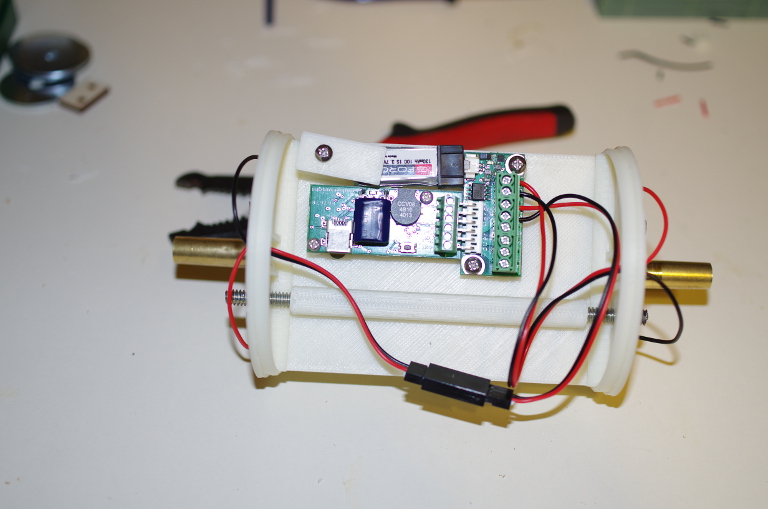
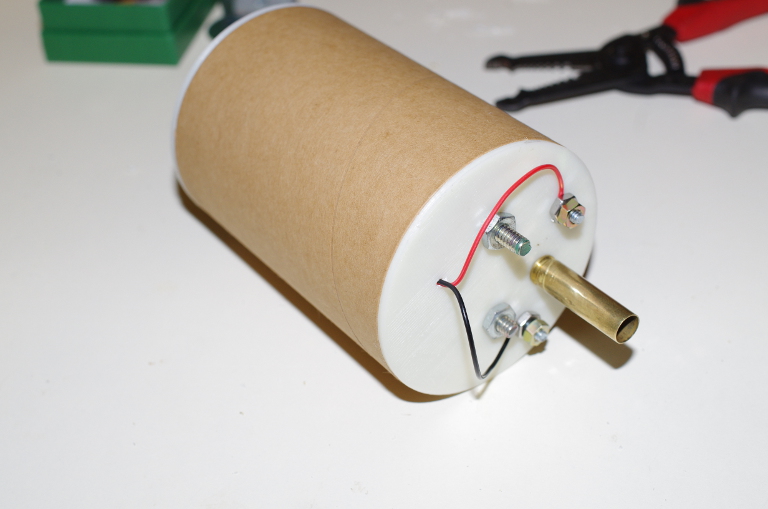
This build will be a lot of firsts for me. First PSII build, First 3" build, First Av-Bay build, First Dual-Deploy build.
I'm more than open to advice as I go along, and have already made a few goofs, but hey..... let's get building.
I want this thing flying before the first snow falls.

scion001.JPG

scion002.JPG

scion003.JPG
 
Thankfully, a lot of this build starts with things that I know. I built a 3-ring, 29mm, motor mount for my Mega Mosquito this spring. So this part went easy.
I started by laying it all out and test fitting how I wanted the motor mount to assemble. I really like the extra wrap ring that helps align the centering rings, keeps them nice and square.
Instructions actually suggest you press the wrap ring down on the tip of the nose cone first, to spread it out a bit and make it fit easier over the motor tube. Neat trick... worked great.

I based all the measurements on placing the rear centering ring just barely inside the back of the body tube. Only enough recess for an epoxy fillet, and the retaining ring will protrude past the body.
That gave me the location for the tip of the fin (Remember, they're backwards on the Scion), which gave me the location of the 2nd centering ring. I've just barely tacked it into place with some CA, the green wrap ring isn't glued at all. That let me extrapolate the top centering ring as well. Then I transferred those locations to the body tube for the fin slots. Lots of measuring, re-measuring, confirming measurements, and test fitting went into all of these markings.

To get equally spaced fin locations, I wrapped some paper around the tube to get the exact circumference. Divided C by three, which gave me the distance between the fins. Marked those on my wrap, put it back on the rocket, and that gave me my fin slot locations. The classic ESTES door frame trick let me put in the vertical lines, and I've got my fin slots marked. No template in the package? Bah, this is easy stuff so far. Easy to do, not so easy to explain, and probably causing you headaches to read this. A brand new #11 blade did the honors of cutting out the slots.

The method I've been using basically builds the motor mount in the body tube, so hang on for the next all-new episode.

scion005.JPG

scion004.JPG

scion006.JPG
 
So, fin slots are cut, centering rings are very lightly CA tacked in placed, time for the first major test fitting. Everything so far lines up just perfectly. Fins, slots, and centering rings are all exactly where I want them.
Not a bad start for the first time I've actually measured and cut my own TTW fin slots. Then separated the two aft-most centering rings from the motor tube, as their measurements are no longer critical once the top ring was tacked into place.

For more substantial builds, I've been using West Marine G-Flex epoxy on the motor mounts and internal fillets. It has a cure time of around 18 hours, and runs like cold syrup. But it also self levels very nicely and gets great penetration into wood and narrow gaps. Here I've applied some to the top part of the top centering ring, and have put in the eye bolt I'll be using for retaining the 1/8" kevlar. This way the eye bolt also gets epoxied into place, in addition to the retaining nut and washer on both sides of the centering ring.

Forgot to take a picture, but I did remember to tie on the kevlar before putting this sub-assembly in the body tube. I lined it up so the centering ring is just barely visible in the fin slots, and also pressed in another centering ring right at the aft end of the body tube. This will keep it all square, and I have a long thin rod I can pop that aft ring back out with. Since the G-flex is so runny, I have to let it cure vertically. Easy enough to rig up a temporary stand.

I did all this after dinner on the 4th, with fireworks on the brain. I wasn't concentrating enough, and this morning I did see a bit of a problem.....
Whoops

scion008.JPG

scion007.JPG

scion009.JPG

scion010.JPG
 
Not much more for today, what with the long cure time on the G-flex epoxy.
I made a small notch in one fin to clear the eye bolt that's in the way, won't make much of a difference in the grand scheme of things.

Due to the size of the fins, and the size of the rocket, I figured I'd actually need something to align the fins with this time around. Having a 3D printer, and being marginally able to use CAD software, was a big help in that regard. If I had to print it again, I'd probably go a mm or so bigger to fit the tube, but it works just fine as-is too. Epoxy is currently curing to attach the fins to both the motor tube and top centering ring.

Due to the weight of the rocket, I'm nervous about weighing it down with too much epoxy. I'll definitely do external fillets between the body tube and fins. I'm on the fence about doing those internal fillets. There's already going to be a lot of structure to tie the motor mount, fins, and body tube together.

scion011.JPG

scion012.JPG


-Hans
 
After the top centering ring was epoxied into place, I went ahead with the external fillets. Taped off first with shure yellow tape (very similar to Tamiya, but cheaper and in bigger rolls). Thought I didn't get any photos during application. Straight rocket-poxy for these, I really like working with this stuff. Though next time on a cardboard and wood rocket I'll use the color tint to make it more visible as I work.

Then the middle centering ring gets epoxied into place, followed by the aft ring and motor retainer. As with before, I used G-Flex on the centering rings and retainer.
The result is one finished fin can. If I were going to fly this with motor deployment, all I'd need to do at this point is glue on the coupler and top tube, then tie on the chute.
But I'm not going to just fly this as a motor deploy. Next few steps are going to get fun.

scion013.JPG

scion014.JPG

scion015.JPG

scion016.JPG
 
Now let's get to something meaty. Since I'm considering flying this as dual deploy, even if the first flights are motor deployed, it means I need to start thinking of an av-bay.
That means I need bulkheads, something not easy to come across for the Estes 3" tubes. And I need them in a hurry if I want to fly on the 25th for a L1 cert.
So it's back to the CAD and printer, for some ABS bulkheads.

It's going to take a couple iterations to get them exactly as I want, particularly since the pad eyes for the recovery line aren't here yet. So here's the MK1 prototypes. Mainly done just to confirm tube dimensions and hole dimensions for the #10 threaded rod. The central slot is going to serve dual duty of both being a stiffener for the bulkhead and also a locating tab for the sled. Perfect fit on the first try! Sorry about the washed out photo. Beige plastic on a beige workbench.

For the MK2 bulkheads I need to get the hole spacing correct for the pad eyes, and I'll be adding another set of stiffeners that run 90 degrees from the existing set. They stiffen up the plastic considerably in the one direction, but I'd like more rigidity in the other to withstand deployment charges. I don't know if I'll be using ampules or charge wells, I could do either. If I do use charge wells, I'll also have to make sure to match up their locations directly above some structure. Don't worry though, I won't be 3D printing charge wells.

I've also ordered a Featherweight Raven to use as an altimeter in my Painkiller Micro. Due to the simplicity of the power perch, I'll be doing a matching ABS sled for that as well. I just won't worry about starting it until the Raven arrives. Original plan was to use an eggtimer that I already have, but that would require more work in wiring and install. With my time constraints I want to simplify where I can. I'm already suffering from a great deal of mission creep as compared to when I ordered this kit.

scion017.JPG

scion018.JPG
 
IMO,I would recommend using charge wells rather than ampules, the charge wells will direct the force of the ejection charge mostly forward. An ampule has the chance to be next to the airframe wall and upon ignition may blow a hole in the light weight Estes airframe, I have seen this advice posted a few times here on these forums.

I intend to build my Scion as a DD as well, along with the other PSII kits I have on the way (Leviathan, Argent, Ventris, Partizon).

Great looking build so far.
 
Here's the Mk2 bulkhead, which I'm pretty happy with as long as the hole spacing is correct when the new pad-eyes arrive. The extra support gave me the strength I thought was missing.
Still need to figure out the charge wells, which I've got a cool idea brewing, but it won't be part of this bulkhead. I can move on to other stuff now.

The Mk1 sled was done only to confirm the dimensions of the rod retainer, and mounting pads for the Raven with power perch. Not sure why, but my measurements there were way off on 3 of the 4 mounting pads. Also off by a couple MM for the rod retainer. So I marked the sled with a sharpie with the changes I needed to make for the next print.

scion019.JPG
 
I have thought about using .38 or 9mm cartridge casings for charge wells on smaller rockets like the PSII series, I still have some of the CCI Blazer aluminum cased cartridges for 9mm laying around.
 
I have thought about using .38 or 9mm cartridge casings for charge wells on smaller rockets like the PSII series, I still have some of the CCI Blazer aluminum cased cartridges for 9mm laying around.

Same here, plenty of different sizes of brass laying around. I would like something I can prep the charges as home first, and not having to worry about measuring and sealing in the field. I did grab a bunch of micro centrifuge tubes a while back, thinking of making up a retaining mount for them. This way I can prep at home, and just plug them into place.
 
Same here, plenty of different sizes of brass laying around. I would like something I can prep the charges as home first, and not having to worry about measuring and sealing in the field. I did grab a bunch of micro centrifuge tubes a while back, thinking of making up a retaining mount for them. This way I can prep at home, and just plug them into place.

You could probably prep the charges at home in the centrifuge tubes and use a 38 Special casing or 357 Mag to insert it in, then just use a piece of tape to keep it there. Then you get easily changed charges with the centrifuge tube being oriented in such a way that the charges force is directed initially away from the walls, I think I might even try this method on my next build which is one of 5 PSII builds I am going to do.
 
I'm nearing final layout on the heads and sled, should have some progress photos tomorrow. Last sled print I goofed on a reference point, but otherwise have a useable piece. I did make a couple more tweaks to the bulkheads. I am just waiting on those pad eyes to arrive for a measurement check. They may also be at a flyable revision as well.

Boxes arrived from top flight recovery, featherweight, and rail buttons. It's a flurry of activity now.
 
Eh, I can't go to sleep yet, the rev3 sled is still printing for another half hour. So here's a few photos.

First photo shows the rev2 bulkhead on top, rev2 sled, and rev3 bulkhead on the bottom. Rev3 bulkhead adds a couple blocks that I'll be using as mounting points later on, they'll make more sense when I start mounting things on them. One glitch that came up is I need to mirror the two bulkheads to line up the threaded rod. Just a quirk on how I lined things up on the initial design. No big deal really, very easy to do. I also need to add a few thru-holes in there too for wiring and mounting points. But I think the next prints will be the flying set (I hope)

Rev2 sled was SOOOOO close. There are two mounting pads for the power perch, and two more for the raven itself. The left-side pad for the power perch I referenced off the wrong edge, and put it 8mm too far to the right. All the other holes and everything line up perfect. Revised version is already printing, which also may end up being the flying sled. The mounting pads give more than enough air clearance on the bottom side, as that's where the baro sensor is on the Raven. However I did put an oval cutout anyway. Both to give the baro more clearance, and also to cross-vent the two halves of the av-bay. Rev3 sled has that mounting pad corrected, and also a hole in the big block on the right for attaching a hold-down for the battery. I'm probably going to use the wooden piece that came with the Raven for that.

They stack up very nice in the outer dimensions at least, and mate perfectly into the coupler. I'm just giddy with how well this av-bay approach is working out so far. I may just use the sled for my painkiller 3, with different bulkheads.

EDIT: Found a couple more dimensional issues, need at least one more revision to the sled.

-Hans

scion020.JPG

scion021.JPG
 
Last edited:
I did some test fitting this morning, and found that .30 carbine brass is a perfect fit to hold the centrifuge tubes I have. Very few details left to work out once I get those av bay parts finished up. Supposed to be abusively hot out tomorrow, so I'll be inside all day. Hopefully I can get that all finished up. Only two weeks left until I have my cert attempt.
 
We have a winner! All the mounting pads fit perfect, screw holes line up, and even got a good battery clamp figured into the mix on this one.
Wiring was a breeze with the Raven.

I originally was going to get all fancy and put heli-coils into the bulkheads to help with retaining the wires and e-matches.... But I screwed up about half the inserts and broke the installation tool. Not a cheap mistake, but my own fault for getting impatient. I opted to go back to simple with some 6-32 screws and double nuts to make wiring posts on the outside of the bulkhead.I know there are fancier connectors out there. I've had enough fancy for a bit I think. Getting the dimensions on these parts took more work than expected. Then I busted an $18 heli-coil tool. Nope, no more fancy. Anyway.... I'm going to actually glue one of the bulkheads to the sled, so that end is wired direct from the posts to the power perch. The other bulkhead will be removable. So I used a servo extension cable I picked up a while ago to give me a separable connector. Then I assembled everything to make sure I actually can get it all connected and closed up.

I am going to have to re-calculate my charge well situation though, I thought I had 1.5ml tubes. Turns out they're 0.5ml. Probably bought them for my PK Micro and not the PK3. It's been a while since I bought them. I'm wondering if I should just use these as charge wells as-is, just not sure what the best way to seal them would be, also not sure if they would be strong enough. Calculations are giving me between .7ml and .9ml of powder, and this case has a capacity of 1.3ml. Minus the volume of the ignitor, and we should be right on the money. That's assuming a lower tube length of 12" and upper tube length of 18".

scion022.JPG

scion023.JPG

scion024.JPG
 
Last edited:
We have a winner! All the mounting pads fit perfect, screw holes line up, and even got a good battery clamp figured into the mix on this one.
Wiring was a breeze with the Raven.

I originally was going to get all fancy and put heli-coils into the bulkheads to help with retaining the wires and e-matches.... But I screwed up about half the inserts and broke the installation tool. Not a cheap mistake, but my own fault for getting impatient. I opted to go back to simple with some 6-32 screws and double nuts to make wiring posts on the outside of the bulkhead.I know there are fancier connectors out there. I've had enough fancy for a bit I think. Getting the dimensions on these parts took more work than expected. Then I busted an $18 heli-coil tool. Nope, no more fancy. Anyway.... I'm going to actually glue one of the bulkheads to the sled, so that end is wired direct from the posts to the power perch. The other bulkhead will be removable. So I used a servo extension cable I picked up a while ago to give me a separable connector. Then I assembled everything to make sure I actually can get it all connected and closed up.

I am going to have to re-calculate my charge well situation though, I thought I had 1.5ml tubes. Turns out they're 0.5ml. Probably bought them for my PK Micro and not the PK3. It's been a while since I bought them. I'm wondering if I should just use these as charge wells as-is, just not sure what the best way to seal them would be, also not sure if they would be strong enough. Calculations are giving me between .7ml and .9ml of powder, and this case has a capacity of 1.3ml. Minus the volume of the ignitor, and we should be right on the money. That's assuming a lower tube length of 12" and upper tube length of 18".

You have a nice looking design going on here, might be worth marketing to the crowd here on TRF. I might even be interested in one with a few mods.


You could do away with the extra wire connection by using a WellNut to seal a hole you pass the igniter wire through directly from the altimeter, then you have only one connection between the alt and the igniter. The well nut is visible directly below one of the all threads, iirc its a 5/16" hole with a small slot for the wire on one side, the well nut goes in and once tightened seals the hole from powder residue getting into the AvBay. On the Right side picture are all the wire in my AvBay except the igniter wires which wire directly to the terminal block on the end of the board, the battery is also not installed (it sits under the red and black wires and is zip tied in place) I like it simple the fewer wire connections the few points for failure.

FrenzyXLAvBayLid.jpgAvBay2.jpg
 
Last edited:
Not a bad idea, I'll have to look into that. If the ignited leads are long enough it shouldn't be a problem at all.
 
Only thing left on the av-bay build right now is waiting for the last couple pieces of hardware, but otherwise they're done! (assuming the last couple pieces fit, if not the fix will be easy).
This puts things into the final stretch of construction, which is exterior finishing. Nothing out of the ordinary here. Some wood filler to smooth out the spiral seam, and Tamiya liquid surface primer to fill imperfections in the nose cone. I'm not going to go too crazy on the finish, I hate sanding.

I did end up swapping to the .45ACP brass for the charge wells. Since I'll be using them as actual charge wells, I liked the short and squat profile better.

scion027.JPG
 
I don't have a final built weight yet, but am getting close enough that I can start getting more accurate readings in open rocket. Apogee is still around 1,700ft or so with any of the 29mm 3 grain CTI's (other than the Vmax), assuming just about 1.1kg takeoff weight. Only 31ft of altitude variation between the different H motors in that grain size. They're also all showing good speed off the rod from 42.5mph to 61.1mph , and max G ranging from 8g to 16g.

Stability is also showing as good to go. Not that it was ever an issue, but the av-bay sure makes it even more stable. 2.61 calibers.

Edit: I hate waiting for paint to cure.
 
Last edited:
Parts are all here. I have an assembled and installed av-bay, connected to the recovery gear. Everything in the rocket except charges, battery, and motor. Looks like the final weight, without motor, comes out to right around 760 grams. Just under a full kg with motor.

Now to sort out little details such as rail buttons (yeah, I know, I should have done these WAY earlier), vent holes, and the required markings for the flight. Either way, I start testing charges on Friday. I'll post photos tomorrow if I get a chance.

-Hans
 
I know, I promised photos, but I'm tired.

Tomorrow I start testing charge weights. With the e-matches I have, a .40cal case will give me a max capacity of right around 18 grains, which works out to 1.16 grams, which is just a hair less than CTI ejection charges on their 29mm motors. Assuming 15psi, looks right around perfect if I leave just a slight recess in the top.

I'm thinking maybe I can actually pre-make these too. I have plenty of brass, all I'd need to do is epoxy the mounting screw into the base. Then I can pre-load a bunch of them. The only question is what I can use to seal the top. Wood glue? Epoxy? Electrical Tape?

-Hans
 
Electrical tape it is! Will be a lot easier to seal when it's not mounted to the bulkhead anyway. Time to make up a few to try.
 
Deployment charges went off perfect the first time.
15 grains on the apogee charge, 12 grains on the main charge, using ffg.

They look a bit on the hot side, to be honest, but are still much smaller than the charge weight in a CTI 29mm motor.
I don't see any reason to go any lighter for the cert flight.

[video=youtube_share;SOJ8CqLpqaA]https://youtu.be/SOJ8CqLpqaA[/video]
 
Last edited:
Two days till flight, and I'm doing the final review on everything. I found a couple mistakes in my open rocket sims, mainly related to the overall length and thus the Cp, and I've got to add some nose weight. Right now I'm looking at a stability of 1.6 calibers without a motor loaded, and between 0.66 and 0.59 with a motor. Cg without motor measures out right where the sim places it. Oh joy.


Edit: Looks like 3oz was the magic number for me, which brought the CG forward enough to give me about 2.2 calibers of stability without motor, and 1.1-1.2 with motor.
Revised flying weight is 850g without motor. This sucker really did get heavy.

IMO the Scion with only 1 caliber of stability is plenty, all my rockets are designed and fly great with a minimum of 1 caliber (and usually I aim to have only 1 caliber). The main reason for looking to be at or just below one is to avoid the need for nose weight. It still should fly great the way you have it set-up though.
 
Last edited:
Nice AV bay parts and build thread. I just picked up a Scion myself and I like your idea of making it DD. I have an Alt 39 that I haven't ever used....what would you charge for your AV bay set up?
 
I honestly don't know yet what I would charge, I need to get a couple flight tests first, and work out a couple more bugs before it would be ready for production. Nothing significant so far, just that I want to make it a bit easier to use. It can be a tricky fit to assemble it into the upper tube.

I'll be doing my last pre-flight photos here soon as I go over everything prior to loading the car. I'm just giddy, being this is my first high power certification attempt, and I'm going all-out with a dual deploy.

-Hans
 
Back
Top