MAC Performance 3" Villain (REBIRTH!!!)

The Rocketry Forum

Help Support The Rocketry Forum:

This site may earn a commission from merchant affiliate links, including eBay, Amazon, and others.

DizWolf

Well-Known Member
Joined
May 17, 2011
Messages
4,721
Reaction score
28
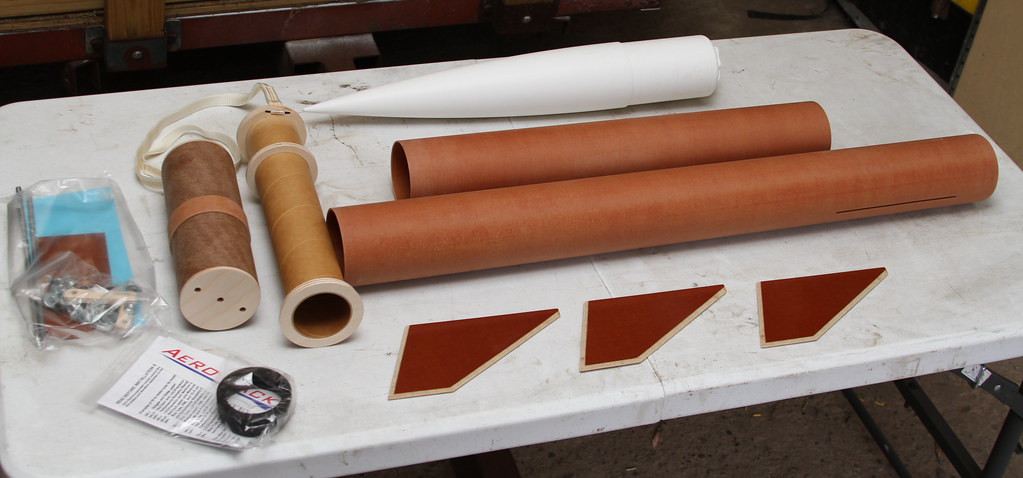
In what seems a broken record by now - WOW. These parts are cut perfectly. No dust to wash off, no sanding to fit parts ...this kit is ready to go. I opted to have the booster extended out to 30"

I'm busy with the holiday and LDRS cleanup still, but I wanted to get this open, snap a few pics and check it out. This will be a full build thread. So here we go.

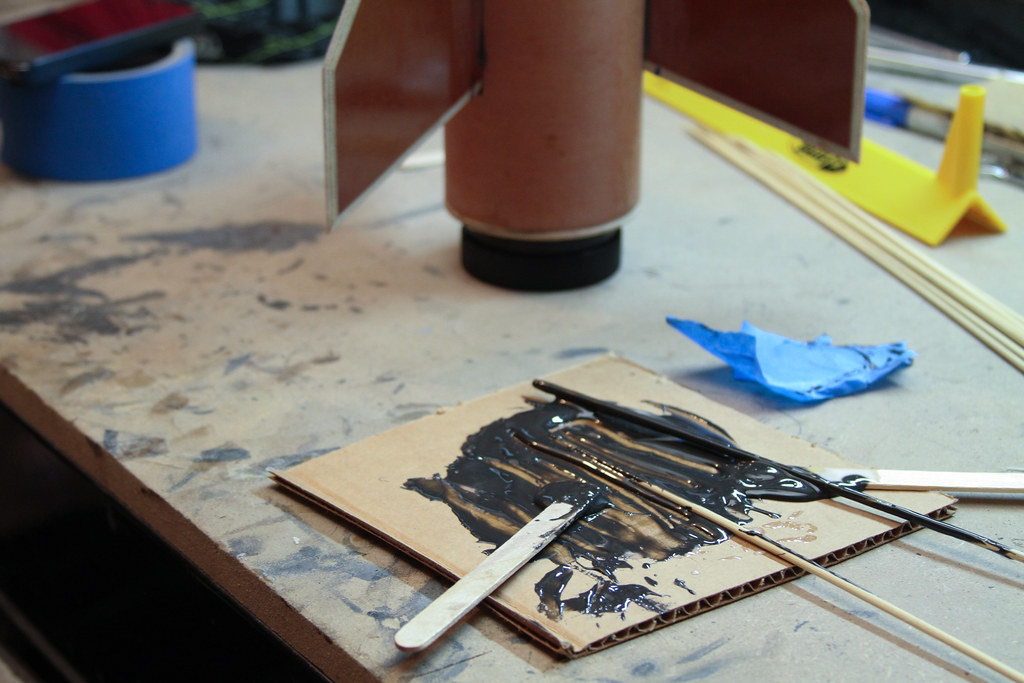
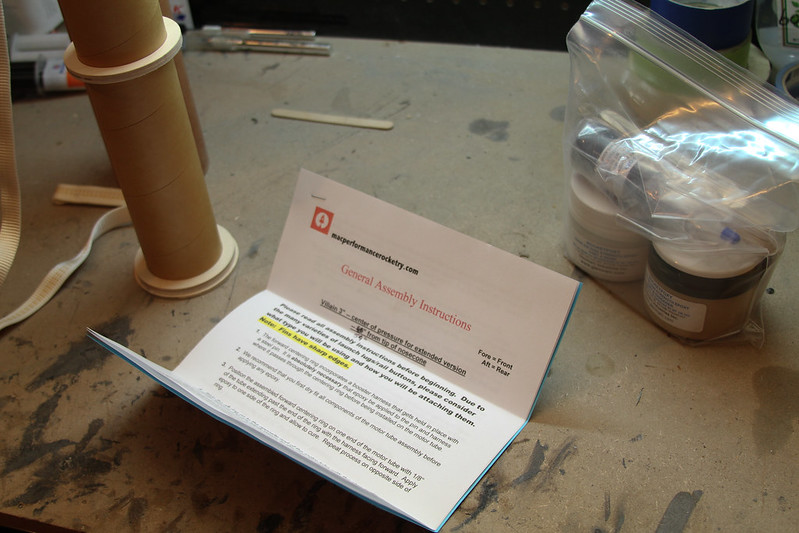
Parts layout, including official LDRS mud on my table.
18770955543_8d284e7df3_b.jpg


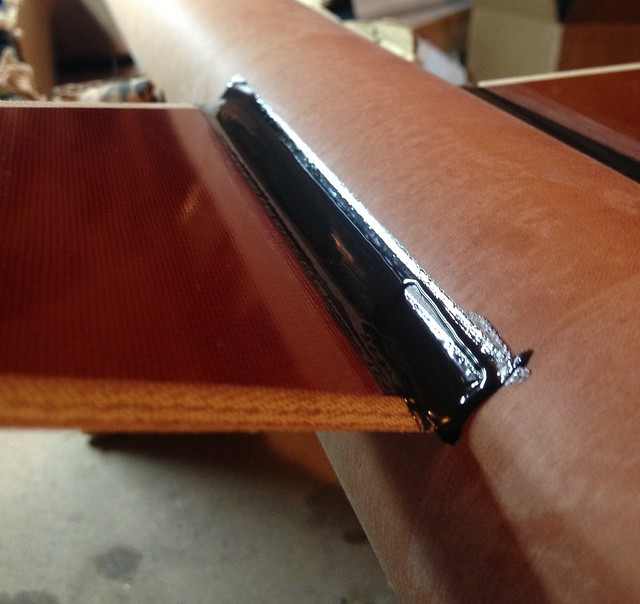
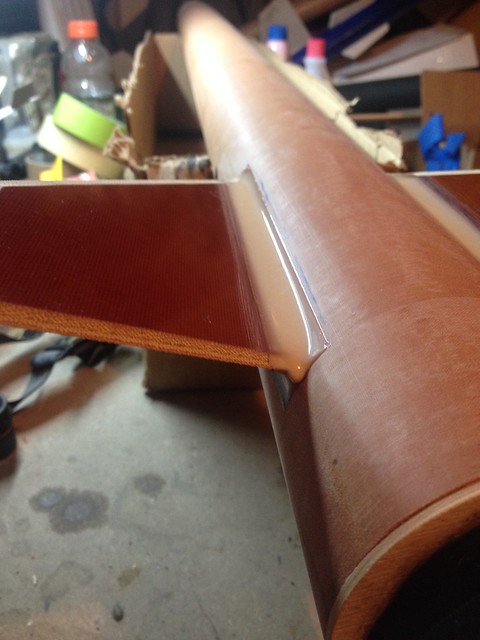
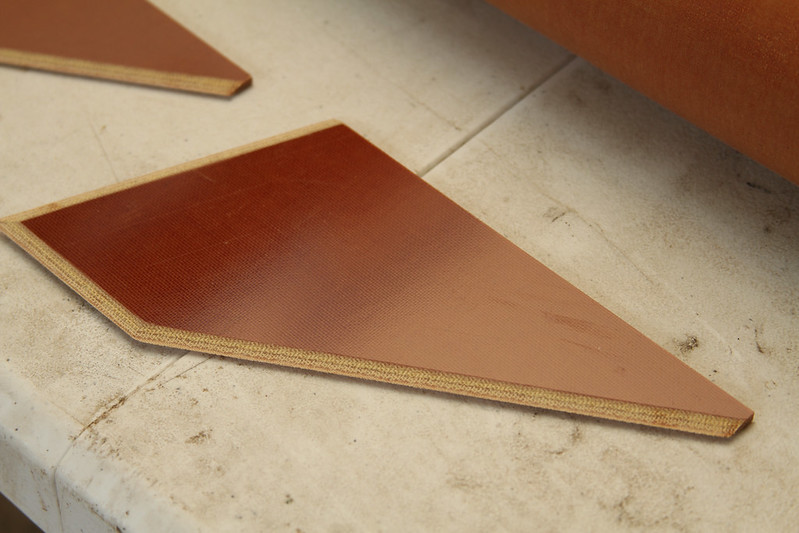
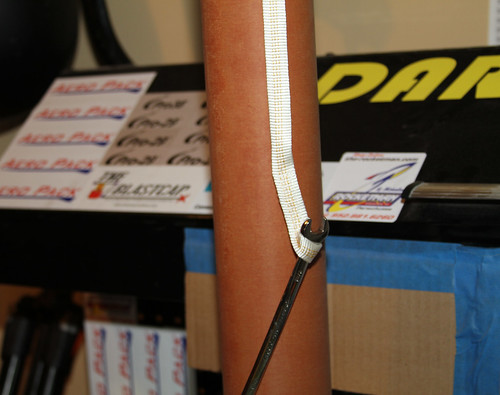
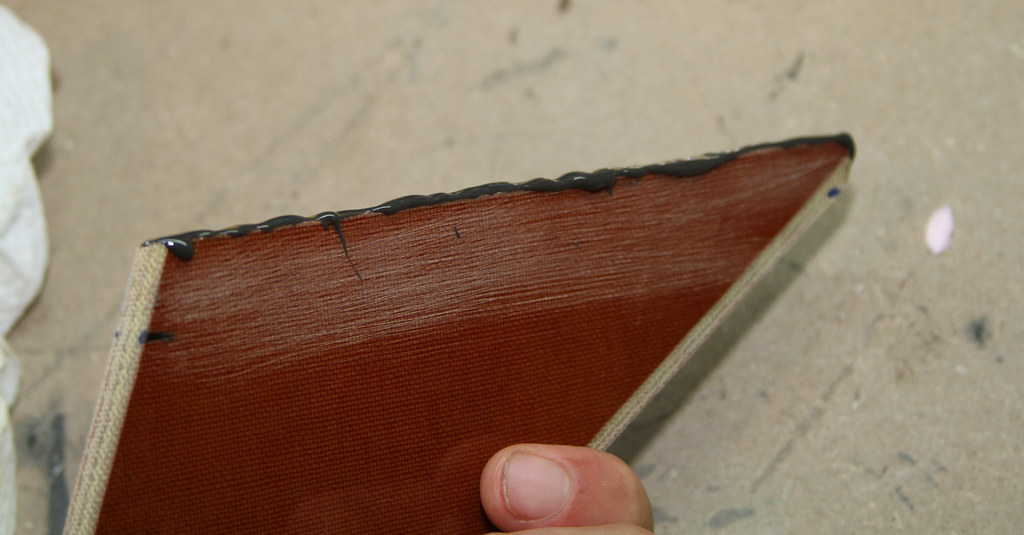
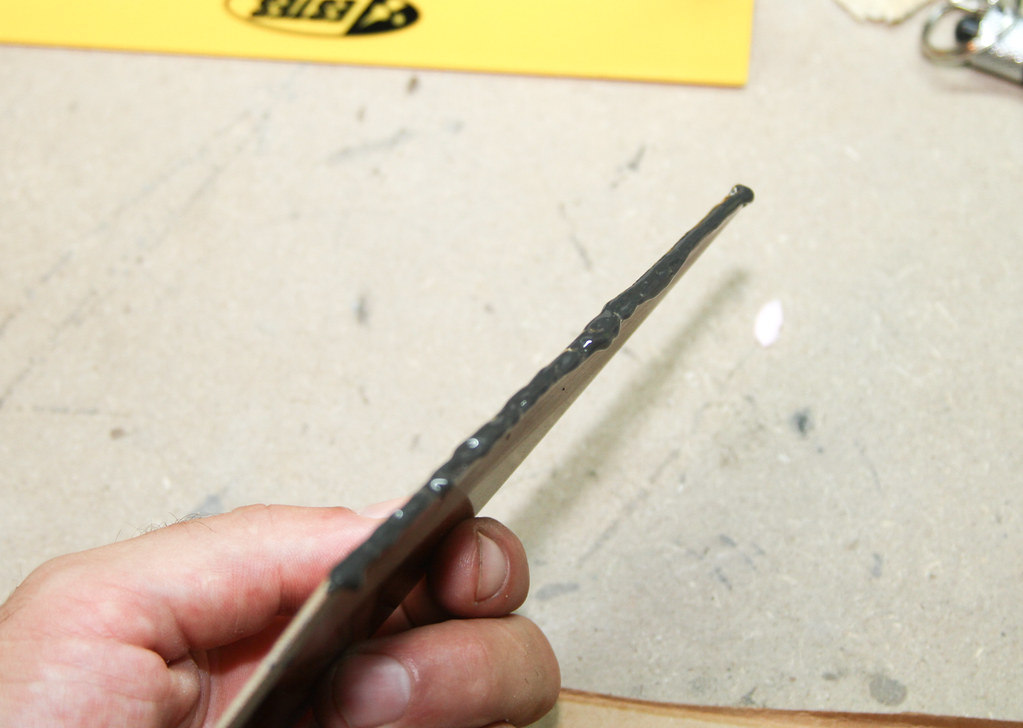
One of the canvas fins. Feels nice.

19203989408_2d0646176c_c.jpg


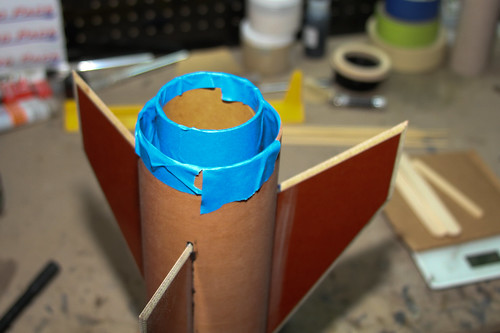
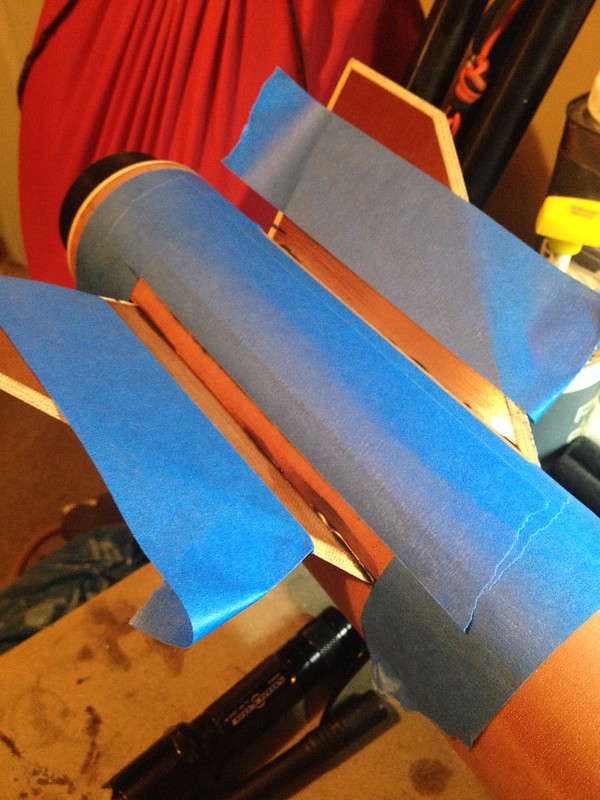
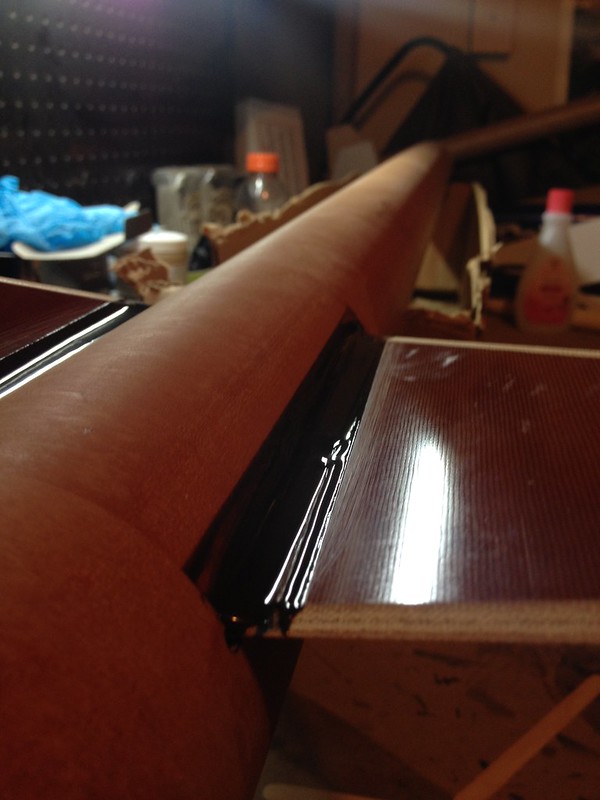
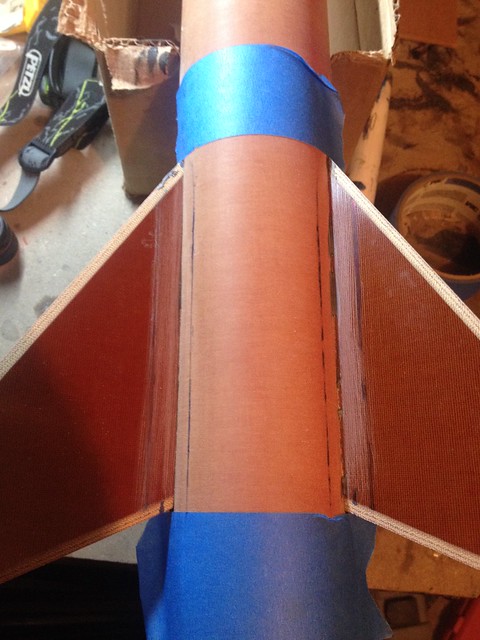
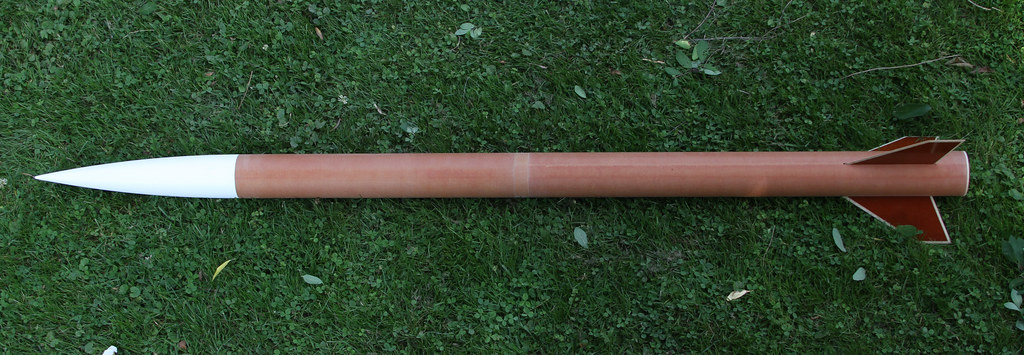
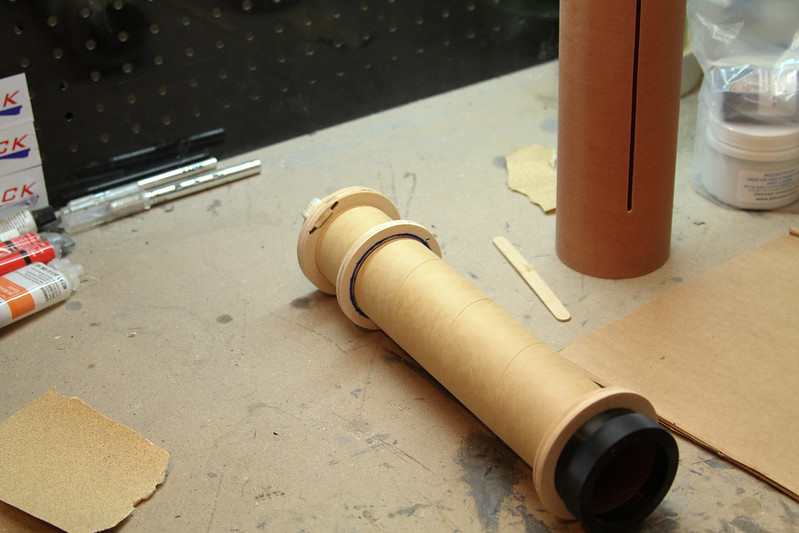
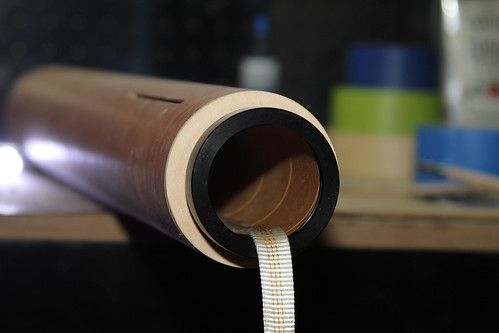
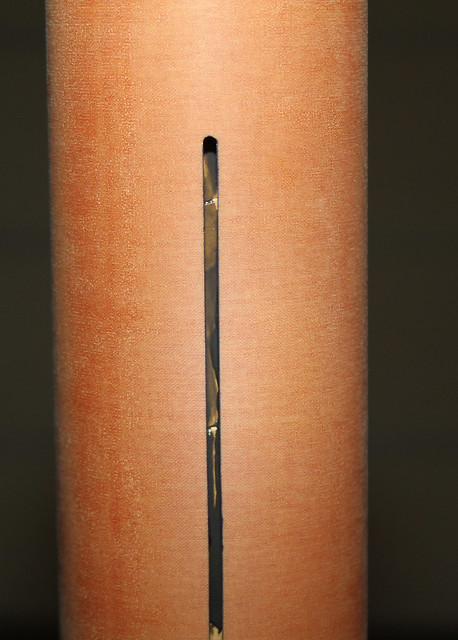
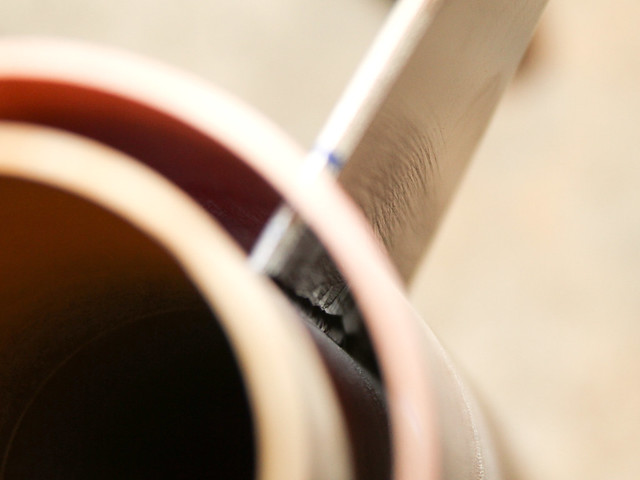
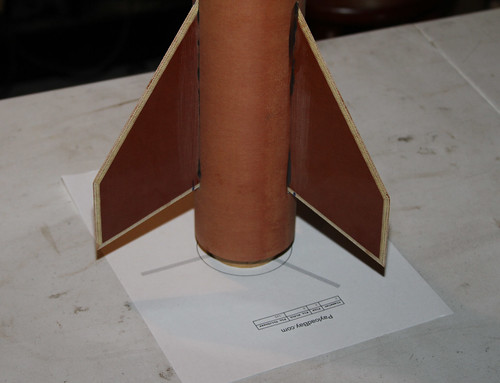
ALL DONE! OK not really...but this snapped together nicely for a dry fit. And it's LIGHT.

19203943970_40d5a7c3da_b.jpg


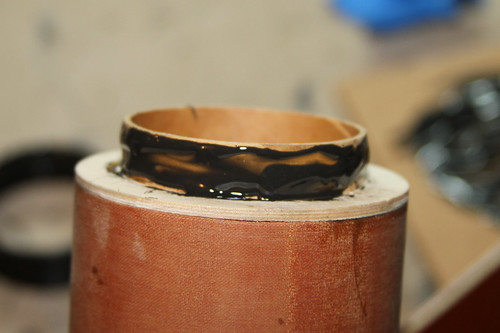
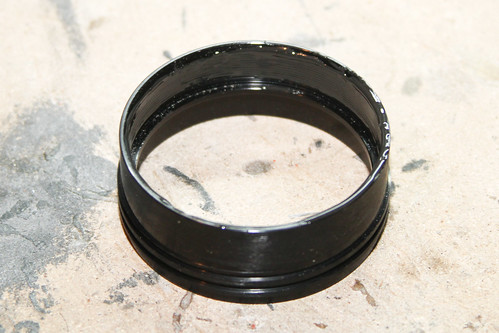
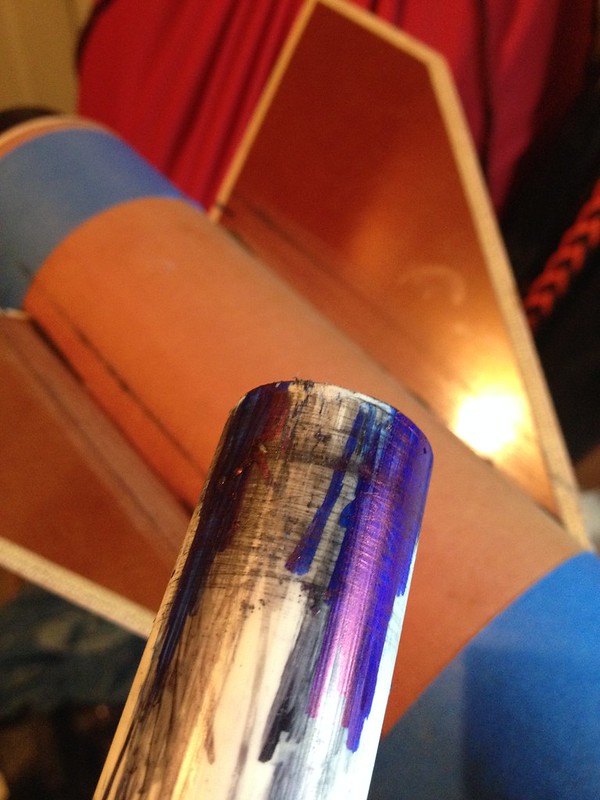
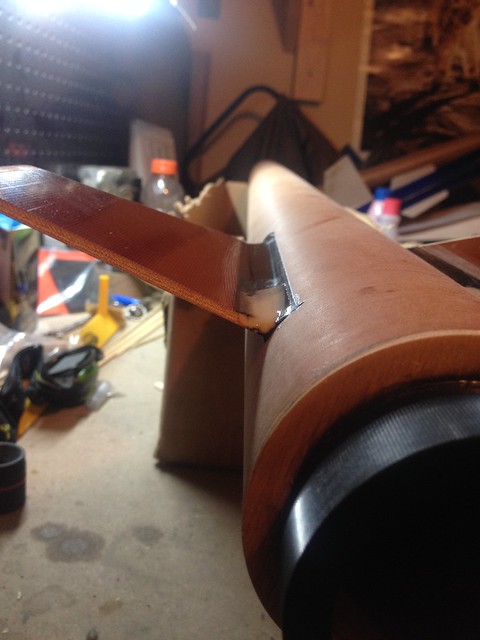
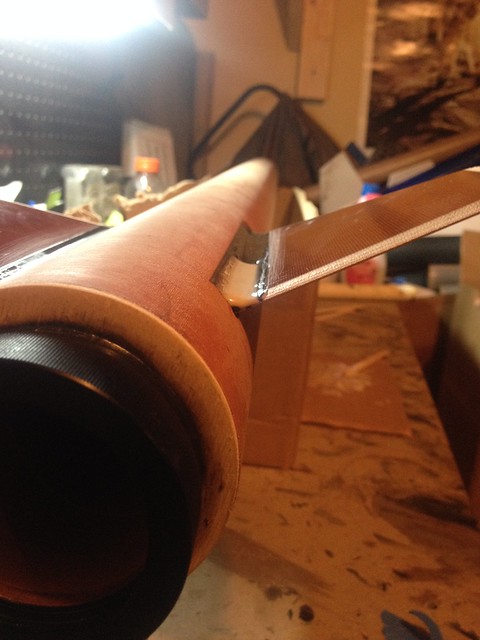
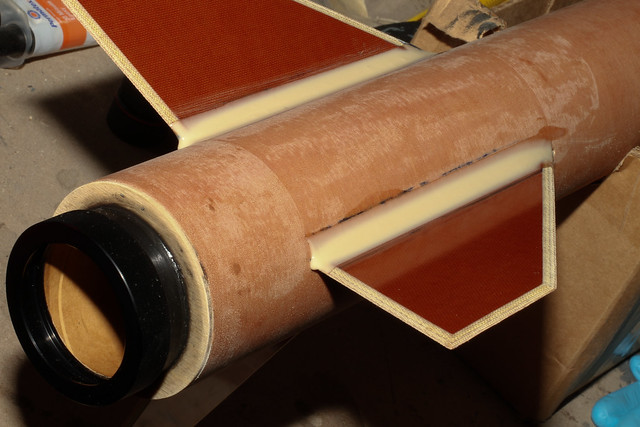
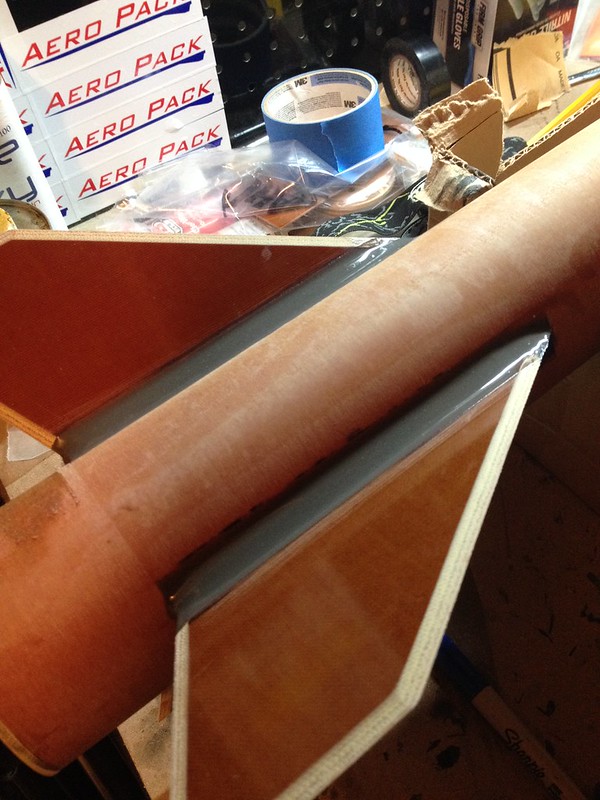
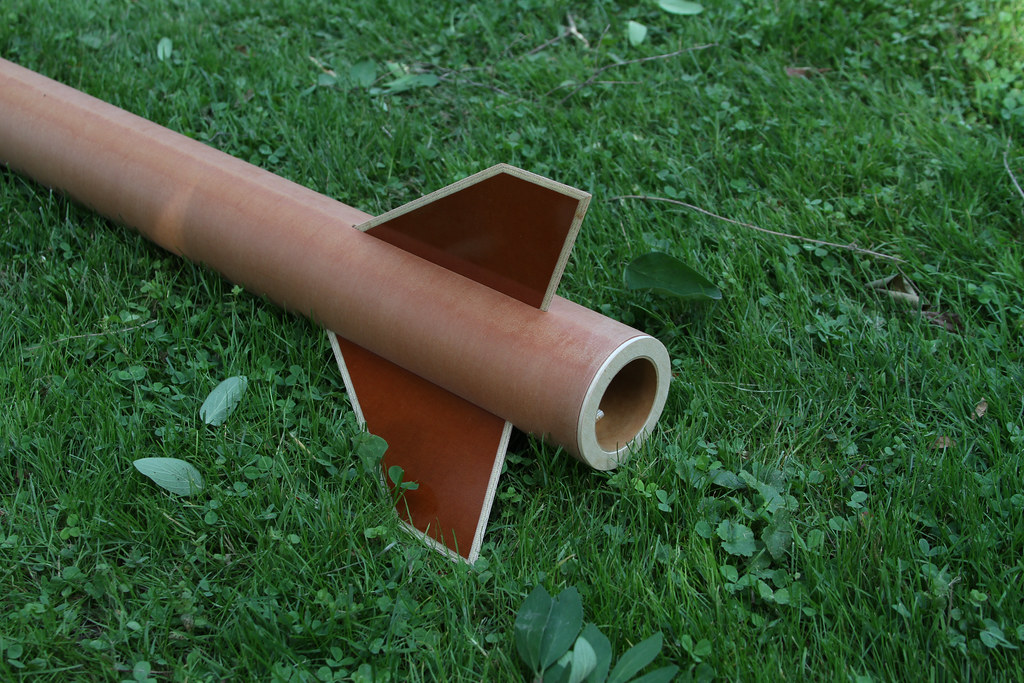
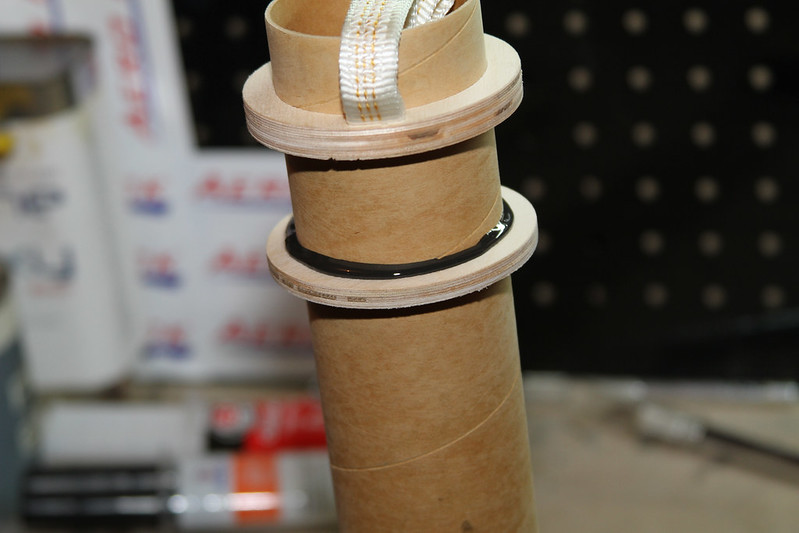
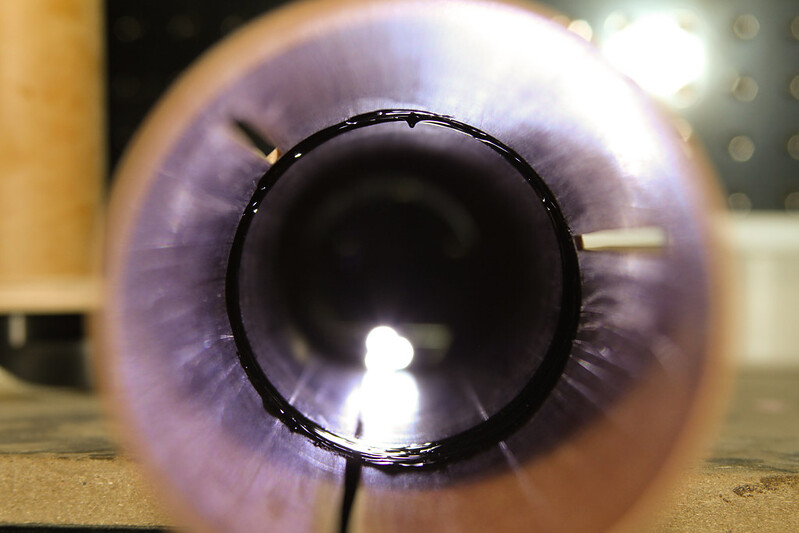
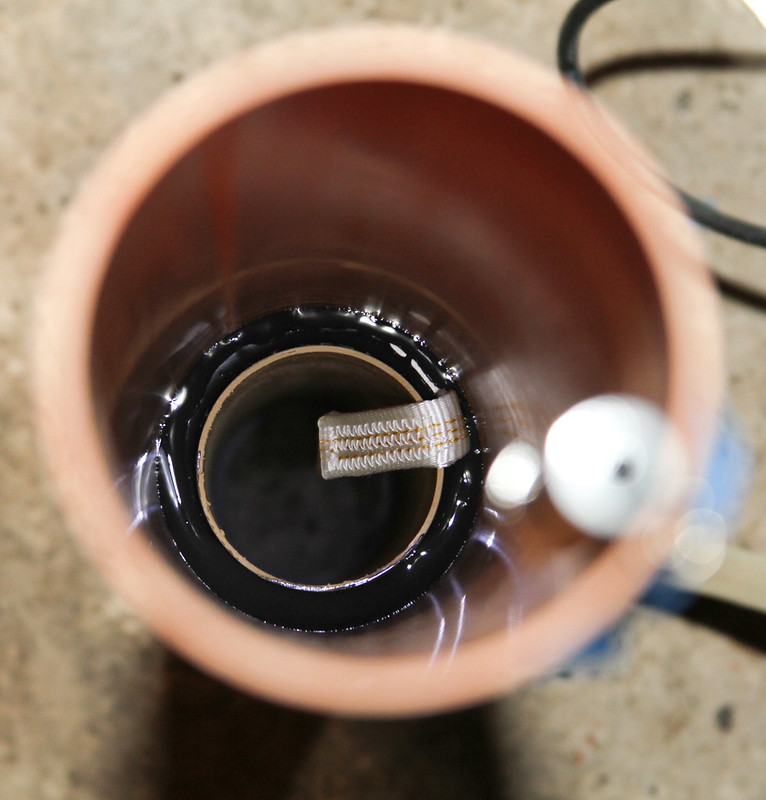
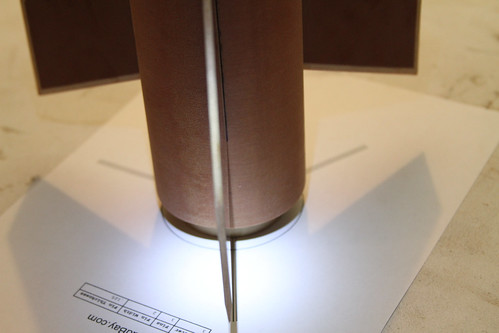
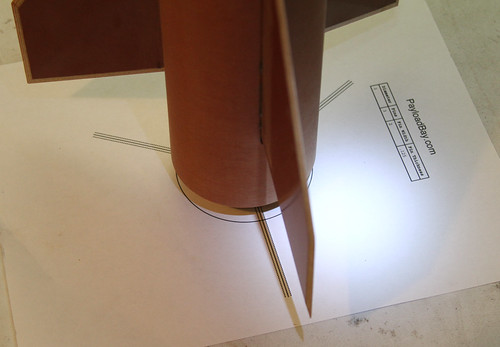
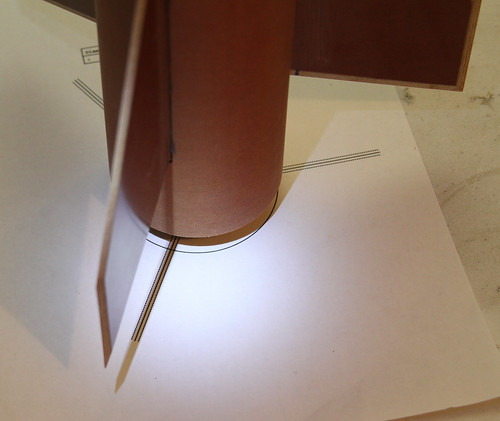
and the rear end. This will wear an aeropack, and may get foamed.

19203935530_6773b7b5c3_b.jpg
 
Last edited:
Great choice!

Can't wait to see it on 1600 EX loads!!!
 
I couldn't agree more. I just finished building my first kit from MAC and the quality and design is outstanding, even the coupler slides in like fiberglass. Those canvas tubes are the real deal too, super strong and finish out beautifully. Also love the built in thrust ring.
 
you ever look at a rocket and go, I've seen one that looks just like that. You try to remember where it was and who made a kit that looks just like this one.
Then it hit me a little while ago. It looks like a upscaled Estes Prowler from about 15 years ago.
 
The Prowler had a significantly larger Length to Diameter than the Villain.

That being said, there's really only so many ways to cut a fin with three edges. There's bound to be similarities, like the Wildman vs. the Hawk Proteus vs. the Intimidator, Eagle Claw vs. Talon, Lil Nuke vs. Competitor, the list goes on.
 
That being said, there's really only so many ways to cut a fin with three edges. There's bound to be similarities, like the Wildman vs. the Hawk Proteus vs. the Intimidator, Eagle Claw vs. Talon, Lil Nuke vs. Competitor, the list goes on.

Definitely true, the Villain fins particularly remind me of the AT G-Force due to being set forward (see attached picture)

Diz, looking like a very cool kit so far. Anyone know how the canvas paints? Can you just primer/paint the built rocket or does it need more finishing?

H170Gforce.jpg
 
Dans painted two so far. Looks like he just primed and painted.
 
Definitely true, the Villain fins particularly remind me of the AT G-Force due to being set forward (see attached picture)

Diz, looking like a very cool kit so far. Anyone know how the canvas paints? Can you just primer/paint the built rocket or does it need more finishing?
I am in the process of painting mine and its wonderful, 2 coats primer sanding in between each step and 2 coats of paint. Today will be the clear coat then Stickershock kit will go on.
 
It's akin to G10 tubes. There will be some pin holes.

My Villain was sprayed with a HVLP gun and Rustoleum primer (thinned ~15-20% with acetone). The HVLP filled the pin holes really well with 1 coat.

The 3" Arcas was sprayed with Rustoleum spray can primer and it still filled after 3 coats. It's really no different than FWFG tubes.
 
That being said, there's really only so many ways to cut a fin with three edges. There's bound to be similarities, like the Wildman vs. the Hawk Proteus vs. the Intimidator, Eagle Claw vs. Talon, Lil Nuke vs. Competitor, the list goes on.

yep. Five years from now we'll be saying "hey this rocket looks like it has Villain fins!" Only so many ways to do a swept trap, and I REALLY like this classic shape.
 
Did a quick check. My MAC booster is .5 oz per inch. My DarkStar payload section is .8 oz per inch.
 
DUDE! Instructions? cool! Both the instructions and Data sheet are updated for my custom booster. Nice.
19260301298_553ca81657_c.jpg
19260284340_8e77a8de84_c.jpg


I Dry fit everything in the MMT, and pushed it into the booster. Nice and slick. I then measured where to place the mid ring. Pulled everything out and placed the ring, marked under it with a sharpie. The Mid CR was then pulled under this line, and a ring of rocketpoxy placed around the line. The Mid CR was pushed up past the epoxy line, filleting itself in place. Care was taken that no epoxy remained under the mid ring, as it would interfere with the fit of the fins.

18825332944_409e390424_c.jpg

19261661889_db81b4f40f_c.jpg

19260244170_df00eb4d53_c.jpg


The same process was repeated with the top ring, omitting the line as it's position is not critical. It was also filleted on the bottom side, and the recovery harness mount covered in epoxy as well.

19261628539_e24938517f_c.jpg

19421697816_191a04e4a8_c.jpg

19441458472_f91fb6881f_c.jpg
 
First up tonight, tool preparation. I marked my finely tuned epoxy application device (wood dowel) so I wouldn't apply any epoxy past where the MMT will reside. I aim to apply a ring right past the fin slots and a little beyond. If you apply it fairly thin, you'll get a nice top ring fillet to the BT, and good adhesion and seal for the mid ring still. I also taped a bit of sand paper to the top of a one inch wood dowel.

19458613046_667629e664.jpg
19297103880_734ba4278e.jpg


I used my handy sanding stick to sand the slots and around in the tube. Nothing major, I just want it a bit rougher. Then I ran a towel down it a few times to clean out the major dust. a little acetone isn't a bad idea.
19298513879_d7f4615b02.jpg


Time for glue. I glob some on my stick, and make sure it's not dripping off after rolling it around some. Push the stick in carefully not dropping any, then spread around the inside just above the slots.

19458594746_163431e08e.jpg
19297085310_c5c3170434.jpg

19297075930_88b3262a65_c.jpg


The motor mount tube is then set on the bench vertically, and the booster pushed down over it. These photos show the top ring fillet, and that I have had the recovery harness sticking out the rear this whole time to keep it free of epoxy. After checking the top fillet and the spacing of the mid ring, and rear CR and aeropack, I pushed the harness through the motor mount and out the top end of the booster. I weighted it with a spare wrench, to prevent it from getting epoxied in a kinked position.

18864257493_70bec788f8_c.jpg

19458569936_f6ceb4f757.jpg
18863993183_649582f2f8.jpg


Next up, Fin Tacking!
 
This is my first time using rocketpoxy. I've got to see about transferring it to squeeze bottles, but other than that I like it so far.
 
Not exactly a huge step here, just something I forgot to do earlier. I pulled off the aeropack and rear ring. Then the coupler was slid into the rear oft he booster. I dropped a Popsicle stick in to make sure it didn't bury itself. You could also just leave an inch or two hanging out the back in retrospect. I drew three lines on the coupler using the slots as guides. Flipped the coupler and extended the lines all the way. Nice and simple, makes thing easier later. Another great trick learned someplace here on TRF.

18886296203_d6191d1efb.jpg
19320641209_99ece34bb3.jpg
 
Fins were lightly, lightly sanded. I want it rough, but not to mess up the tight fit. I don't intend to put the fins in any jig.
19566735401_707cd8892f_b.jpg


So, light is useful. How? well let's see. I took a small flashlight and laid it on my bench. Holding the booster up to it, the light passes through the slots and onto the motor tube. This gives a good approximation of where the fin will go. I mixed up a batch of Rocketpoxy, and grabbed a bamboo skewer. Rolling about 2" ofthe flat end in the epoxy, a good amount of epoxy is on the stick without being too thick a ball. You want a roll of it, not a glop. you need a STEADY hand to get it down into the tube without hitting the sides. Remember playing operation? If you get any on the sides where the rear CR will go, wipe it off. Anywhere else is mostly safe just annoying. I laid a nice thin tack under the slots, doing one entire fin at a time before moving to the next slot. (after this photo I added a bit more)

19374532350_57908d01c5_b.jpg
18941544873_ccefeba932_z.jpg


Typical buttering of the fins. The rear of the fin was placed in the slot, pushed to the rear and then the fin snapped into the slot. It was then pushed to the front of the slot. Excess on the exterior was cleaned up, though with fillets coming not really critical. Hard to see in the slot, harder to get a photo. But there is a nice bead of glue under each fin on both sides now.

19562408095_9541b203ca_b.jpg
19374488350_0ed98dc3e7_b.jpg

19374403880_4908a08bb8_z.jpg


Now that all the fins are in, I bust out my handy fin guide from payload bay. (what? Dave you're totally doing that wrong!!!)
19566670931_357effd9f3.jpg


Once you get the booster placed and centered on the guide, grab your light again. If you wave it past the fins slowly, you will see a point when the shadow is directly under the fin. If all these shadows line up with the lines, you're set kids!

19374427378_b15b745803.jpg
19374422470_59d08b32a9.jpg
19536215646_10f8e2c3e1.jpg


On my screech I used a similar method. I did one fin at a time on that. If a fin was slightly off, I braced it in place with a can of epoxy against the offending side of the fin. The video on that rocket shows less spin than any other I've watched, so it seems to work.
 
It just dawned on me that masking the rear end during the operation would have taken the pucker factor out of the process..... So I recommend doing that :)
 
Some quick internals. Never foamed a can.... going with what I know. Rocketpoxy on skewers, fillets on the fins to body tube. I tried to get photos. basically useless. But those fins are IN there. After that, I pulled the tape and put glue in for the rear CR. Slapped that puppy on there and pressed it tight. Well, still got glue.... may as well get that aeropack on there....
Aaaaaannnnnnddddd I got bit.... Well, he does warn you... those things ARE sharp. It's ok....blood lowers Cd :)


19598816231_4ea30eccc8.jpg
18971908374_bdd2dfd14a.jpg

19407890269_34704966c0.jpg
19568333256_df806cfd54.jpg

18973575873_27ed3c3c28.jpg
19587572352_69b87ef717.jpg


mmmm buttoned up booster....aaahhhhhh..... I love this stage.....

19568301966_4f4a033b69_b.jpg
 
Hey look! the kid's working again! My toddles are sleeping so I laid some glue.

I love doing lines....
19334526803_b70601089e_c.jpg


19960681301_937795df61_c.jpg


I tried using a tongue depressor to pull the fillets. FAIL. 1" pipe for the win.

these are kinda messy. first time with rocketpoxy. they'll sand out.

19768814319_23362695e4_z.jpg

19929278106_66b8b6e5d6_c.jpg


yea these are iPhone shots..... we'll get back to the Canon 7D soon enough....
 
Last edited:
Looking great so far Dave! I'm following closely. Earlier this week, I missed out on a sale for the paint that I want for mine. Still kicking myself.

Cheers,
Michael
 
thanks. I'm mad about those waves. Oh well. Fill and sand. I'm looking at some duplicolor paint shop paints for this one....
 
I've decided to try something a little different and use artist spray paints for mine. I found a store that offers 20% off on the 20th of each month (it's actually a headshop), but I forgot to place an order on Monday. I guess I'll have to wait until next month!

The base will be Neptune with Acid accents and a custom paint mask ("True Villain" and "Fly Canvas") also in Acid.

Cheers,
Michael

image.jpg

image.jpg
 
I want to try the Montana stuff too but they are all flats. I have had durability problems with flats on other projects in the past.
 
OK time to clean those up a bit. I used undyed rocketpoxy for contrast. The backs were a bit thin when I pulled them out, and I wanted to fill that in. I'll sand them down a bit to clean up the rear edges.

19971861269_228d1c9719_z.jpg
19970432518_f74233b19a_z.jpg
 
I know... fillet photos are the worst. But here's set three. Here's about the point I realize I need to build the av-bay. And I HATE building them.
Plan at the moment is to get my MARSA 54L in there with a screw switch. I may mount an RRC3 in there as well. Not entirely decided yet.

The nosecone I plan to do something I've never done. I need to grab a pair of wood 3" to 54mm CR's and stuff them in the shoulder, then epoxy a 54mm tube in there, and make a bulkhead for that tube somehow to enclose the tracker. At least that's the plan.

20146024678_2d0b94e99f_c.jpg
 
I haven't died.... just been busy, as is usual.

21166430832_7602a57bd3_c.jpg
20554027924_d323919e61.jpg

21150448066_a144062d55.jpg


Mike even ground the end of the all thread. That's pretty cool.

21184528821_552a93b340_c.jpg
 
It's nice to see canvas phenolic making a comeback! I know that fiberglass has been all the rage for the last few years, but I still prefer lighter-weight materials.
 
Back
Top