So I found an unbuilt 3" PML Bullpuppy (or is it "Bull Puppy") in my garage from 1997 when I was getting back into rocketry but took a small detour (ha!) to have kids.
Everybody's Bullpup is always white. It's such an iconic scale rocket that I wanted to do something completely different as I embarked on this build. This is my first build thread here though Ive been lurking for eons. So this is what I came up with: I'm a pilot and one of my favorite aviation movies is "The Bridges at Toko Ri" with William Holden and Mickey Rooney (1954). Sure it was before my time (I wasn't even born), but the F-9F Panther jet is one of the most beautiful early jets, so I decided to use them as my inspiration.
Those of you purists will likely balk at my design choice, but I'm just really tired of the white-with-Air Force-marking Bull Pup. I know it's how it really looked, but I wanted something different. So off I embark on building this thing.
Aside from the out-of-the-box design, I will modify the rocket slightly as follows:
Materials:
I'll be using Z-poxy 15 and 30-min epoxy and JB-weld epoxy for everything. Nothing special. Also some 5-minute Devcon from Lowes for a lot of it. I'm not a huge believer in making rockets crazy strong. We'll see how it goes. I will be using FIXIT Epoxy putty from Apogee for all external fillets. I was impressed by the video and I played with some and it seems great. Filler will be green Squadron putty because I love it. Other than that, Rustoleum primers and paints. 2 oz fiberglass cloth with z-poxy resin.
So today is build day #1. Tasks completed:
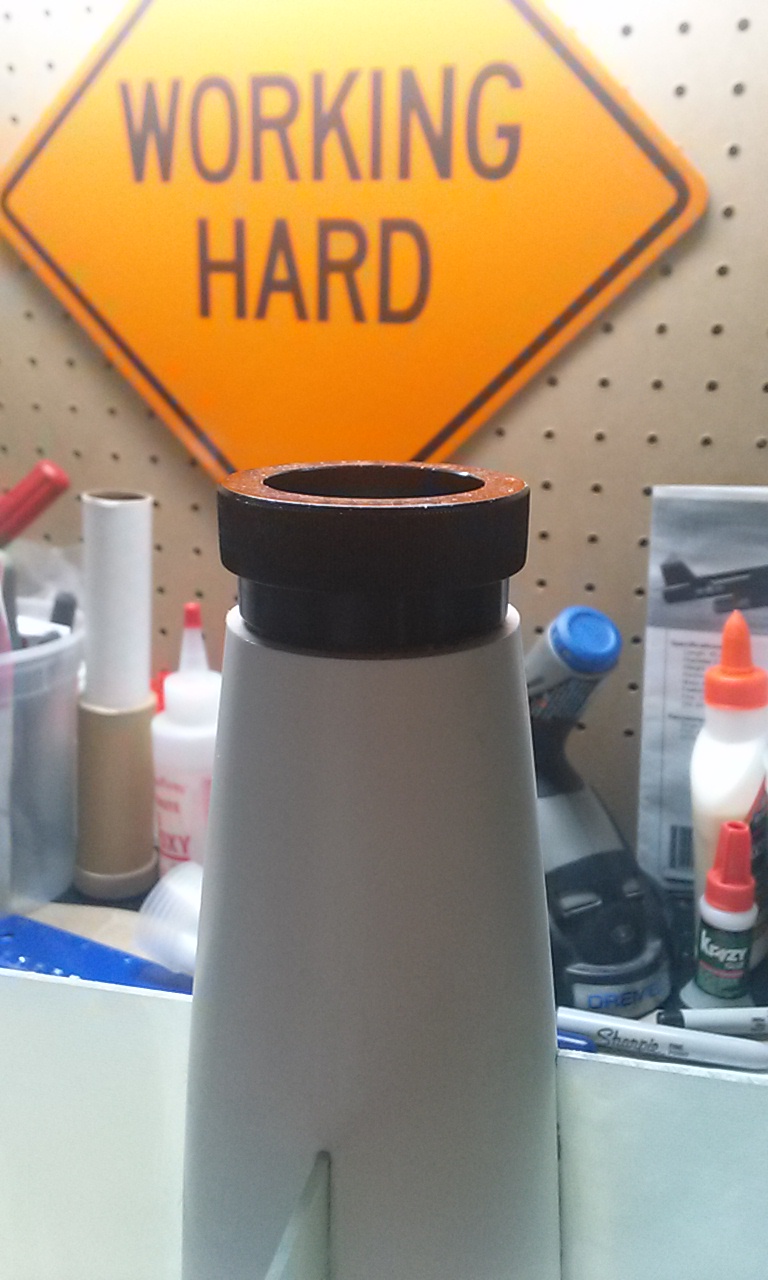
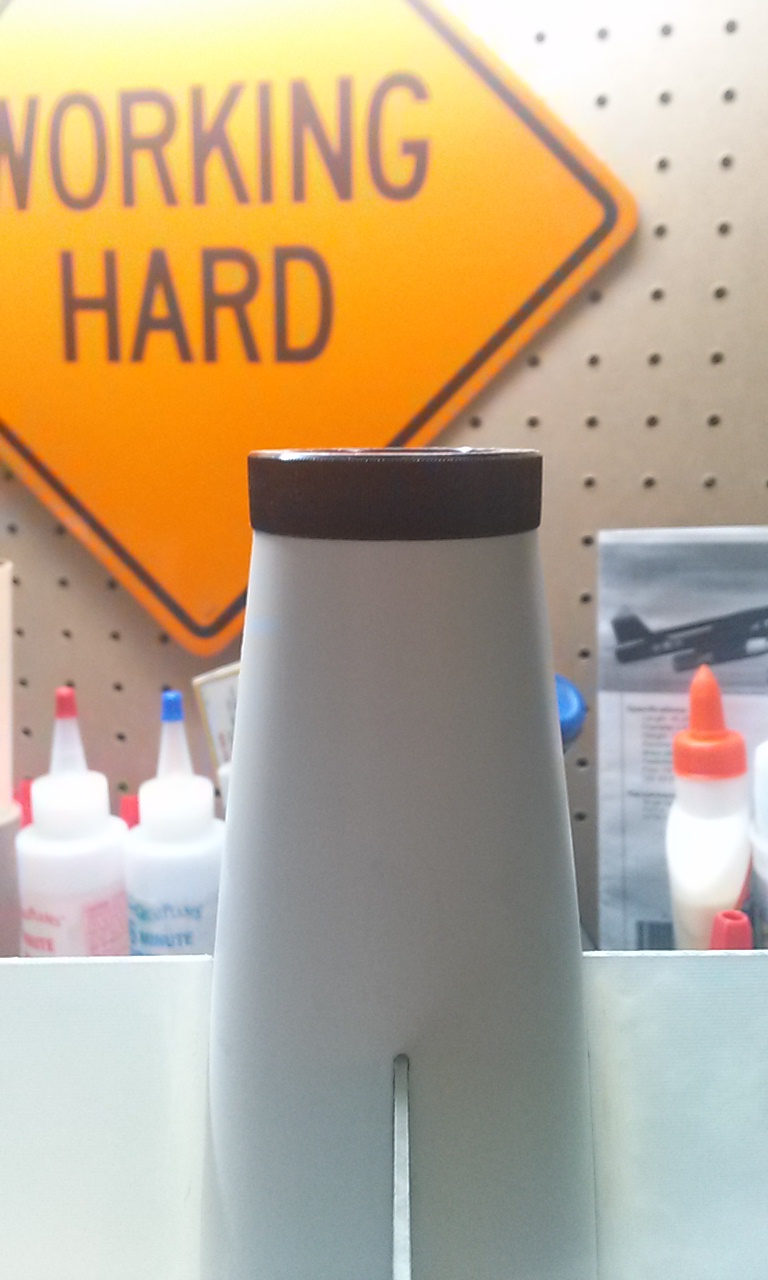
- Washed all the parts to get mold release off and prep for sanding
- Found my design inspiration from the movie.


Marc C. Lee
Rocket Geek and pilot
BAR.
Everybody's Bullpup is always white. It's such an iconic scale rocket that I wanted to do something completely different as I embarked on this build. This is my first build thread here though Ive been lurking for eons. So this is what I came up with: I'm a pilot and one of my favorite aviation movies is "The Bridges at Toko Ri" with William Holden and Mickey Rooney (1954). Sure it was before my time (I wasn't even born), but the F-9F Panther jet is one of the most beautiful early jets, so I decided to use them as my inspiration.
Those of you purists will likely balk at my design choice, but I'm just really tired of the white-with-Air Force-marking Bull Pup. I know it's how it really looked, but I wanted something different. So off I embark on building this thing.
Aside from the out-of-the-box design, I will modify the rocket slightly as follows:
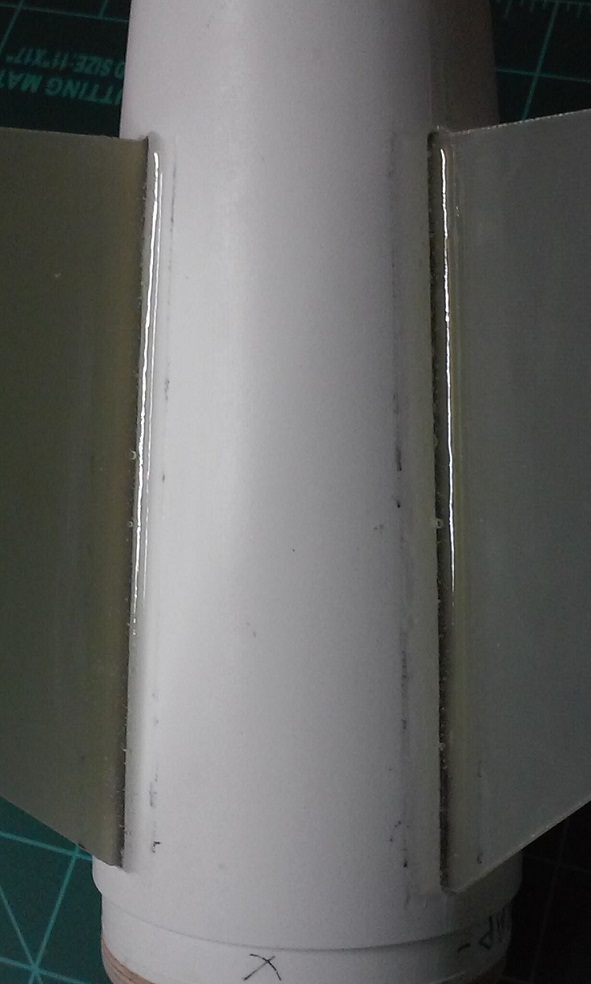
- Fiberglass the internal fillets
- foam the fin can
- Added wood bulkhead on the tail/motor mount
- Slimline Quick-lok motor mount from Giant Leap
- Bigger 'chute
- Wood bulkhead and screw eye in nosecone
- foamed nose cone (based on Rocsim weight calcs)
- fiberglass inside of piston
Materials:
I'll be using Z-poxy 15 and 30-min epoxy and JB-weld epoxy for everything. Nothing special. Also some 5-minute Devcon from Lowes for a lot of it. I'm not a huge believer in making rockets crazy strong. We'll see how it goes. I will be using FIXIT Epoxy putty from Apogee for all external fillets. I was impressed by the video and I played with some and it seems great. Filler will be green Squadron putty because I love it. Other than that, Rustoleum primers and paints. 2 oz fiberglass cloth with z-poxy resin.
So today is build day #1. Tasks completed:
- Washed all the parts to get mold release off and prep for sanding
- Found my design inspiration from the movie.
Marc C. Lee
Rocket Geek and pilot
BAR.
 op:
op: