


Hey guys!
Well this is a bit fashionably late, but I am finally starting a build thread on my L2 bird, code-named "Knoop MK II"
I recently accomplished attaining my L1 with a LOC Vulcanite on a H148R to 2840'. Then I decided to go for my L2, and chose the Hyperloc 1600 because I wanted something big!
I plan to keep my cert. flight low, probably on a J540 or a J800, depending on what the final weight comes to be. Aiming for between 2-4000'. All the build techniques that I will used/have used in this build were either through past experience, or through research online and on TRF. I've also assisted in several Level 3 flights, so I understand at the minimum, the general gist of things when they get so big/powerful.
On to the build!

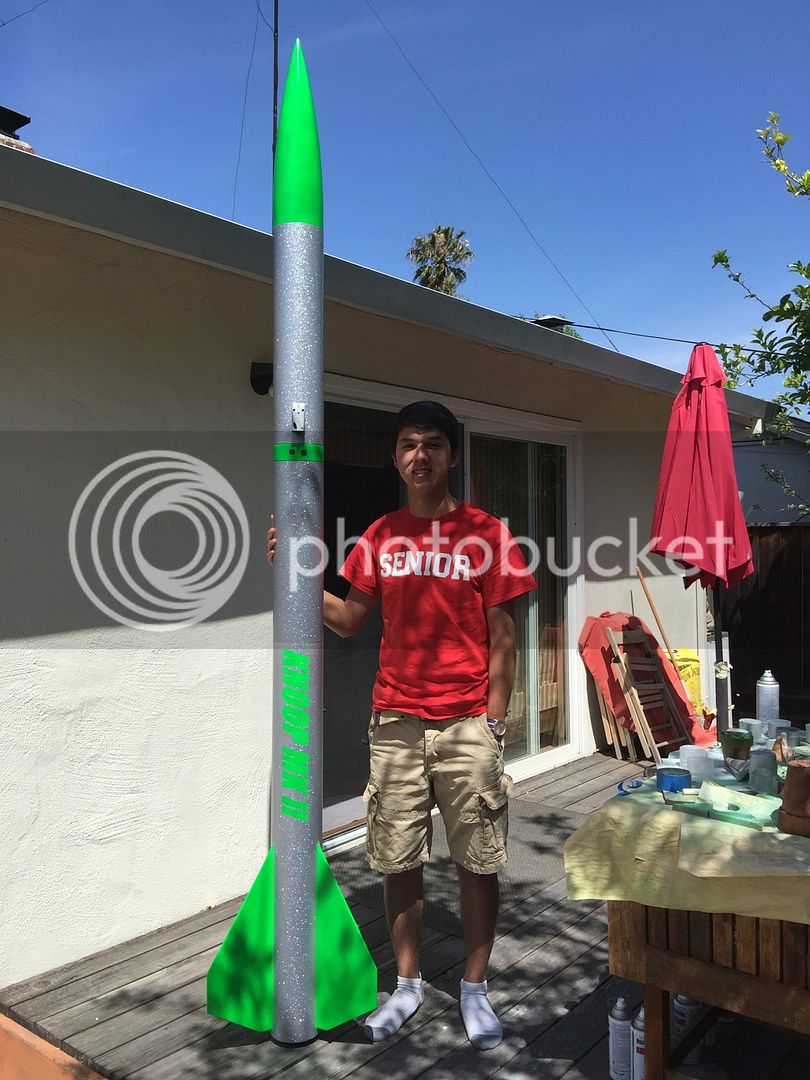
Of course I just had to do a dry fit after receiving the kit in the mail from DiscountRocketry (I'm on the right), was definitely bigger than anything I've ever built before!

Here I am using cardboard with fin alignment grids from PayloadBay to align the fins, which were tacked on using Aeropoxy. The motor mount had the glassine layer removed for maximum adhesion.

Both the aft and forward CR's were dual layered for something extra that the threaded inserts for the rail buttons could screw into. The forward dual layered also served another purpose: full seating for the Aeropack 75mm screw on motor retainer's inserts. The eye bolt was also epoxied in at this point.

Here is the Retainer fitted on.

I fiber-glassed the roots of the fins using Laminating aeropoxy. The change in color of the MMT tube really makes me glad that I removed the glassine layer, as there is a really strong bond at the root level of the fin-can area.

Here is my Av-Bay setup, with a 3D Printed sled from Andrew (Landru) on Etsy. It is currently setup with two Strattologger CF's for redundancy (I know I could have gone the two different brands route for redundancy, but this was the most economical solution for me). I am using blastcaps for the main, and the drogue will be deployed using a charge well located at the top of the aft CR, pushing it out of the rocket instead of blowing off at the base of the Av-Bay and pushing the drogue back into the body tube. The AV-Bay has silicone sealant around it to prevent pressure shocks from BP charges. I am using Schurter 110/220 switches, which are connected to the CFs' switch terminals. I will also be flying the rocket with a 808 #16 Video Camera inside one of Andrew's 808 3D printed protectors.

Once I had Epoxied in the fin can/MMT assembly, I decided to copy my L1 bird, and fiberglass the fin can and body tube. However, I made the fillets out of aeropoxy before fiberglassing, leaving me with a very solid connection that was also aesthetically pleasing. I'm quite sure I could throw in an M into this build and it would hold!

Well this is a bit fashionably late, but I am finally starting a build thread on my L2 bird, code-named "Knoop MK II"
I recently accomplished attaining my L1 with a LOC Vulcanite on a H148R to 2840'. Then I decided to go for my L2, and chose the Hyperloc 1600 because I wanted something big!
I plan to keep my cert. flight low, probably on a J540 or a J800, depending on what the final weight comes to be. Aiming for between 2-4000'. All the build techniques that I will used/have used in this build were either through past experience, or through research online and on TRF. I've also assisted in several Level 3 flights, so I understand at the minimum, the general gist of things when they get so big/powerful.
On to the build!
Of course I just had to do a dry fit after receiving the kit in the mail from DiscountRocketry (I'm on the right), was definitely bigger than anything I've ever built before!
Here I am using cardboard with fin alignment grids from PayloadBay to align the fins, which were tacked on using Aeropoxy. The motor mount had the glassine layer removed for maximum adhesion.
Both the aft and forward CR's were dual layered for something extra that the threaded inserts for the rail buttons could screw into. The forward dual layered also served another purpose: full seating for the Aeropack 75mm screw on motor retainer's inserts. The eye bolt was also epoxied in at this point.
Here is the Retainer fitted on.
I fiber-glassed the roots of the fins using Laminating aeropoxy. The change in color of the MMT tube really makes me glad that I removed the glassine layer, as there is a really strong bond at the root level of the fin-can area.
Here is my Av-Bay setup, with a 3D Printed sled from Andrew (Landru) on Etsy. It is currently setup with two Strattologger CF's for redundancy (I know I could have gone the two different brands route for redundancy, but this was the most economical solution for me). I am using blastcaps for the main, and the drogue will be deployed using a charge well located at the top of the aft CR, pushing it out of the rocket instead of blowing off at the base of the Av-Bay and pushing the drogue back into the body tube. The AV-Bay has silicone sealant around it to prevent pressure shocks from BP charges. I am using Schurter 110/220 switches, which are connected to the CFs' switch terminals. I will also be flying the rocket with a 808 #16 Video Camera inside one of Andrew's 808 3D printed protectors.
Once I had Epoxied in the fin can/MMT assembly, I decided to copy my L1 bird, and fiberglass the fin can and body tube. However, I made the fillets out of aeropoxy before fiberglassing, leaving me with a very solid connection that was also aesthetically pleasing. I'm quite sure I could throw in an M into this build and it would hold!


")