Cory
Well-Known Member
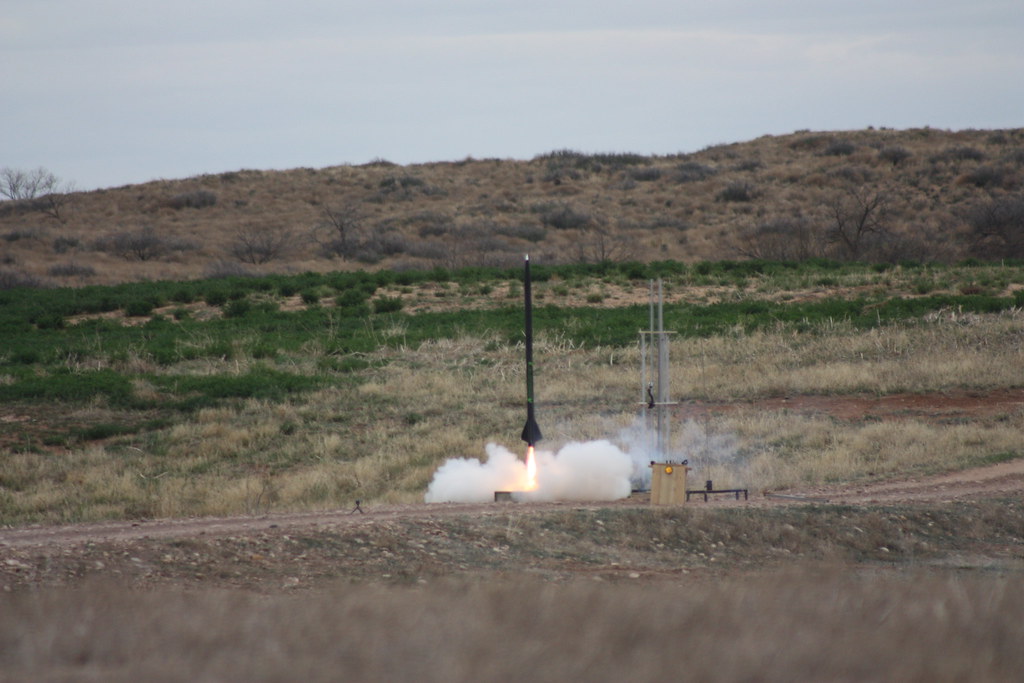
Okay good folks of TRF, working on a few builds and wanted to document the process. Banter, advice, derailments, criticism, and all things applicable to the builds and the greater hobby are welcomed. I am not easily offended, and my sense of humor seems often lost in text only communication, but to the limits the mods will allow ALL inputers with a sense of humor are encouraged to weigh in. This will not be a FULL ON build thread and will probably be completed over the next month at best. If you are looking for something new and innovative these builds probably won't help. For me, part of the fun is the flight report and whether it is success or failure. No matter what expect lots of pictures of the entire process through at least the first flight attempts (hopefully more). So in a rather shameless manner, utilizing a similar format to other build threaders I enjoy following HERE GOES! :horse:
GOALS
Break 2 miles (10560') AGL
Definitively break Mach 1
Because I will be using barometric only altimeters - setting the bar @ 1300 ft/sec
Build a rocket without a kit
Not exactly a scratchbuild as I will likely clone or scale cloned fins and will use a few items for wiring and ejection I could or have made myself. IMO, true scratchbuilders do everything from rolling the tubes and making the nosecone to unique motor retention. ALL difficult undertakings I do not want or plan to take on for the time being.
Fly an EX motor of my making in both.
AFTER a Loki Research fueled structural reliability check :grin:
Don't hurry and enjoy the process.
Planned Builds
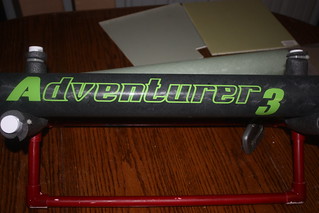
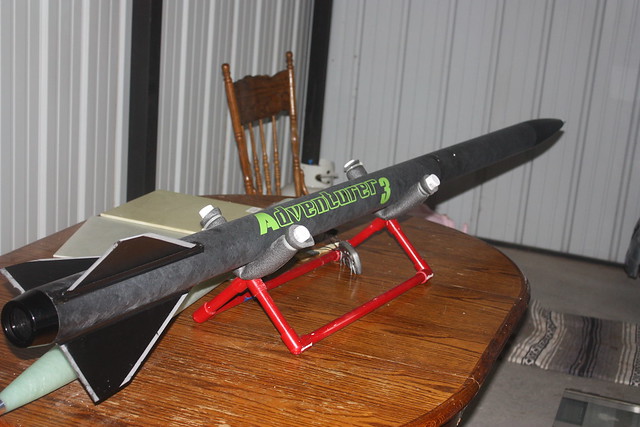
Rocketry Warehouse Adventurer 3
I purchased this kit upon the release shortly after the news of the tragic loss to Rocketry Warehouse and the greater community. I didn't personally know Gisele (DiDi) , but I will fly this rocket in her honor to the best of my ability.
I plan to build this kit as sold using common techniques. AeroPack's tailcone retainer, a little FG, all-thread and nuts, 1010 buttons, plus some epoxy foam should just about do it.
Not a Kit
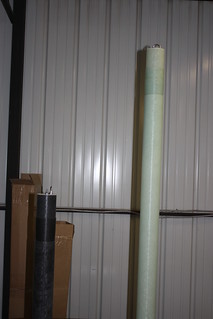
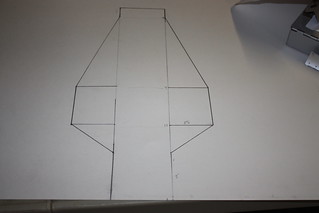
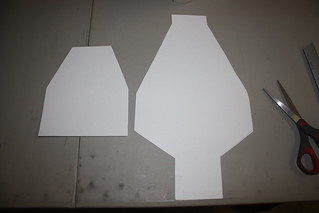
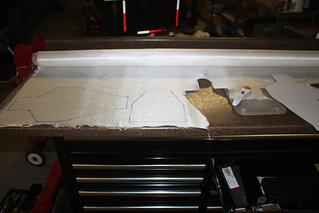
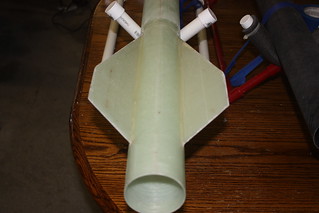
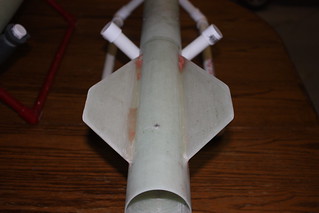
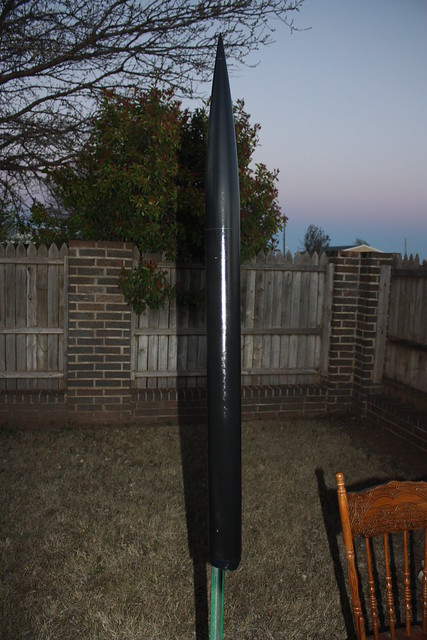
UN-optimized 3" FWFG MD with VK NC using standard method DD with full redundancy - hahaha - can you imagine saying it the way I typed it to a random person, but I bet most here know what I mean. For the uninitiated , that's a 3" filament wound fiberglass minimum diameter with a Von Karman nose cone using dual deploy (I still struggle with some of the online acronyms - only figured out FWIW and YMMV recently).
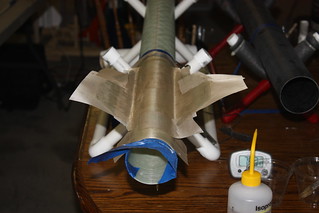
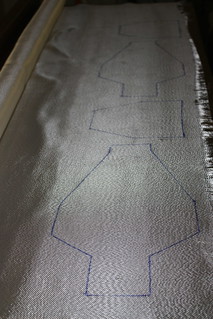
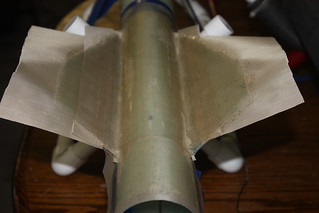
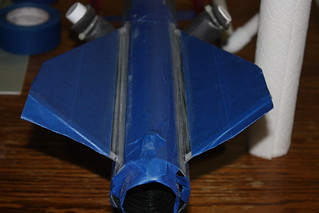
Although some here have proven it is not necessary for the intended flight profile, T2T will be done like tfish demonstrates - 1/3rd - 2/3rd - Full - with aeropoxy and (I think) 6oz s-glass. Motor retention will be with the AeroPack MD retainer, probably epoxied in place but that is still in the air. Also including those aerodynamic enemies- rail guides!!!
Electronics
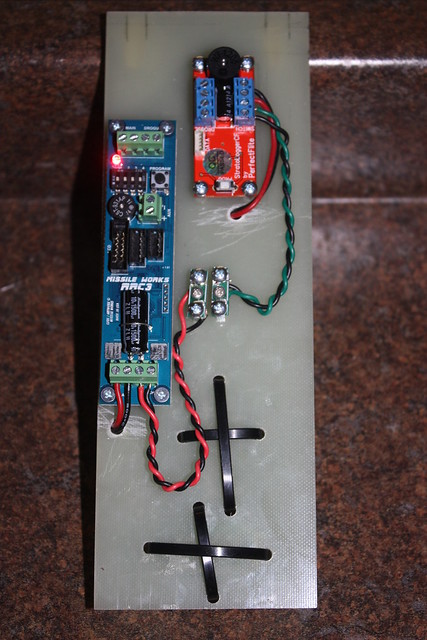
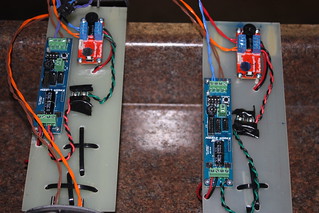
Adventurer 3 - Missile Works RRC3 & PerfectFlite Stratologger CF for deployment - BigRedBee 900GPS for tracking.
Not a Kit - Missile Works RRC3 & RRC2+ for deployment - BRB 900GPS for tracking.
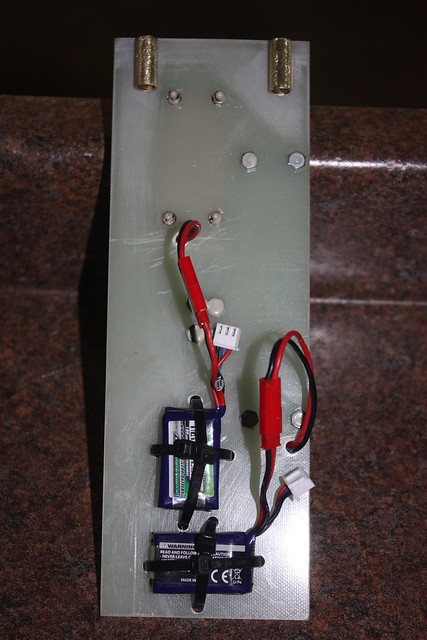
First time using DogHouse Rocketry wiring harnesses and ejection canisters, but I like the idea of fully field repairable/replaceable & modular systems.
Recovery -Applies to both
Main (final weight allowing) - Fruity Chutes Iris 48" Ultra standard chute with deployment bag.
Drogue- Top Flight 12" - 15" if observed stability under the 12" sucks.
Main harness - Onebadhawk 25' 11/32" 3 loop tubular Kevlar.
Drogue harness - Onebadhawk 50' 11/32" 3 loop tubular Kevlar.
Welded eye-bolts or U-bolts.
Procedure and Bonding Agents
All parts to be bonded will be first washed in Dawn and water, rinsed, then sanded with 220 (100 if necessary for shaping), finally cleaned with alcohol. All surfaces to be bonded will be handled with gloves from wash to bond.
This is my first time to "foam the fin-can" and will be using the ProLine foam.
Rocketpoxy G5000- for the majority of bonding.
ProLine 4500 - for A3 fin-MMT and external fillets.
AeroPoxy PR2032 Resin & PH3660 Hardener - for T2T layup.
Gorilla 5min - PEM nuts and if quick or runny applications are necessary.
LocTite RED - Al nosecone tips and any permanent nut.
First Flight Motors
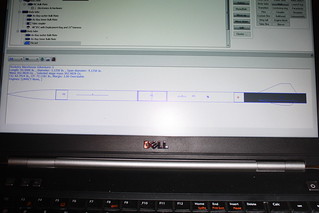
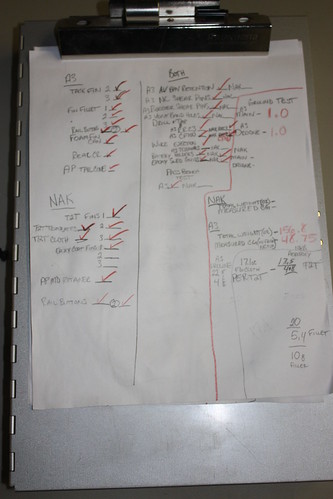
Adventurer 3 - J525 Loki White ***Initial SIM - actual flight will likely be lower and slower*** - 5521' AGL - 681 ft/sec
Not a Kit - L840 Loki Cocktail ***Initial SIM - actual flight will likely be lower and slower*** - 15552'AGL - 1378 ft/sec
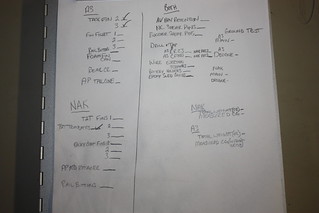
I don't want to come back and update the files for correctness, but PM me if you for some reason want the preliminary Roc-sims - one of which is available @ www.rocketrywarehouse.com
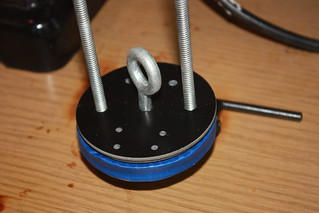
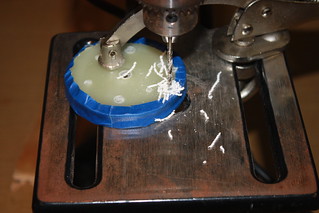
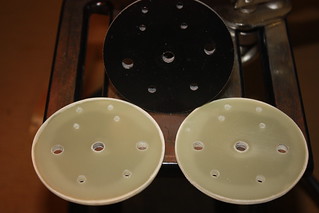
The build started modestly last month. I managed to wash-sand-clean & bond the A3 bulkhead plates, and cut all the necessary bulk plates. No pictures - used a Harbor Freight drill press and McMaster circle cutter. Since I needed 4 more of the EXACT same lids the pictures from today will have to suffice...about that...how about less blah blah and more pictures!!! ALMOST....
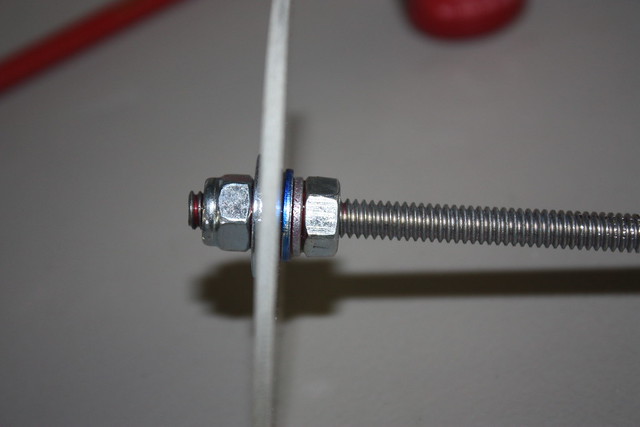
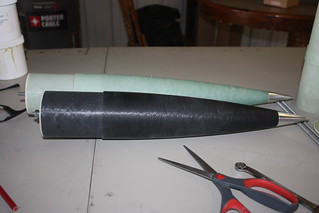
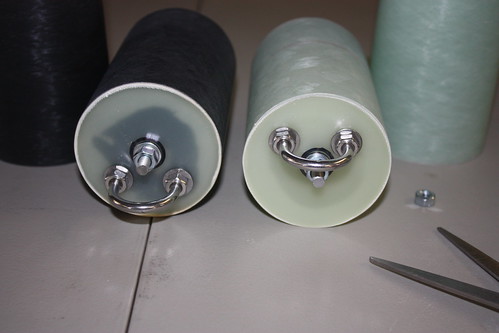
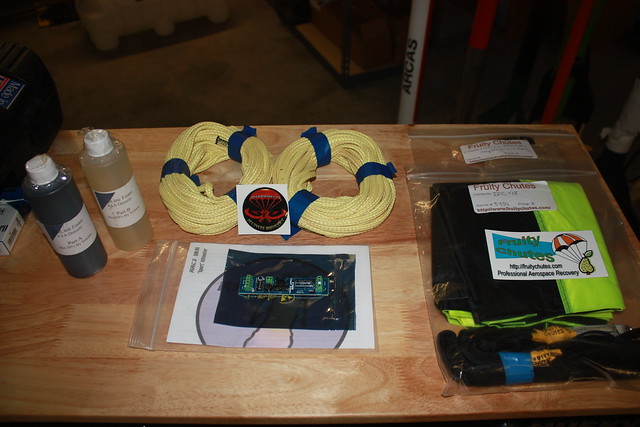
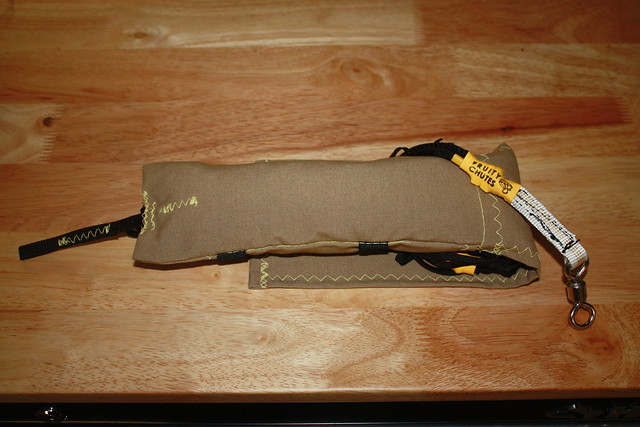
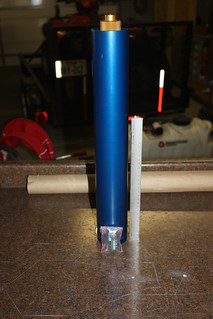
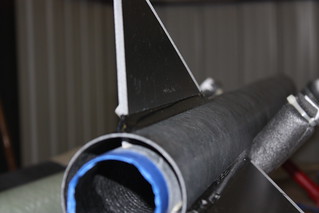
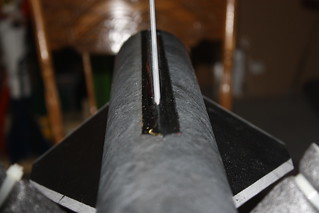
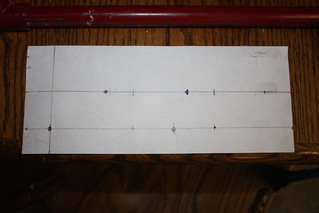
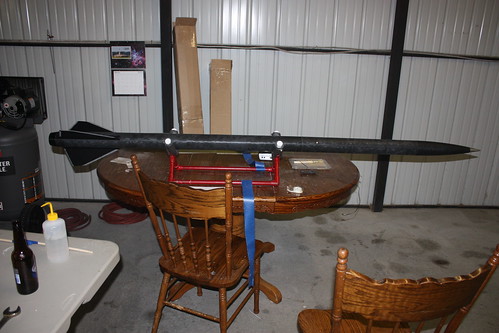
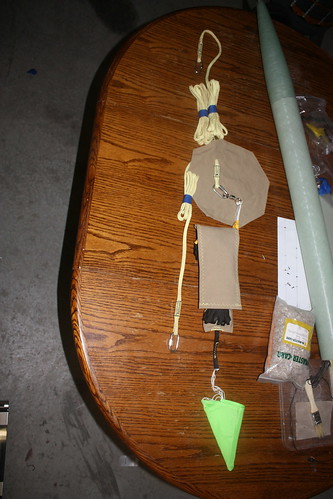
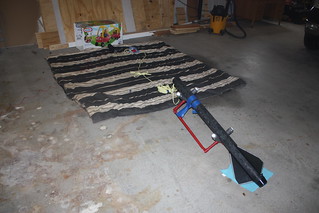
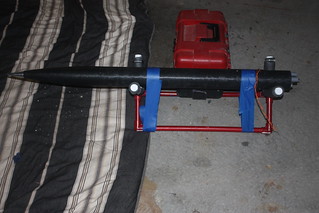
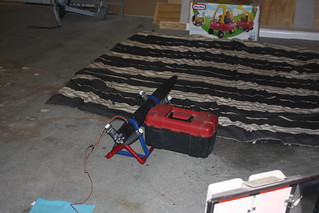
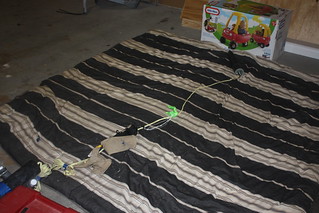
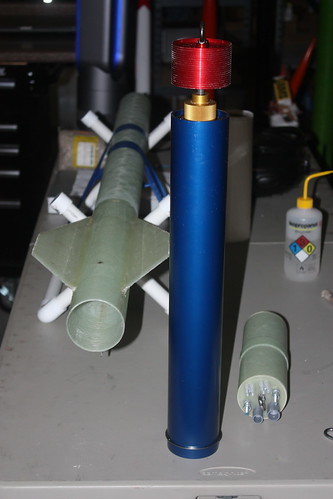
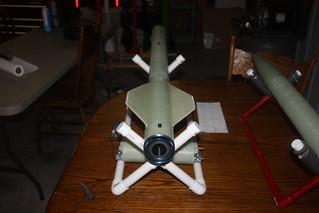
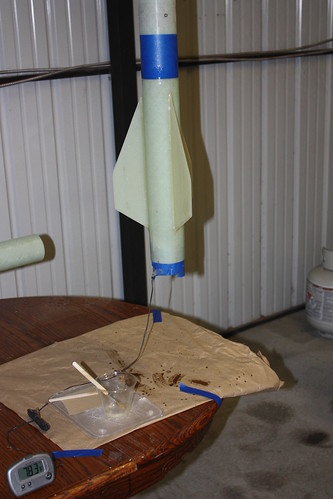
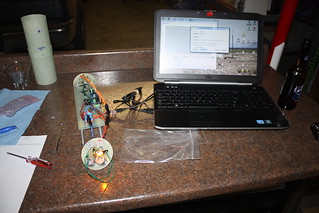
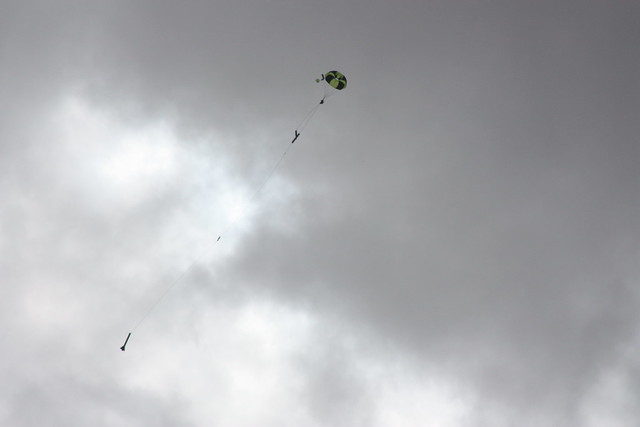
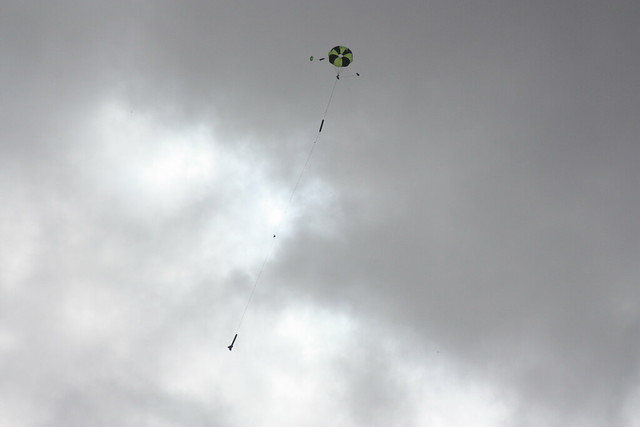
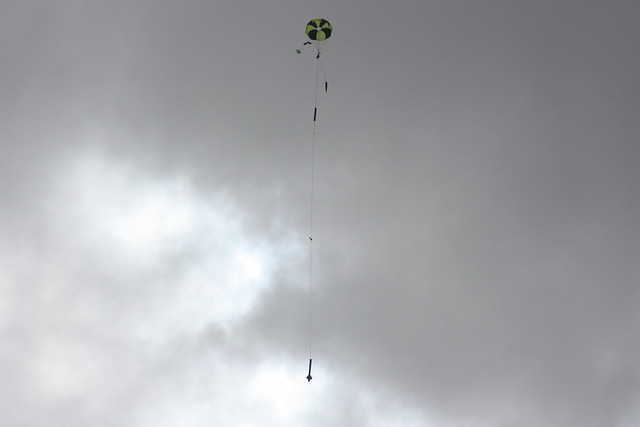
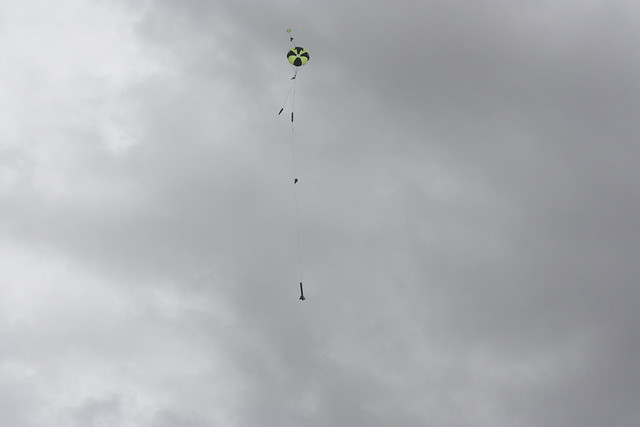
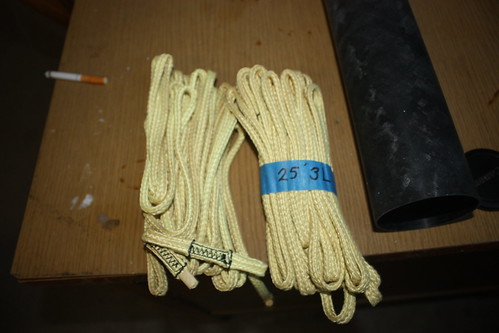
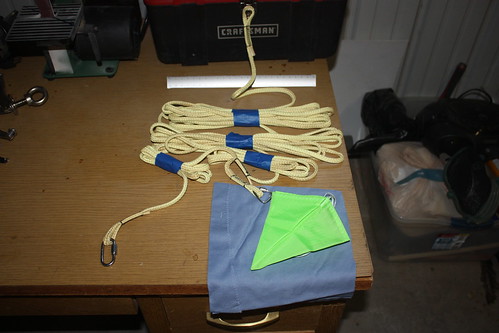
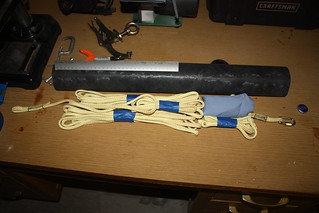
I had a very entertaining dialogue with Teddy @ www.onebadhaw.com, regarding the 50' drogue harnesses. I have an unexplainable like of LONG harnesses. No large trees, or even large land bushes where I normally fly so maybe it is for the extra drag or maybe even ease of removal for someone else from the ever impending power lines. Who knows, but I asked for the custom harnesses and advice. Teddy pointed out the fit may not be right, so I connected the two on hand main harnesses for a check of 50' with a drogue in a 3" AF. Good fitament, no stick required. FINALLY PICTURES!!!:duck:
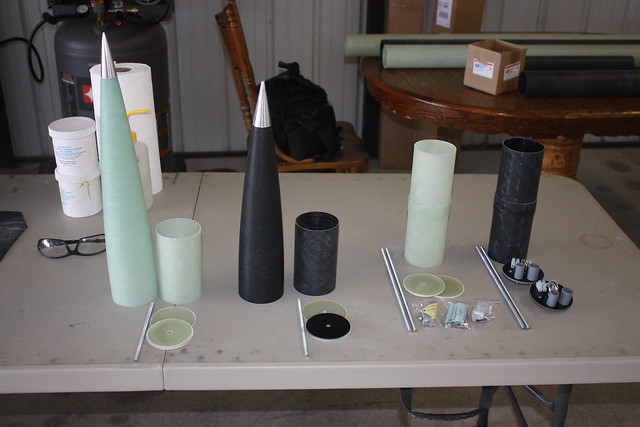
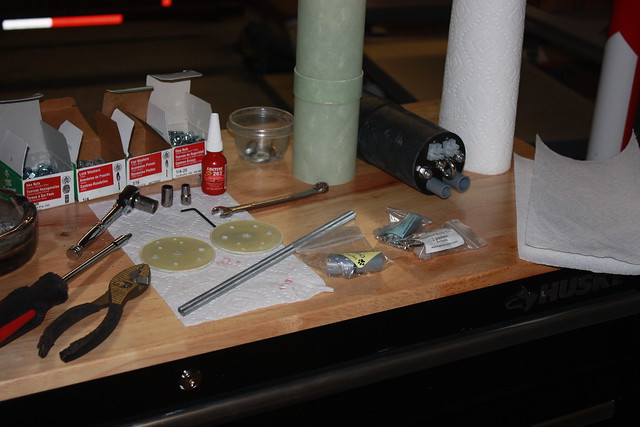
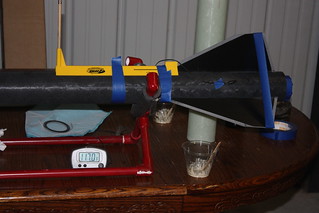
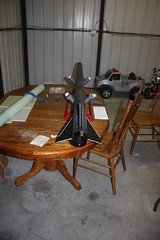
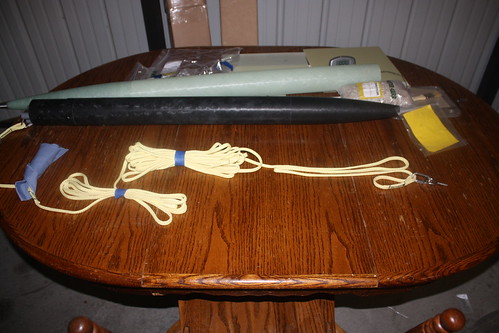
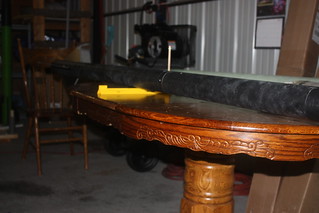
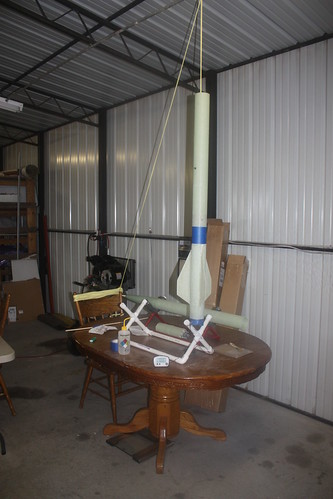
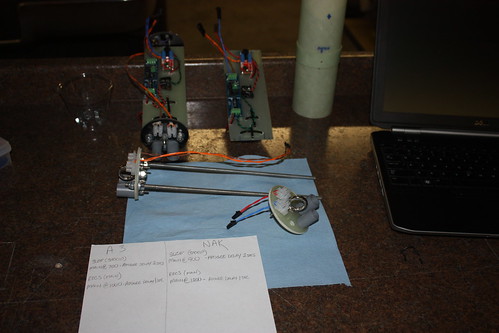
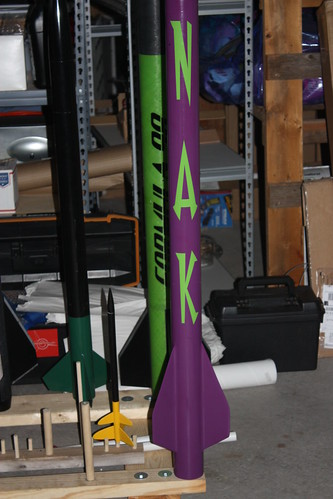
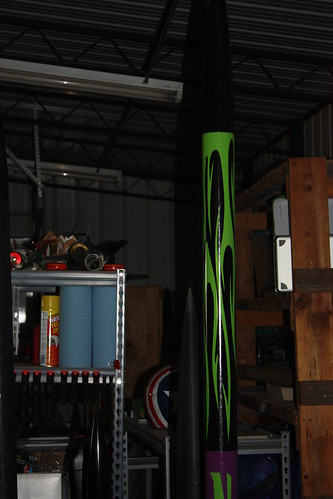
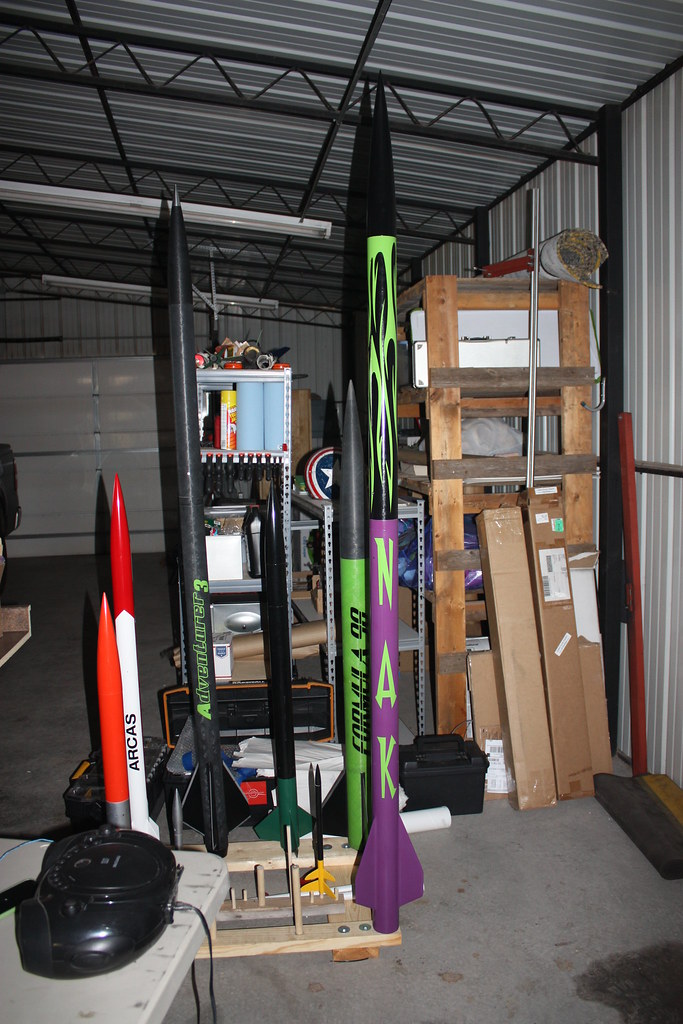
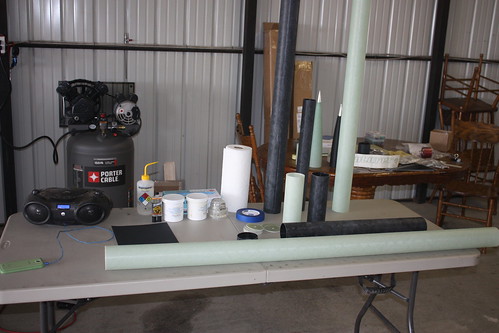
NOW the "obligatory" parts pic - More parts than I could get a good picture of the all at once! A few are still on order or in transit, but the majority is here.
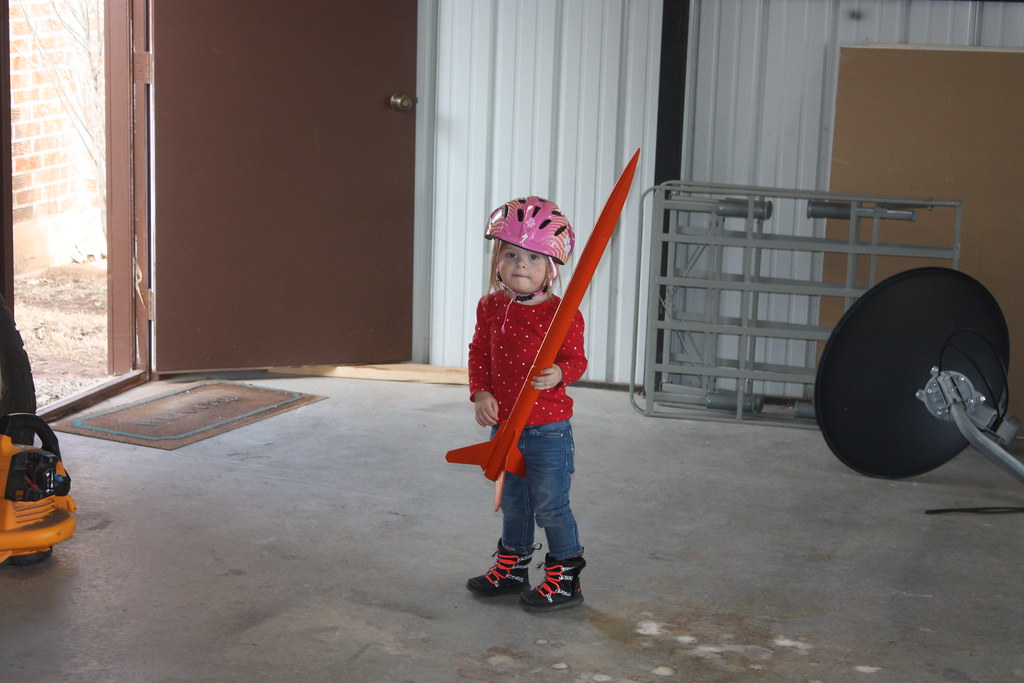
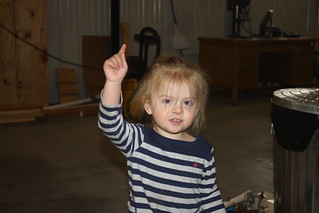
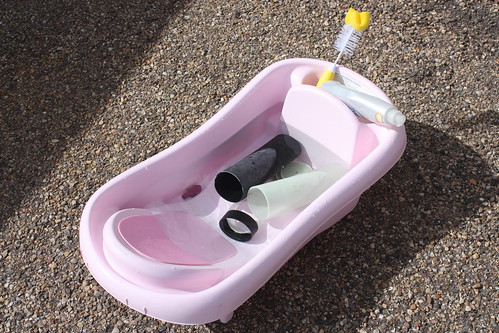
Repurposed the recently outgrown "parts" bath :lol: The sad part is my daughter outgrew it first, my son just recently made the leap.
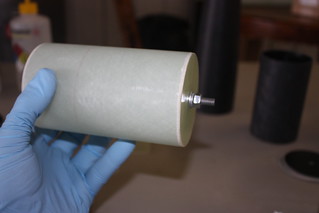
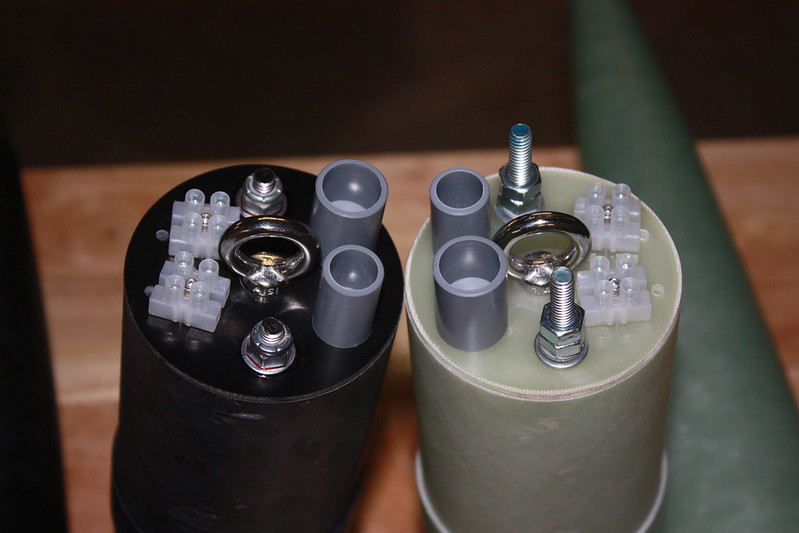
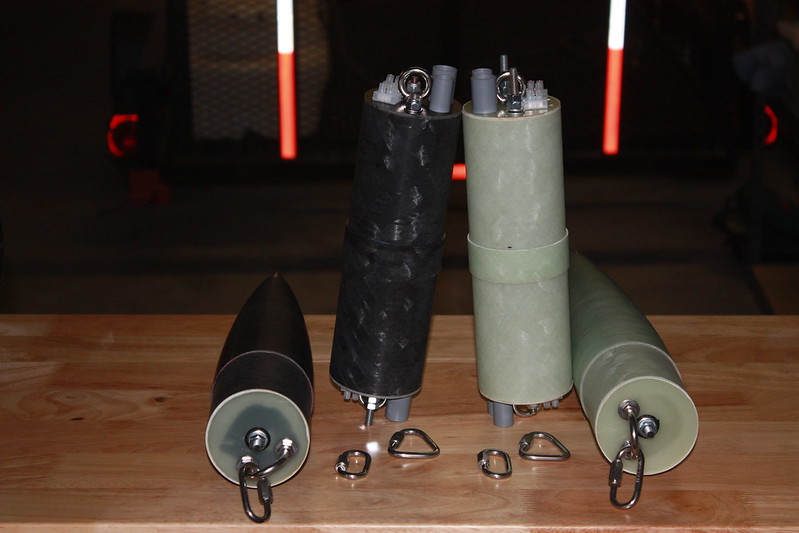
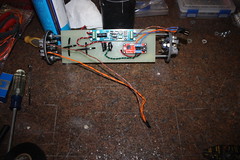
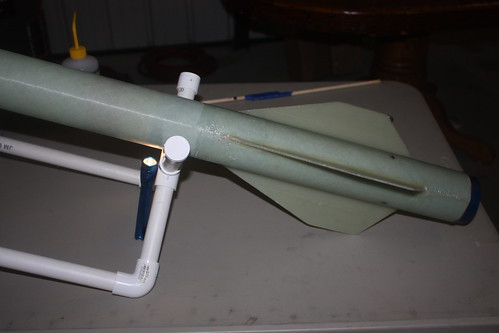
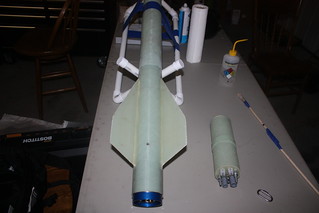
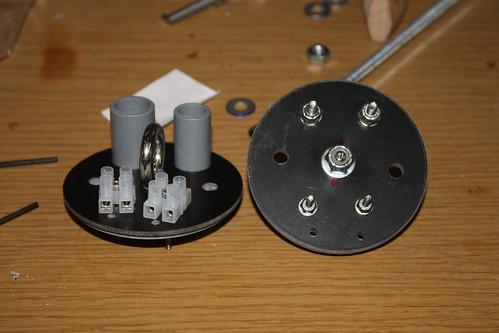
After a wash-sand-clean bonding of the switch bands and AF to Coupler lids was completed.

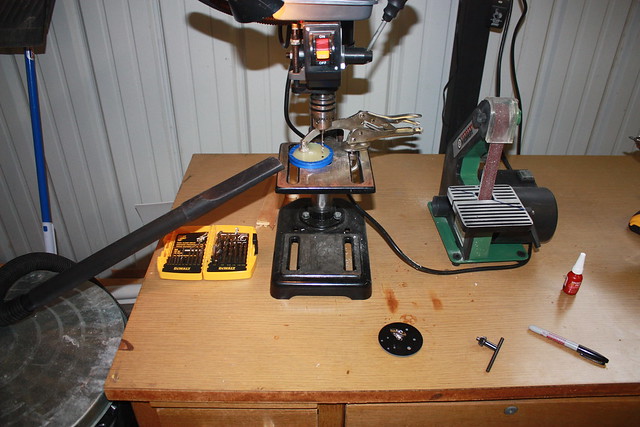
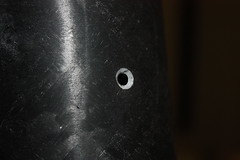
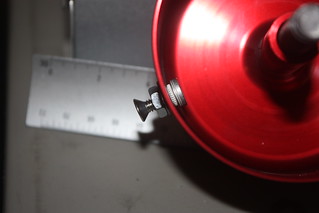
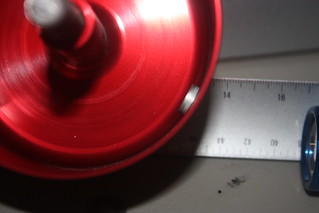
Recently read in a thread someone mention they thought the most useful tool is a drill press. If you already have a hand drill and just want it to be easier and more precise I couldn't agree more.
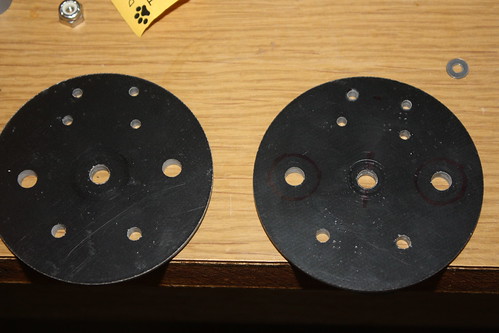
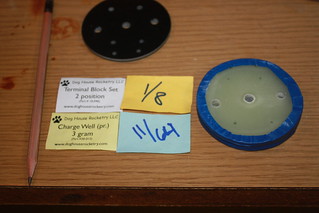
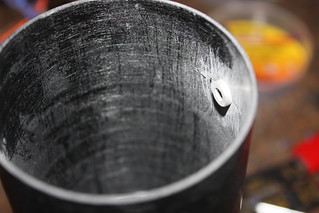
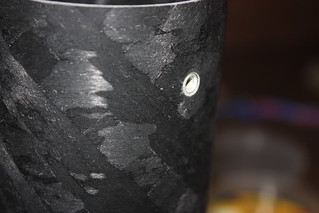
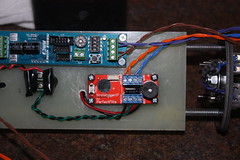
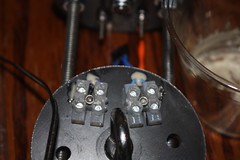
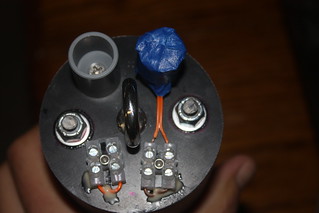
You may notice there are two different size charge wells, yes a 1.5g and 3g. It shouldn't take more than 1.5 for any of the cavities I am pressurizing, but follow the philosophy of "blow it out or blow it up". My rule of thumb- what worked in ground test as primary - that times 2 plus 0.2g for back-up. This makes it easy to identify the primary and backup charge so as not to blow the biggin' first.
Okay that is all for now, hope you enjoy and comment freely!
GOALS
Break 2 miles (10560') AGL
Definitively break Mach 1
Because I will be using barometric only altimeters - setting the bar @ 1300 ft/sec
Build a rocket without a kit
Not exactly a scratchbuild as I will likely clone or scale cloned fins and will use a few items for wiring and ejection I could or have made myself. IMO, true scratchbuilders do everything from rolling the tubes and making the nosecone to unique motor retention. ALL difficult undertakings I do not want or plan to take on for the time being.
Fly an EX motor of my making in both.
AFTER a Loki Research fueled structural reliability check :grin:
Don't hurry and enjoy the process.
Planned Builds
Rocketry Warehouse Adventurer 3
I purchased this kit upon the release shortly after the news of the tragic loss to Rocketry Warehouse and the greater community. I didn't personally know Gisele (DiDi) , but I will fly this rocket in her honor to the best of my ability.
I plan to build this kit as sold using common techniques. AeroPack's tailcone retainer, a little FG, all-thread and nuts, 1010 buttons, plus some epoxy foam should just about do it.
Not a Kit
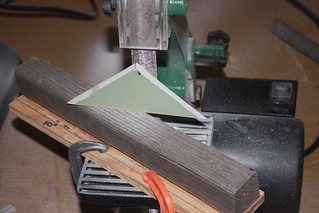
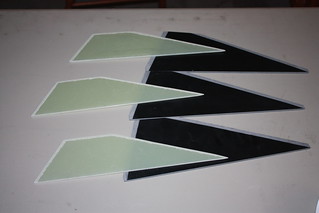
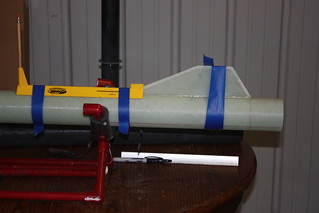
UN-optimized 3" FWFG MD with VK NC using standard method DD with full redundancy - hahaha - can you imagine saying it the way I typed it to a random person, but I bet most here know what I mean. For the uninitiated , that's a 3" filament wound fiberglass minimum diameter with a Von Karman nose cone using dual deploy (I still struggle with some of the online acronyms - only figured out FWIW and YMMV recently).
Although some here have proven it is not necessary for the intended flight profile, T2T will be done like tfish demonstrates - 1/3rd - 2/3rd - Full - with aeropoxy and (I think) 6oz s-glass. Motor retention will be with the AeroPack MD retainer, probably epoxied in place but that is still in the air. Also including those aerodynamic enemies- rail guides!!!
Electronics
Adventurer 3 - Missile Works RRC3 & PerfectFlite Stratologger CF for deployment - BigRedBee 900GPS for tracking.
Not a Kit - Missile Works RRC3 & RRC2+ for deployment - BRB 900GPS for tracking.
First time using DogHouse Rocketry wiring harnesses and ejection canisters, but I like the idea of fully field repairable/replaceable & modular systems.
Recovery -Applies to both
Main (final weight allowing) - Fruity Chutes Iris 48" Ultra standard chute with deployment bag.
Drogue- Top Flight 12" - 15" if observed stability under the 12" sucks.
Main harness - Onebadhawk 25' 11/32" 3 loop tubular Kevlar.
Drogue harness - Onebadhawk 50' 11/32" 3 loop tubular Kevlar.
Welded eye-bolts or U-bolts.
Procedure and Bonding Agents
All parts to be bonded will be first washed in Dawn and water, rinsed, then sanded with 220 (100 if necessary for shaping), finally cleaned with alcohol. All surfaces to be bonded will be handled with gloves from wash to bond.
This is my first time to "foam the fin-can" and will be using the ProLine foam.
Rocketpoxy G5000- for the majority of bonding.
ProLine 4500 - for A3 fin-MMT and external fillets.
AeroPoxy PR2032 Resin & PH3660 Hardener - for T2T layup.
Gorilla 5min - PEM nuts and if quick or runny applications are necessary.
LocTite RED - Al nosecone tips and any permanent nut.
First Flight Motors
Adventurer 3 - J525 Loki White ***Initial SIM - actual flight will likely be lower and slower*** - 5521' AGL - 681 ft/sec
Not a Kit - L840 Loki Cocktail ***Initial SIM - actual flight will likely be lower and slower*** - 15552'AGL - 1378 ft/sec
I don't want to come back and update the files for correctness, but PM me if you for some reason want the preliminary Roc-sims - one of which is available @ www.rocketrywarehouse.com
The build started modestly last month. I managed to wash-sand-clean & bond the A3 bulkhead plates, and cut all the necessary bulk plates. No pictures - used a Harbor Freight drill press and McMaster circle cutter. Since I needed 4 more of the EXACT same lids the pictures from today will have to suffice...about that...how about less blah blah and more pictures!!! ALMOST....
I had a very entertaining dialogue with Teddy @ www.onebadhaw.com, regarding the 50' drogue harnesses. I have an unexplainable like of LONG harnesses. No large trees, or even large land bushes where I normally fly so maybe it is for the extra drag or maybe even ease of removal for someone else from the ever impending power lines. Who knows, but I asked for the custom harnesses and advice. Teddy pointed out the fit may not be right, so I connected the two on hand main harnesses for a check of 50' with a drogue in a 3" AF. Good fitament, no stick required. FINALLY PICTURES!!!:duck:
NOW the "obligatory" parts pic - More parts than I could get a good picture of the all at once! A few are still on order or in transit, but the majority is here.
Repurposed the recently outgrown "parts" bath :lol: The sad part is my daughter outgrew it first, my son just recently made the leap.
After a wash-sand-clean bonding of the switch bands and AF to Coupler lids was completed.
Recently read in a thread someone mention they thought the most useful tool is a drill press. If you already have a hand drill and just want it to be easier and more precise I couldn't agree more.
You may notice there are two different size charge wells, yes a 1.5g and 3g. It shouldn't take more than 1.5 for any of the cavities I am pressurizing, but follow the philosophy of "blow it out or blow it up". My rule of thumb- what worked in ground test as primary - that times 2 plus 0.2g for back-up. This makes it easy to identify the primary and backup charge so as not to blow the biggin' first.
Okay that is all for now, hope you enjoy and comment freely!
")