


ECayemberg
Well-Known Member
- Joined
- Jan 21, 2009
- Messages
- 2,874
- Reaction score
- 839
I haven't posted a thread in a while, and Saab's seem to be the coming trend of 2015, so here's my story.
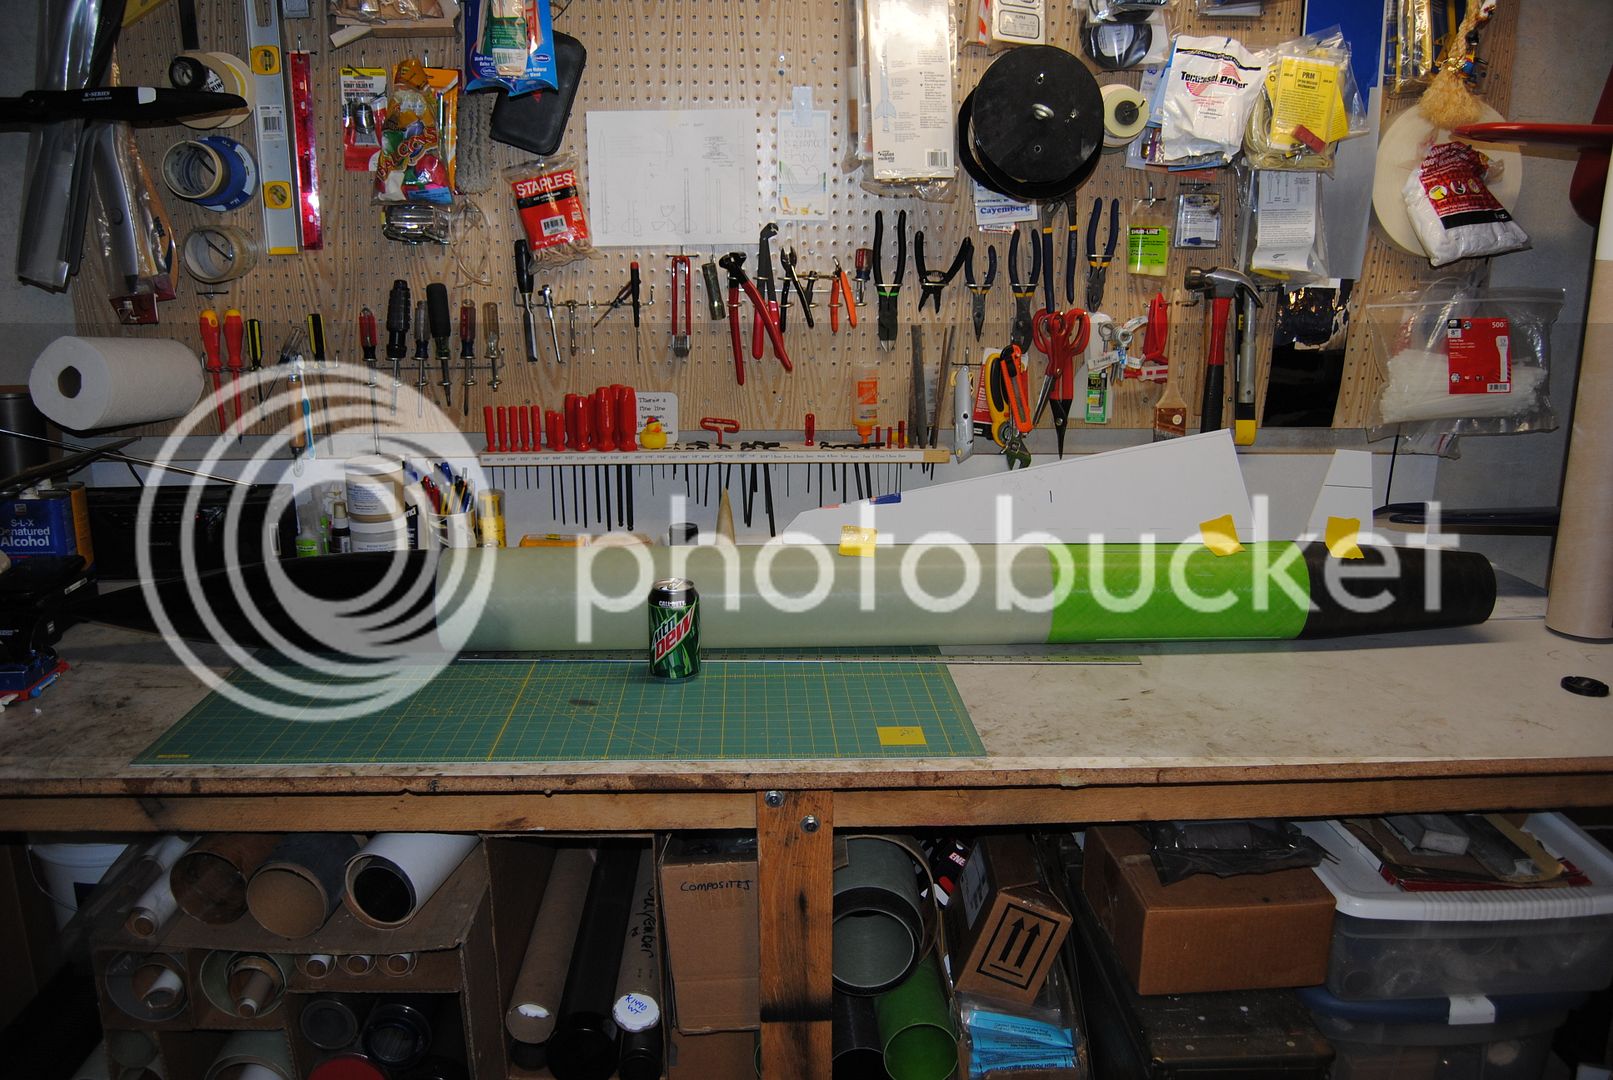
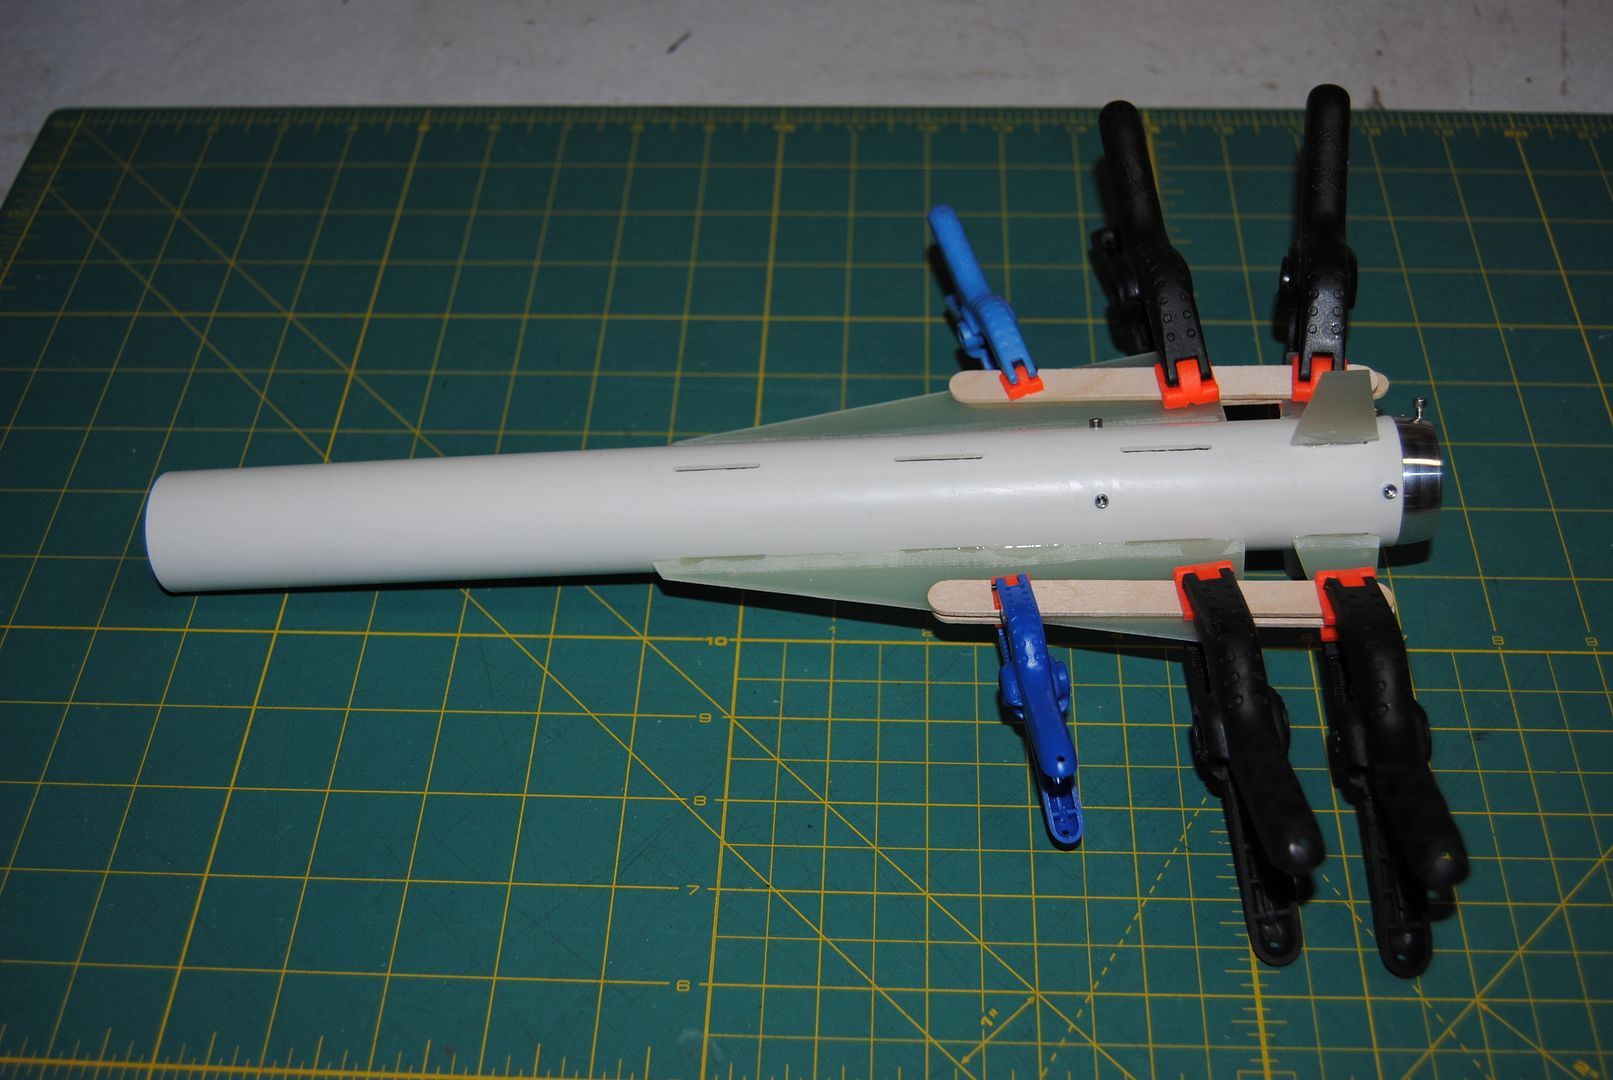
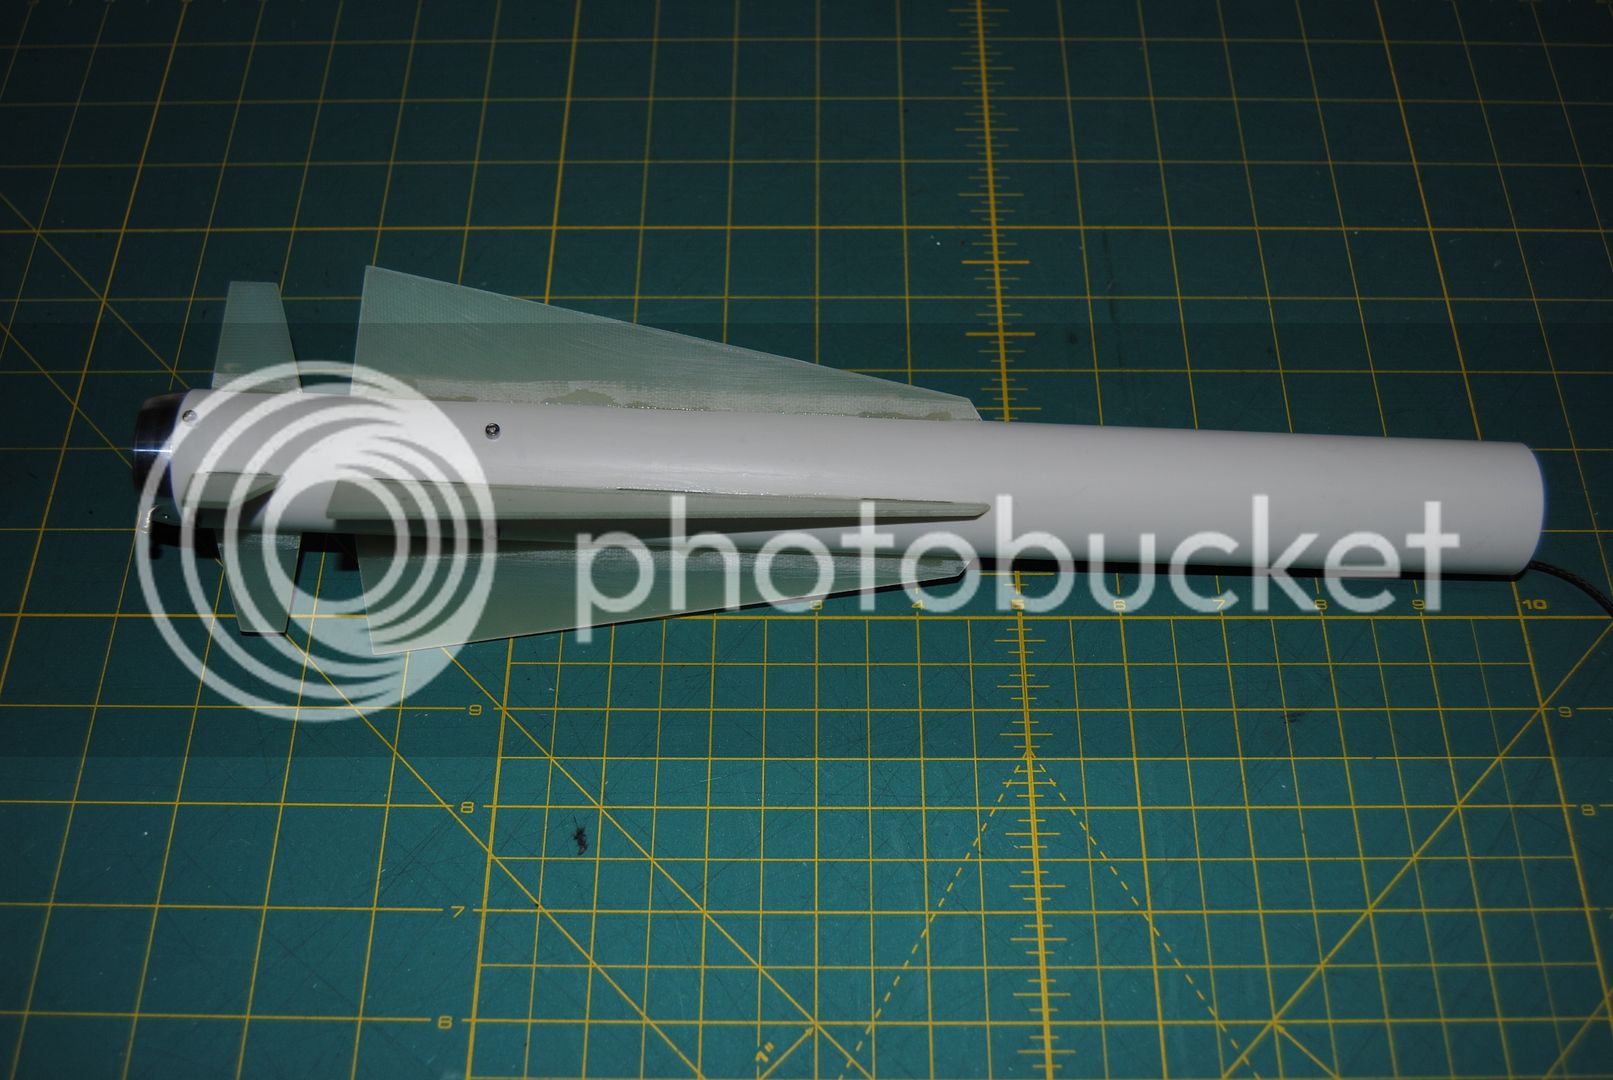
I'll be building four RB-05A (or something like that) Saab vehicular devices. All semi-scale: as in close enough to look like a Saab from a distance, and good enough to serve as motor holders. Another trend that emerged in the last flying season around here was alphabet flying. Sabrina is an alphabet flying princess, I flew a scrambled alphabet at LDRS, and most recently, my dad Tom is working on completing his fleet of Tomahawks so he can fly the alphabet with that particular model. Never original, but always willing to borrow the wisdom of others, I thought this was a good idea...so the initial plan was to build two Saabs that could fly the high power alphabet. That original plan has evolved and expanded, largely due to the recent offerings by Wildman and Badazz.
Current plan
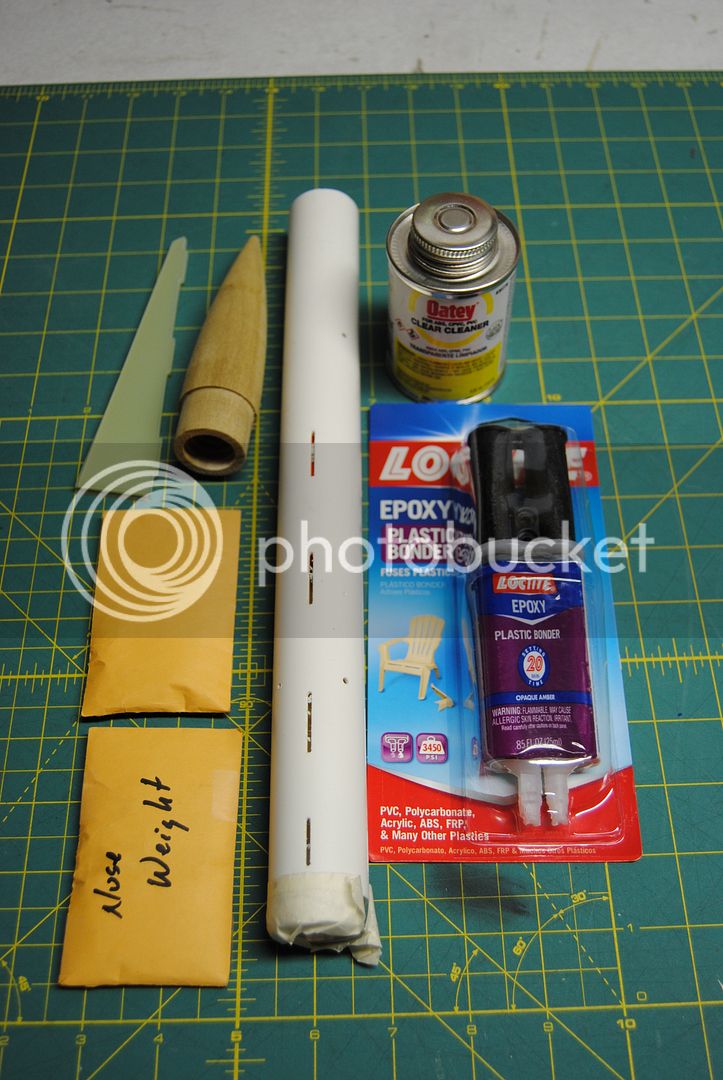
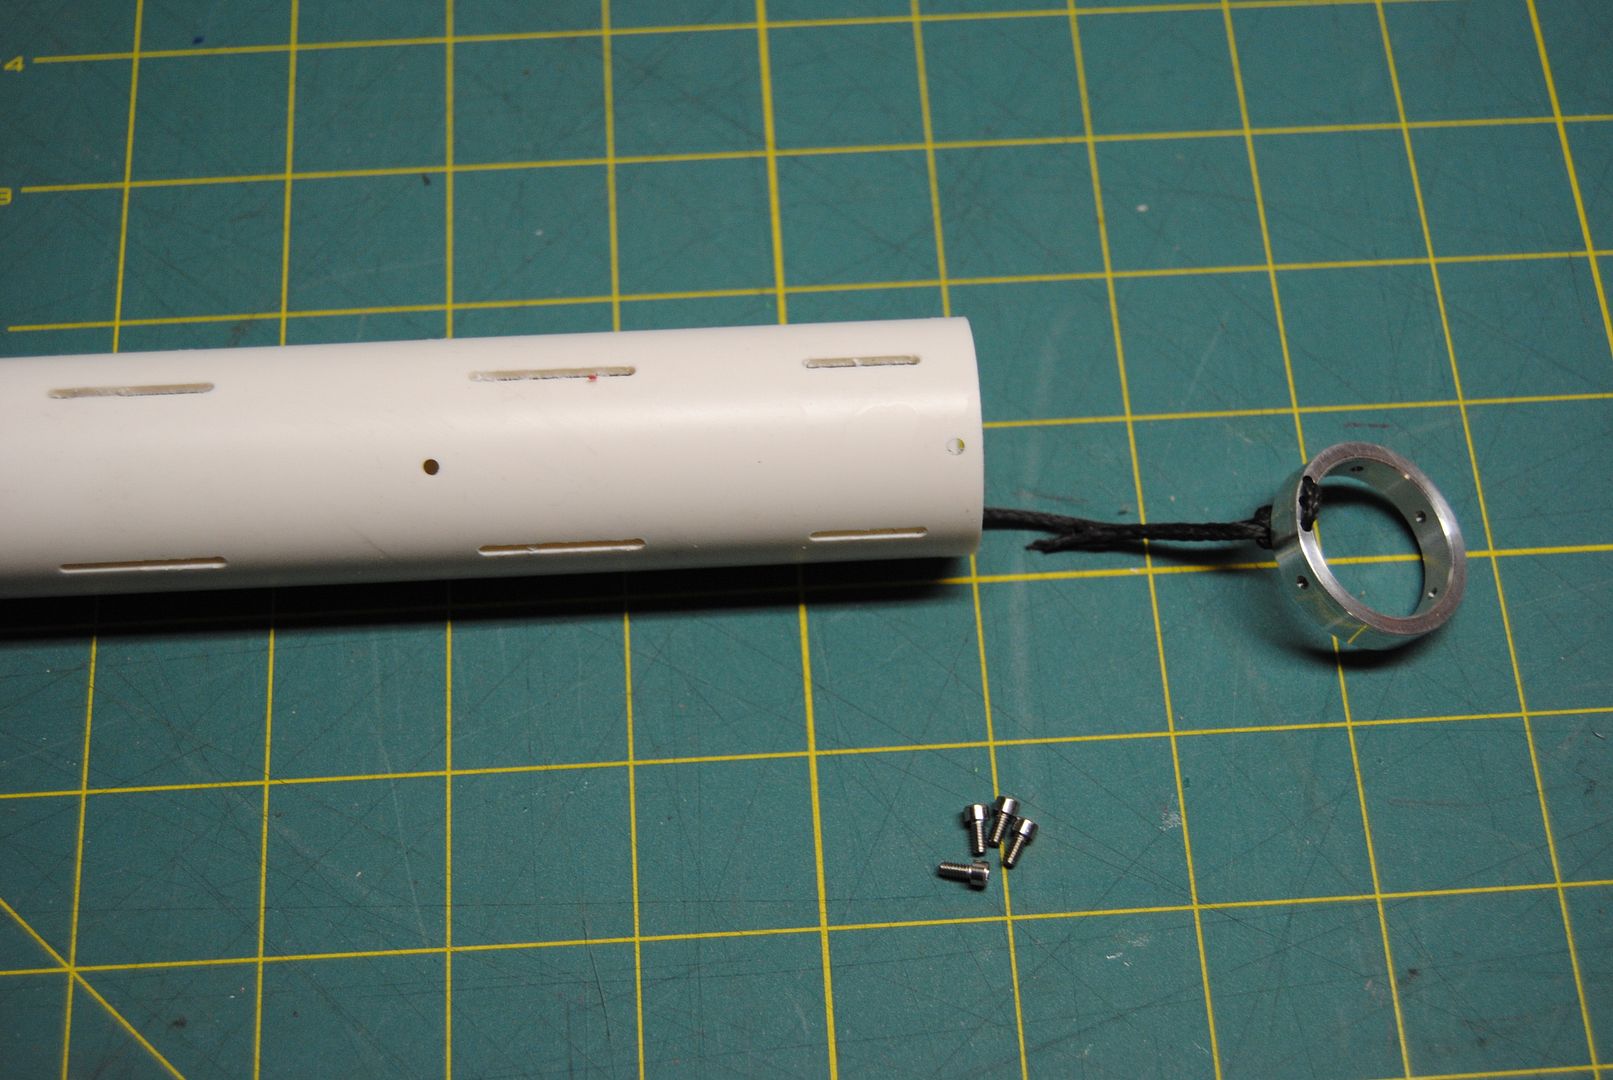
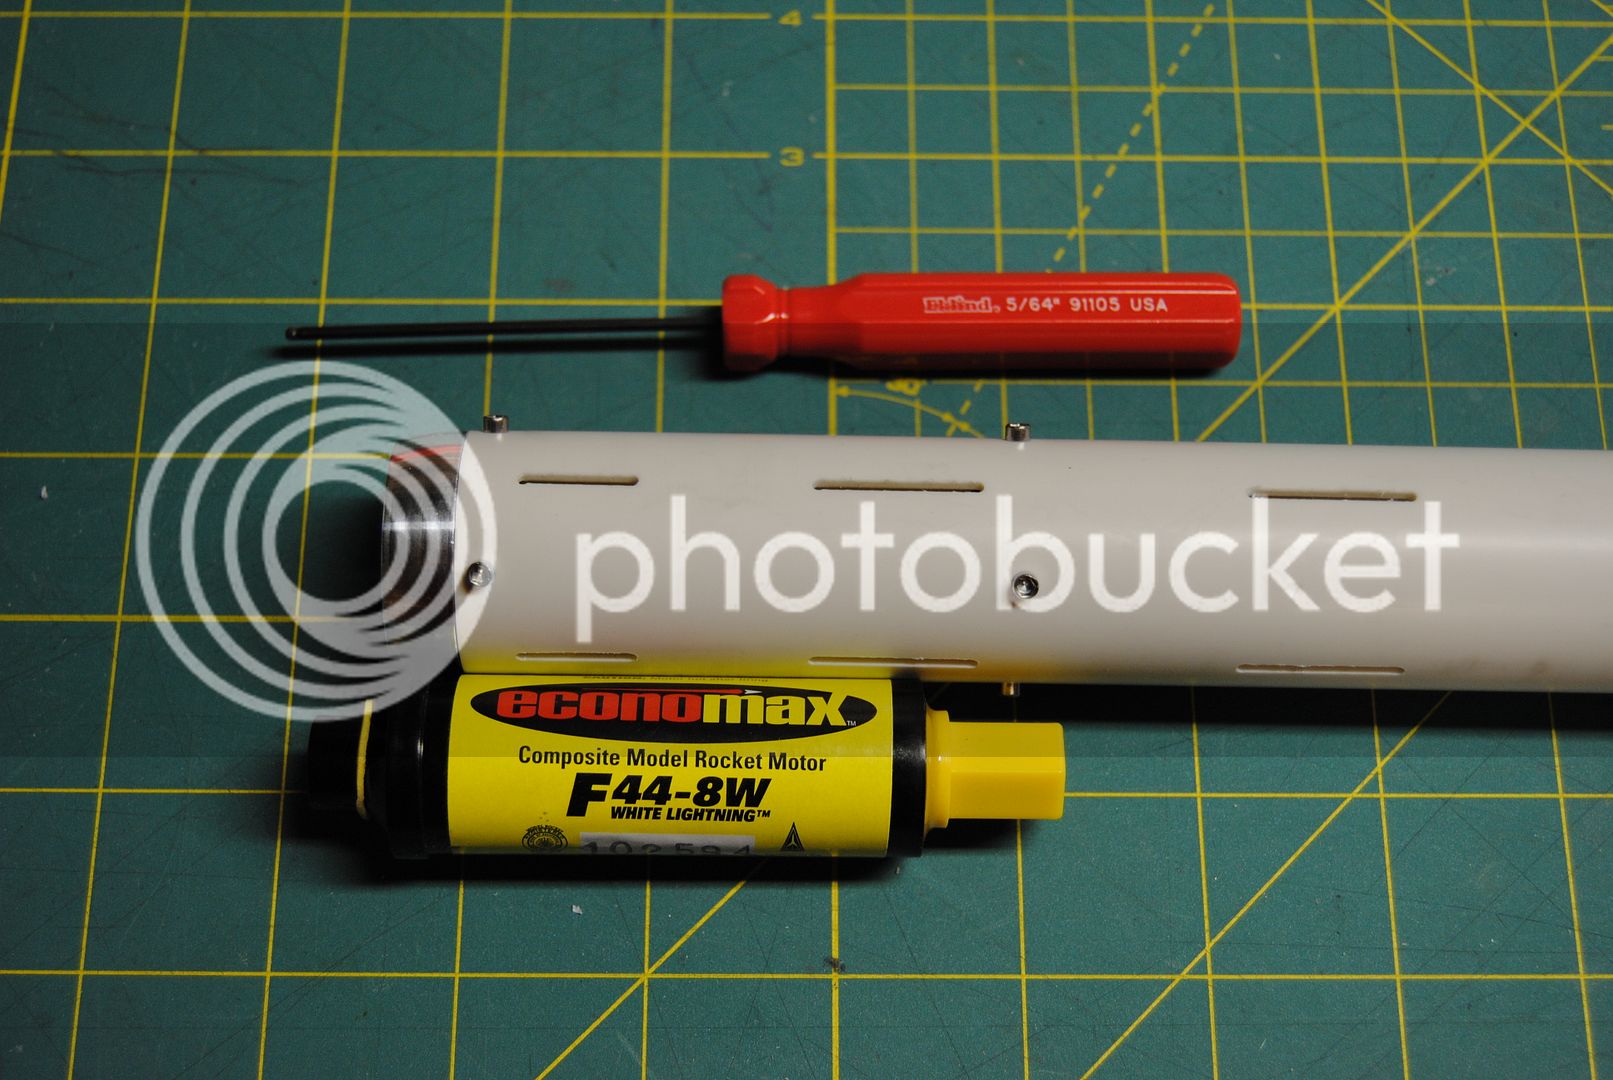
-1.2" Badazz mid power PVC: E-G
-2.1" Wildman: G-I
-4" Wildman: J-M
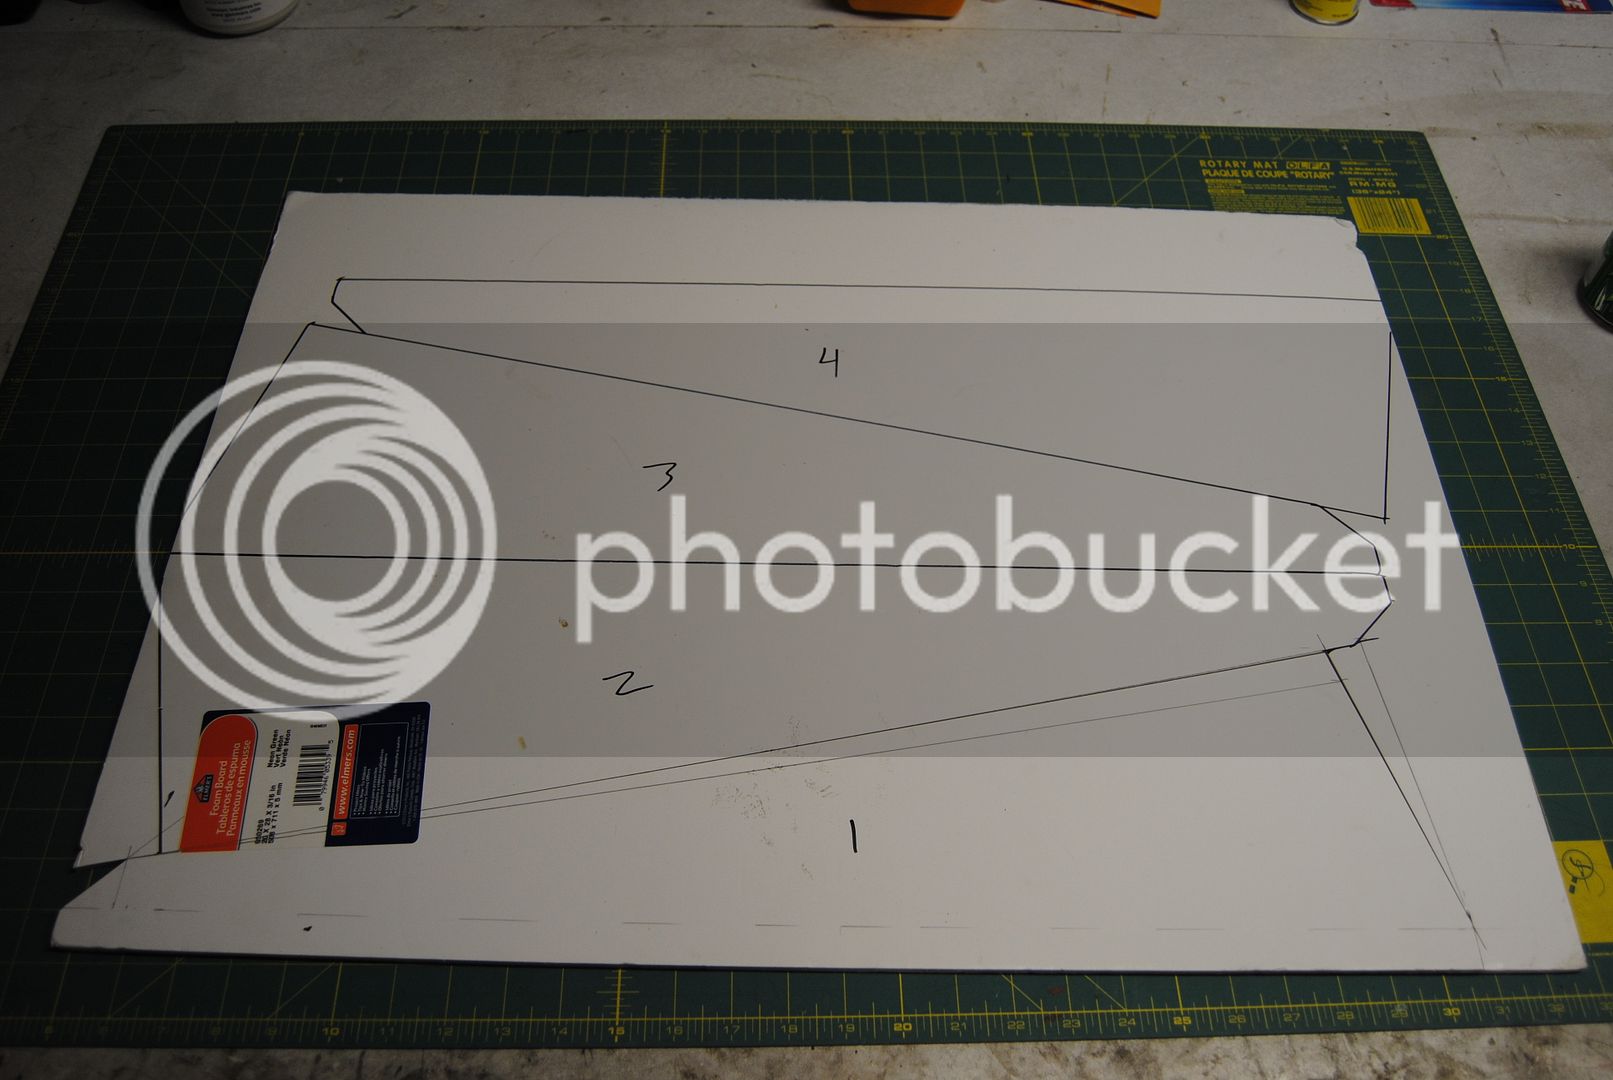
-5.5" scratch: L-N
Got a new job:grin:, and part of the benefits of said job is reduced free time:sad:. I'm not sure at what pace this thread will traverse; I have no slated target dates for completion, nor any upcoming launch that I "need" new airframes for. That said, I do NEED some time at the workbench to preserve my sanity and I haven't built anything significant since October, so things should progress at the hare's pace.
-Eric-
I'll be building four RB-05A (or something like that) Saab vehicular devices. All semi-scale: as in close enough to look like a Saab from a distance, and good enough to serve as motor holders. Another trend that emerged in the last flying season around here was alphabet flying. Sabrina is an alphabet flying princess, I flew a scrambled alphabet at LDRS, and most recently, my dad Tom is working on completing his fleet of Tomahawks so he can fly the alphabet with that particular model. Never original, but always willing to borrow the wisdom of others, I thought this was a good idea...so the initial plan was to build two Saabs that could fly the high power alphabet. That original plan has evolved and expanded, largely due to the recent offerings by Wildman and Badazz.
Current plan
-1.2" Badazz mid power PVC: E-G
-2.1" Wildman: G-I
-4" Wildman: J-M
-5.5" scratch: L-N
Got a new job:grin:, and part of the benefits of said job is reduced free time:sad:. I'm not sure at what pace this thread will traverse; I have no slated target dates for completion, nor any upcoming launch that I "need" new airframes for. That said, I do NEED some time at the workbench to preserve my sanity and I haven't built anything significant since October, so things should progress at the hare's pace.
-Eric-
Last edited:
 op:
op: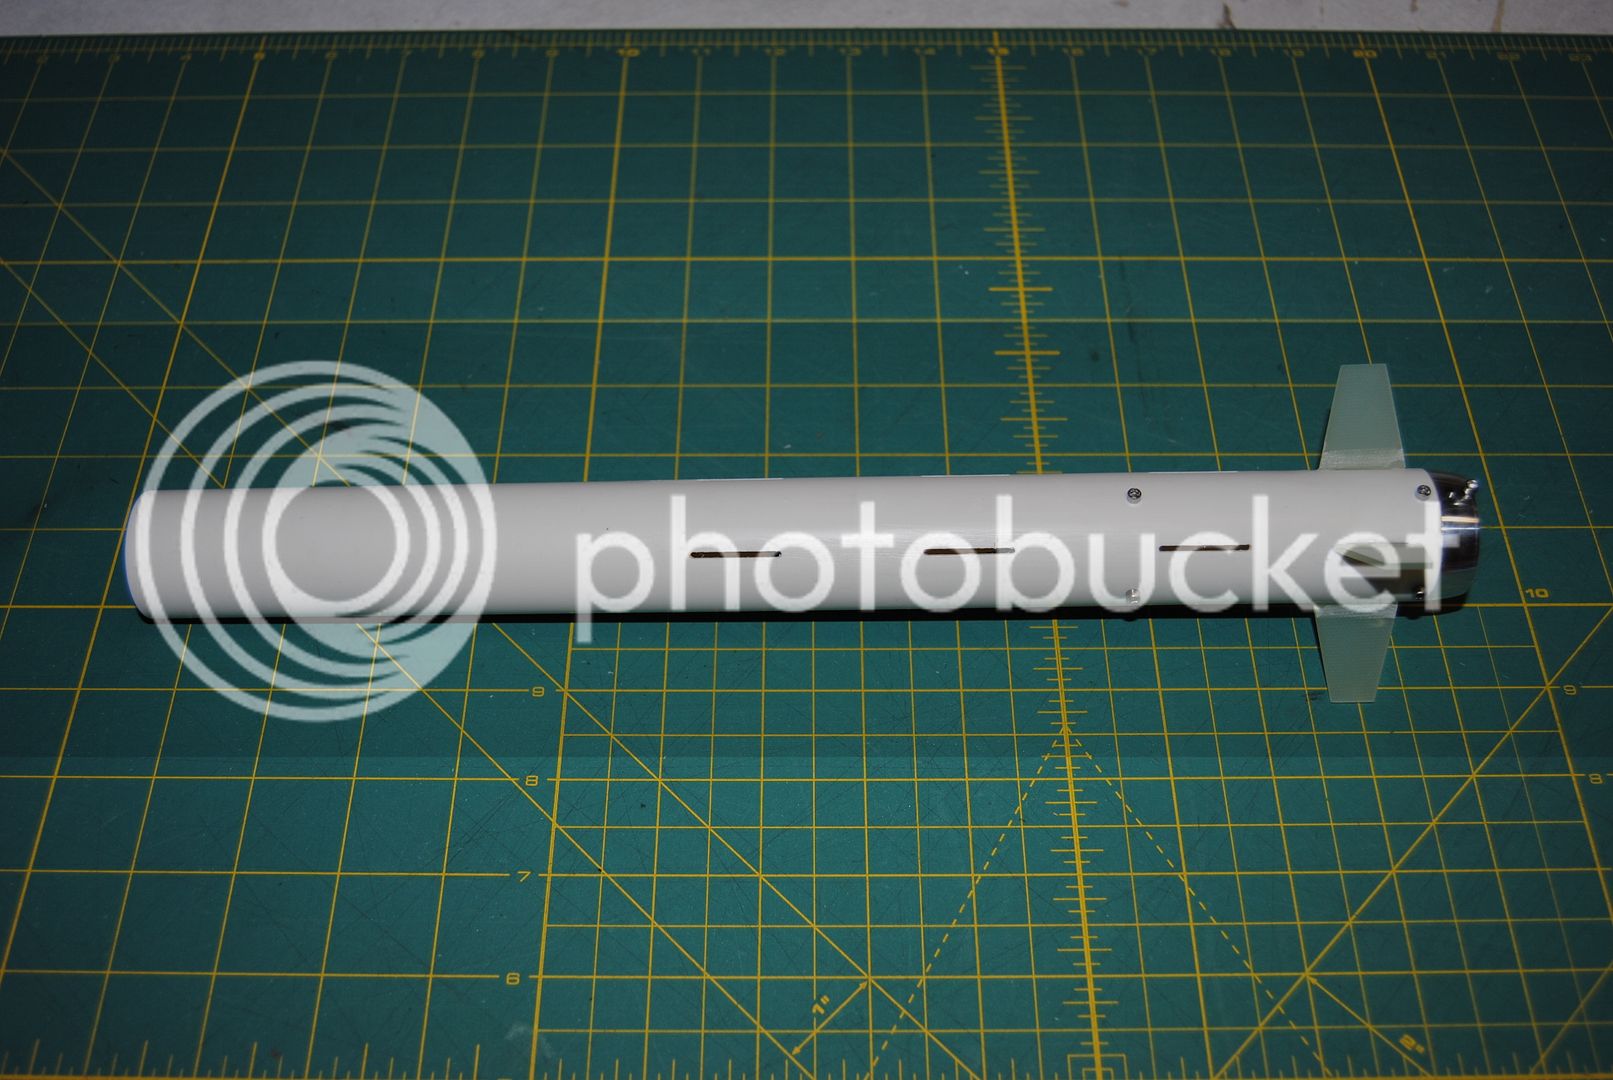

 !...
!...
 :clap: