Space 1999 Eagle Build

The Rocketry Forum

Help Support The Rocketry Forum:

This site may earn a commission from merchant affiliate links, including eBay, Amazon, and others.

Tolppisouth

Well-Known Member
Joined
Jan 23, 2009
Messages
545
Reaction score
0
Plan:

To build a Space 1999 Eagle that will fly.

Design Parameters:

44" Long Model
Styrene "Nosecone"
Foam encased Body Tube with Fiber Glass
Parachute Nose Blow recovery
4x24mm composite cluster

Image of the original

cockpit02.gif
 
My first challenge was (I'm unimaginatively starting from the front and working to the back) to come up with a light, durable nosecone. BMS doesn't have Space 1999 Eagle Nose Cones so I had to scratchy away. I decided to not just carve it from foam but to use vacuformed plastic and cheat. The symmetry would have frustrated me to no end by carving the four quadrants to look alike. I had hard enough time with two!

It was my first time with vacu forming and that is discussed some here .

Here are the molds used. I had glued on risers so I could make clean cuts.

DSC02268.jpg


Here is a sheet of styrene that had been formed.

DSC02264.jpg


Here is the formed piece cut from the sheet.

DSC02265.jpg


Here are the four capsule pieces pieced together in halves.

DSC02266.jpg


Here are all the pieces together and the seams puttied. It won't win any competition but I think I'm doing reasonably well for my first attempt at this.
 
Thanks for looking on Per! I hope I don't disappoint. This is going to be a little slower going than other builds. I'm working off of images from the Internet. Primarily a scan of a 1977 article from Starlog I found in the Space 1999 catacombs website and pictures from starship modeler. Here's an image from my "organized' desk.

DSC02279.jpg


I printed the Starlog drawings 3x3 page poster size to make it easier to get measurements.

I'm using 3M foam adhesive for the first time with this project for the first time. It appears to works well and less of a mess compared to the caulk like stuff I've used previously. We'll see. Here's a picture of the adhesive.

DSC02282.jpg


Here are the body block laminations I made this evening.

DSC02280.jpg


I also cut out the mold for the landing gear pods. The mold will be used to make eight halves using styrene. The landing gear will be retracted for this model (read as I'm being lazy here) and then the halves will be glued together. The mold is made from glued up basswood and most of the cutting was done on a tablesaw.

DSC02281.jpg


I plan to run BT 80 throught the length of the body. Here are the pieces. I'm thinking of going with a baffle since I'm going through so much trouble.

DSC02283.jpg


That's it for tonight. Looking to do more this weekend which is a three day holiday in the US.

John
 
Looks great so far. I'll have to follow this thread!

You are going to have Alan Carter to pilot the the first flight!
 
Of course I'll have Alan pilot the first flight!

The choice of the scale matches the studio size. If I wanted to go the route of little pilots in the cockpit, the original modelers used Gemini astronauts from an old Revell kit. Unfortunately the Revell kits were cheaper when the show was in production than now. I'm not up to modelling a cockpit either. Perhaps on a refit.

Thanks for the nice comments.

John
 
I still love the show. In fact 2 of my high school friends and I get together every year to celebrate Sept. 13th day! It involves beer, chinese food, and Space 1999! great fun and a chance for us 47 year olds to act like we did in high school!

Back to the Eagle, where are you planning to put the fins? What size motor? Will it recover horizontal?
Enquiring minds want to know.

Mark

Is that the Ultra probe in the background?
 
Right know, I intend (I realize the path to hell is paved with good intentions) to just go with a more typical vertical recovery. I'll size the chute once I get a better idea of the mass.

I plan on going with removable polycarbonate fins that will be big for stability (2-3 times the body diameter). And mass in the nose cone after some swing testing.

As for motor size, right now I'm looking at four 24 mm composite motors sized according to the final mass E to F range right now. Four D's would be like economical but not likely. I guess I could get Rocsim and take all the mystery out of it. I have to save something for later builds I guess.

As for the Ultraprobe, nope.

John
 
If you're going to go with four motors, I would suggest going with 29mm MMTs. At least do a central 29mm with four 24mm or 29mm tubes around it. That way you could use a single G-H, do I hear L1? or any other combo you want to try. It's all about options!
 
Wow!!!

I'm a HUGE fan of the Eagle (and the series...)!!! You may have just inspired a new project! Can't wait to see how this turns out!
 
Hey John, would you like a couple Gemini Astros for your Eagle cockpit????
I have a few. Let's talk.
Mark T
 
Snuggles, I'm interested. Let's trade some e-mails about those astronauts.

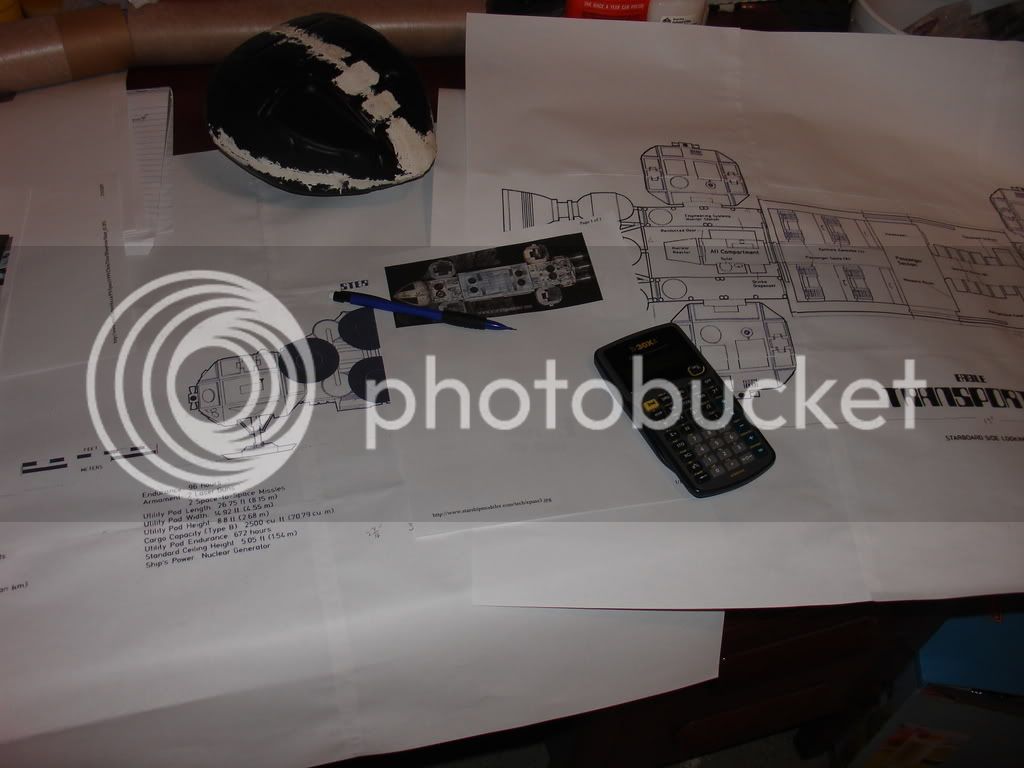
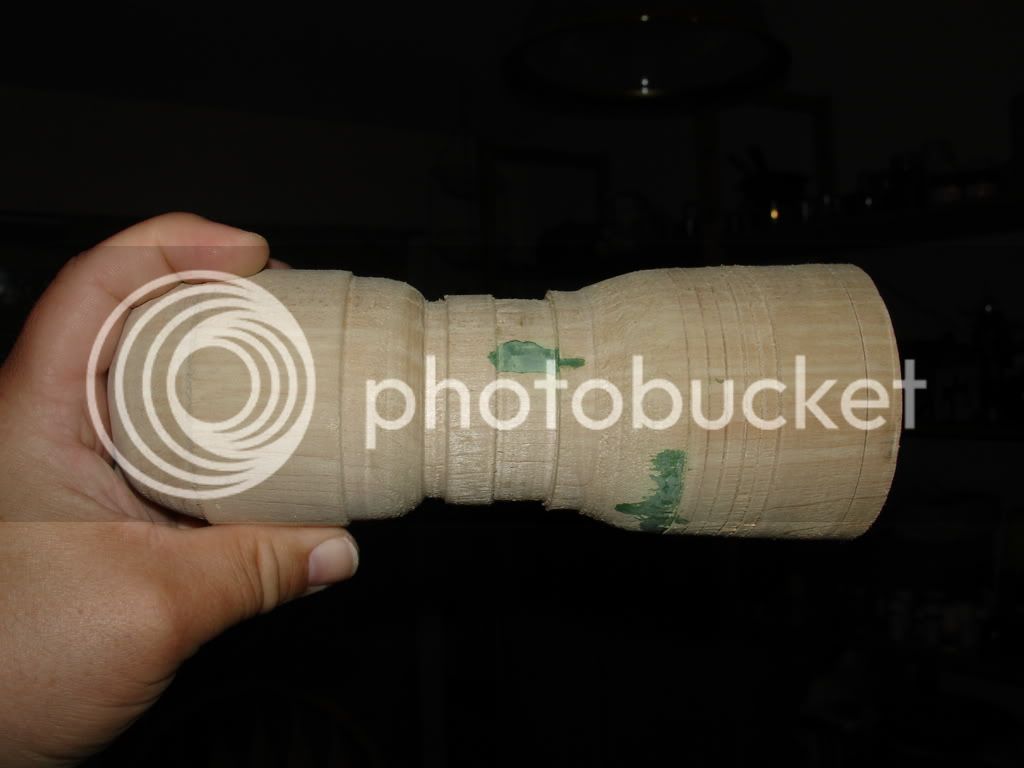
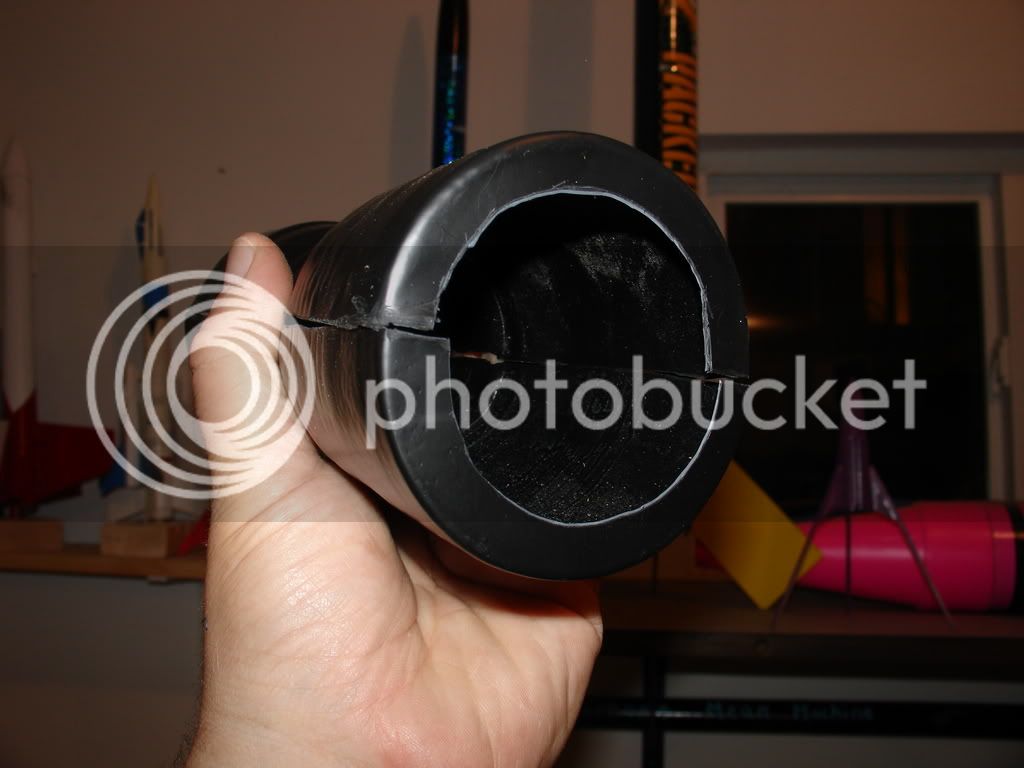
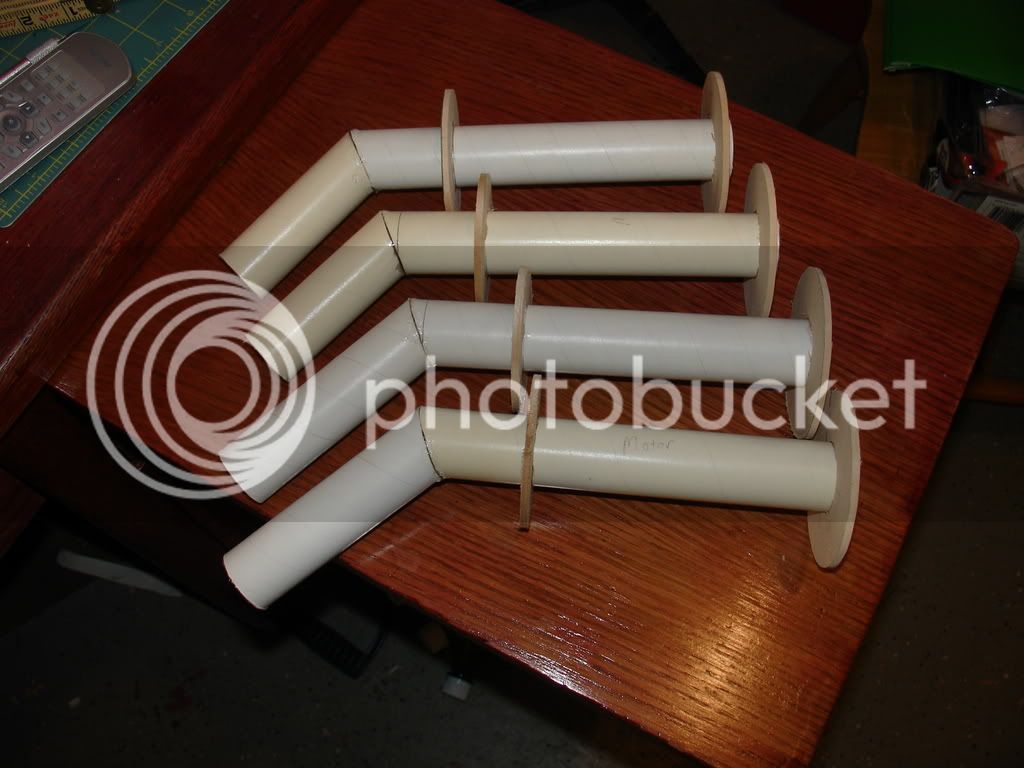
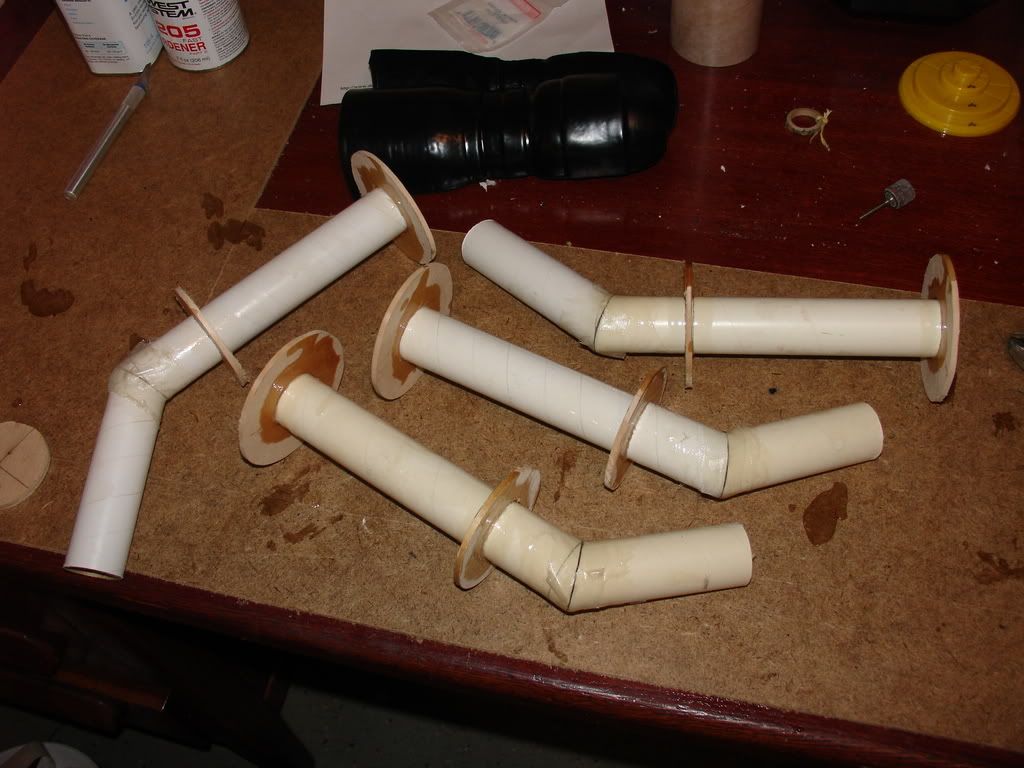
Now, in order to maintain the illusion of making progress I am going to share some pictures of what I have so far.

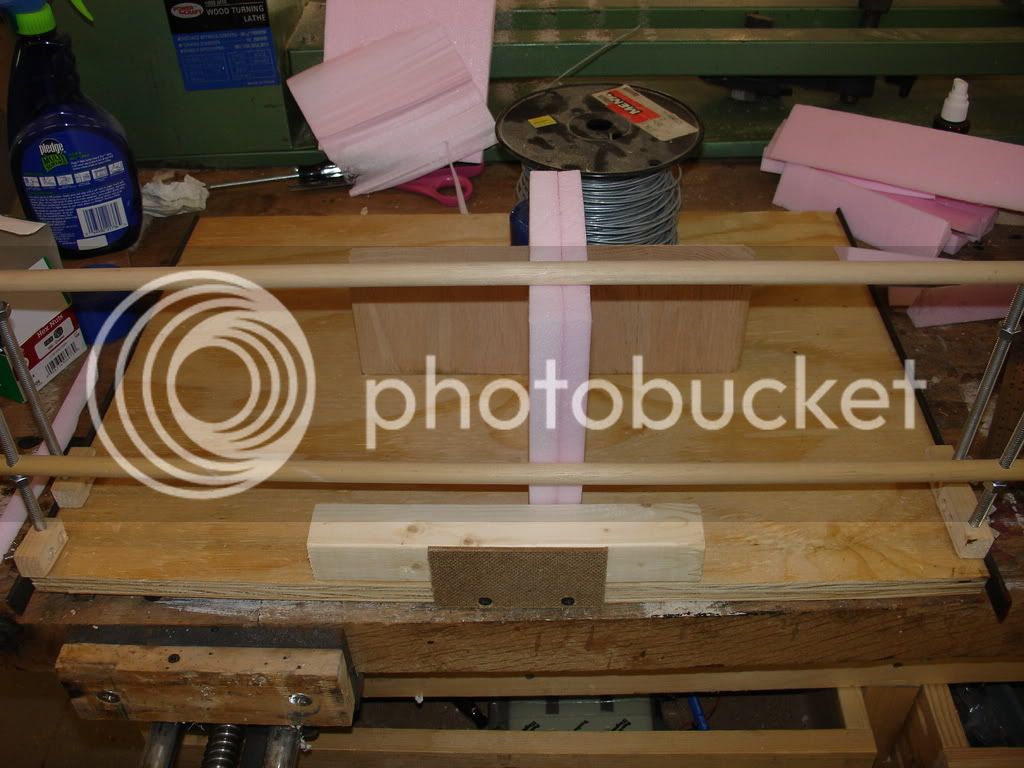
To cut the tapers on the body sections, I made a jig that looks like a set of gymnast's paralell bars to ride the hot wire on to slice corners off the styrofoam blocks. Here's a picture.

DSC02288.jpg


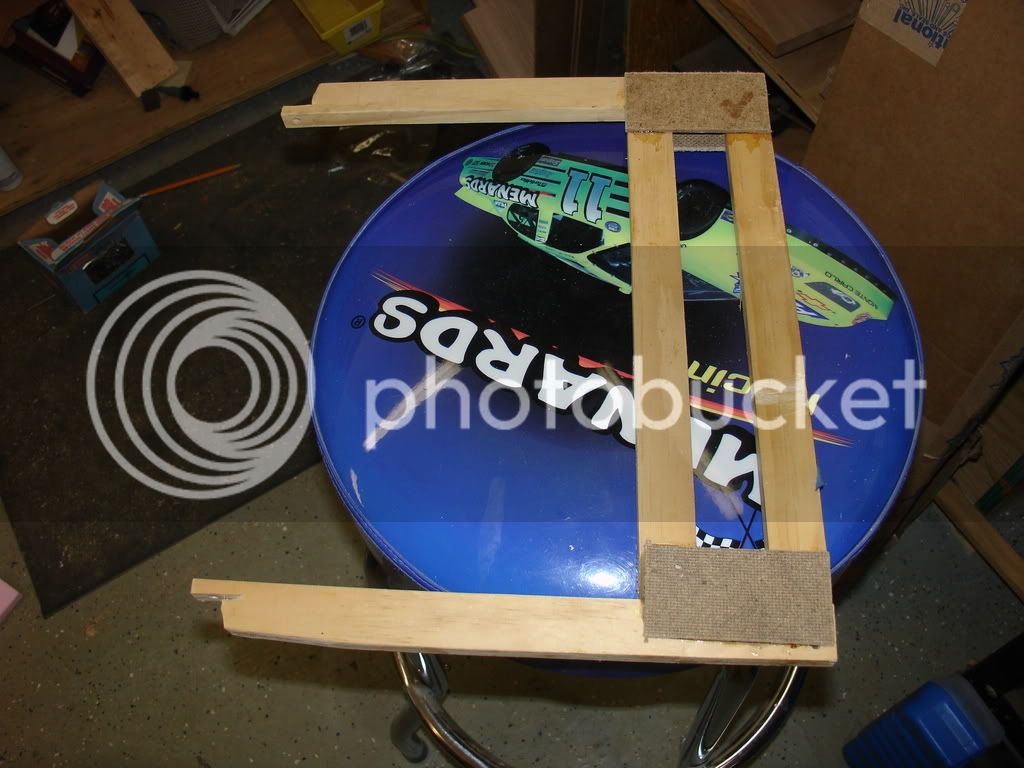
This is a picture of the smaller hot wireframe I use. It's missing the two eyebolts and the 28 ga. steel wire in this picture. It's stiff and light.

DSC02289.jpg


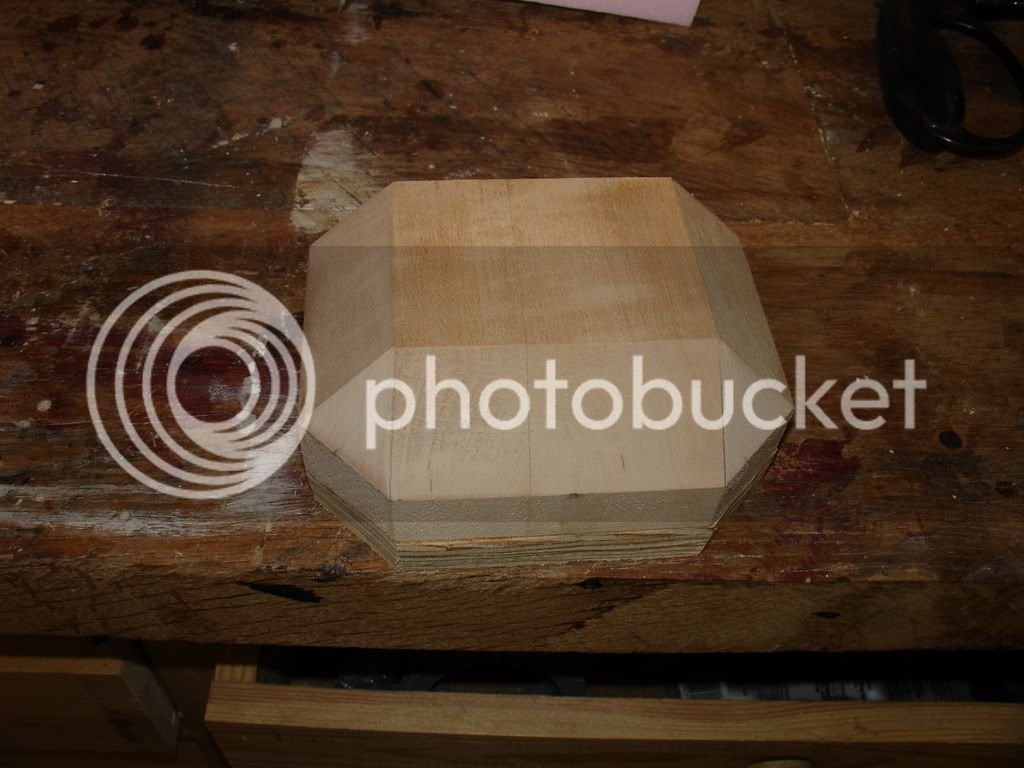
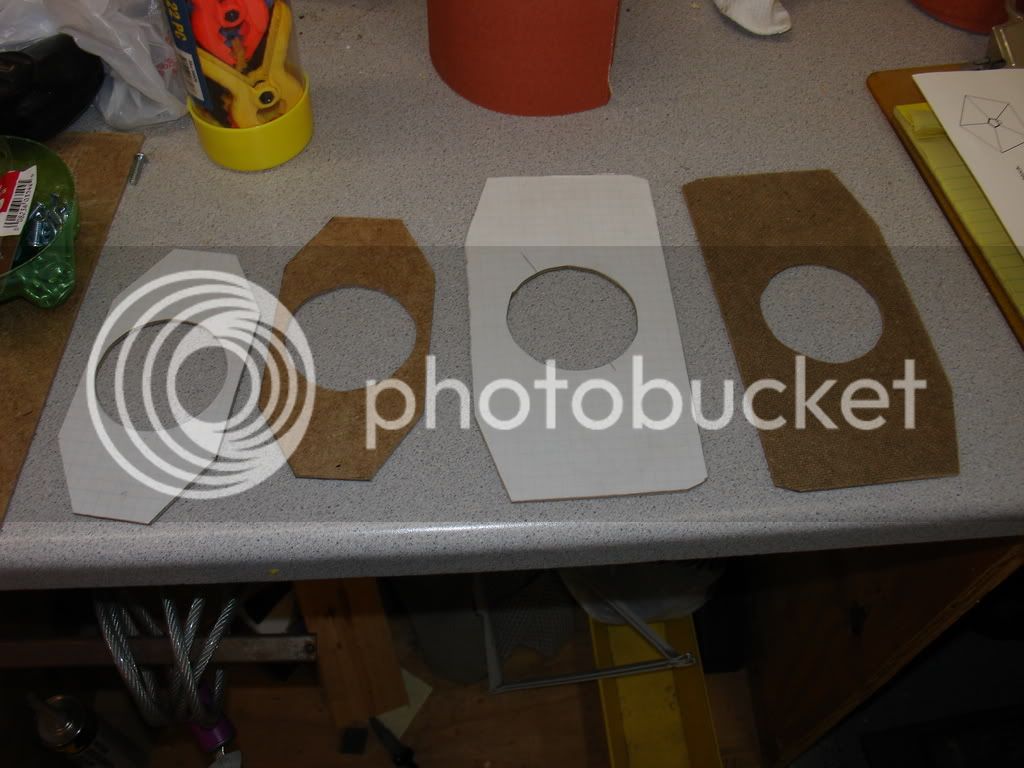
Here are the templates I made for the body sections from 1/8" hardboard. They were used to line up the dowels on the taper jig above and to define the holes for the BT-80 airframe tubing.

DSC02293.jpg


The templates were clamped at both ends of a block and a 3/8" inch hole was drilled through the block lengthwise. The eyebolt, with the hot wire tied to it, was "fished" through the hole and attached to a heavy duty frame. The core then was hot wired. The Core was removed after disconnecting an eyebolt from the frame.

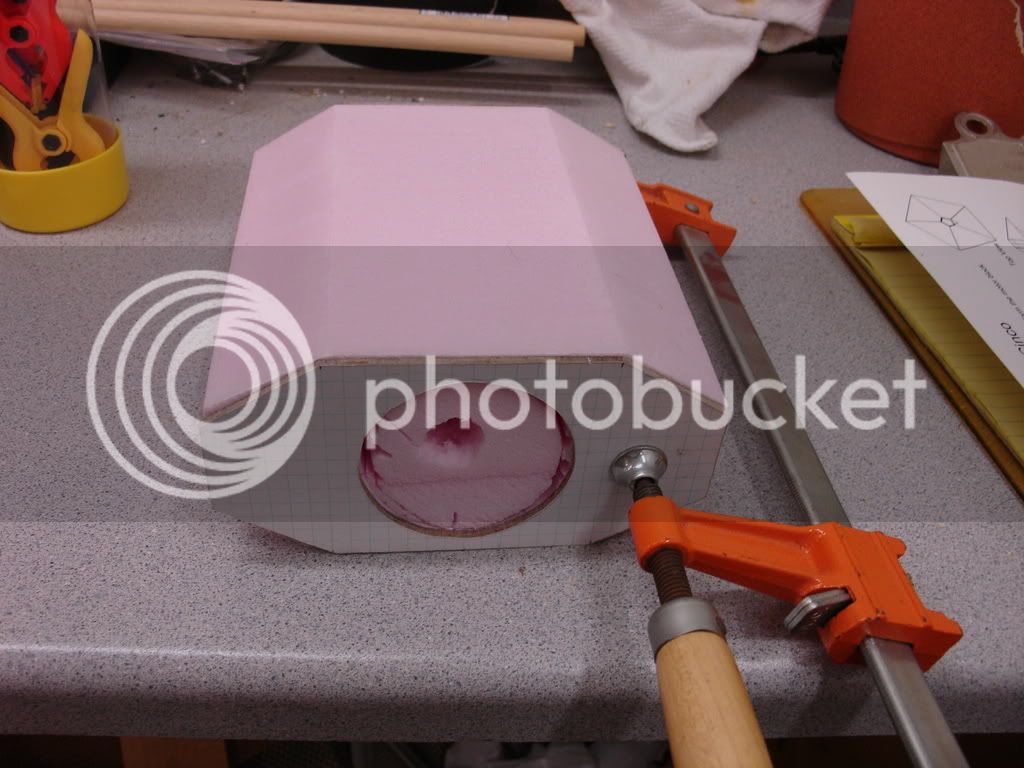
Here's a block with templates clamped.

DSC02294.jpg


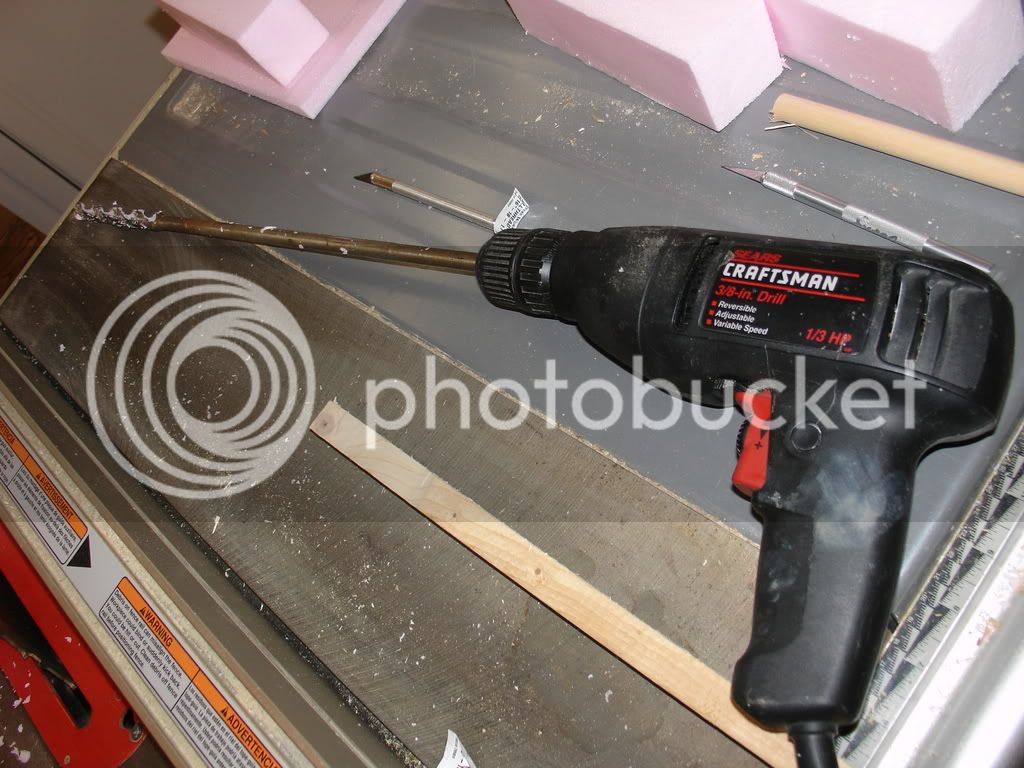
Here is the drill with the 3/8" installer's bit.

DSC02292.jpg


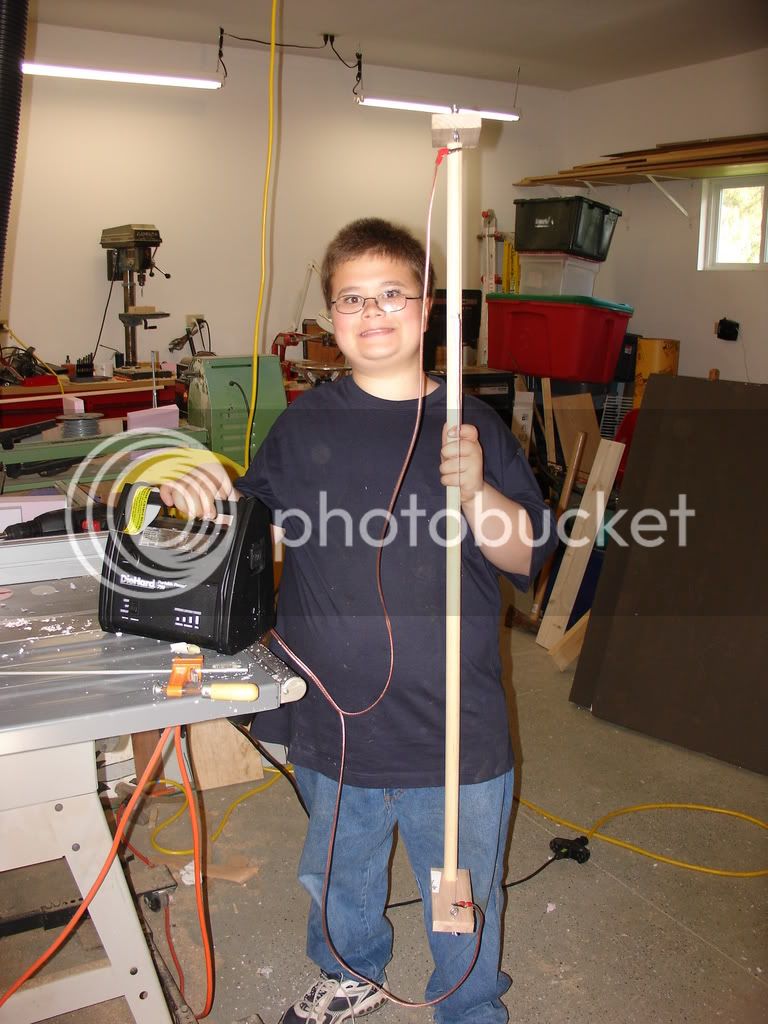
Child with large heavy duty hot wire frame.

DSC02297.jpg


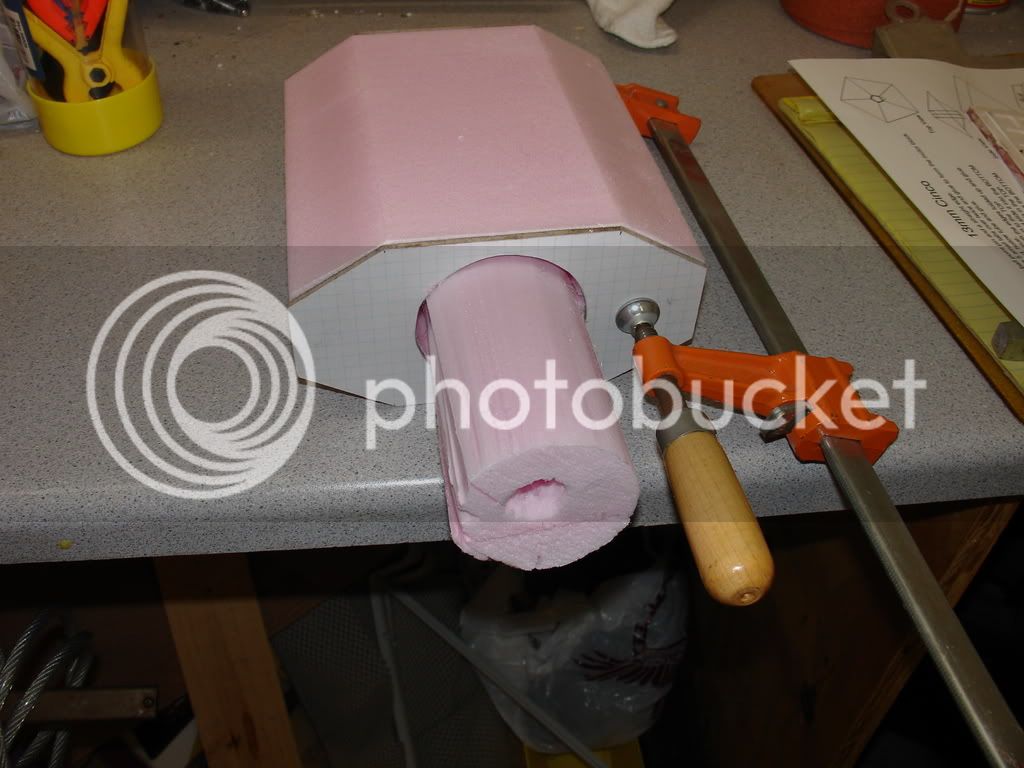
Block with core being removed.

DSC02295.jpg


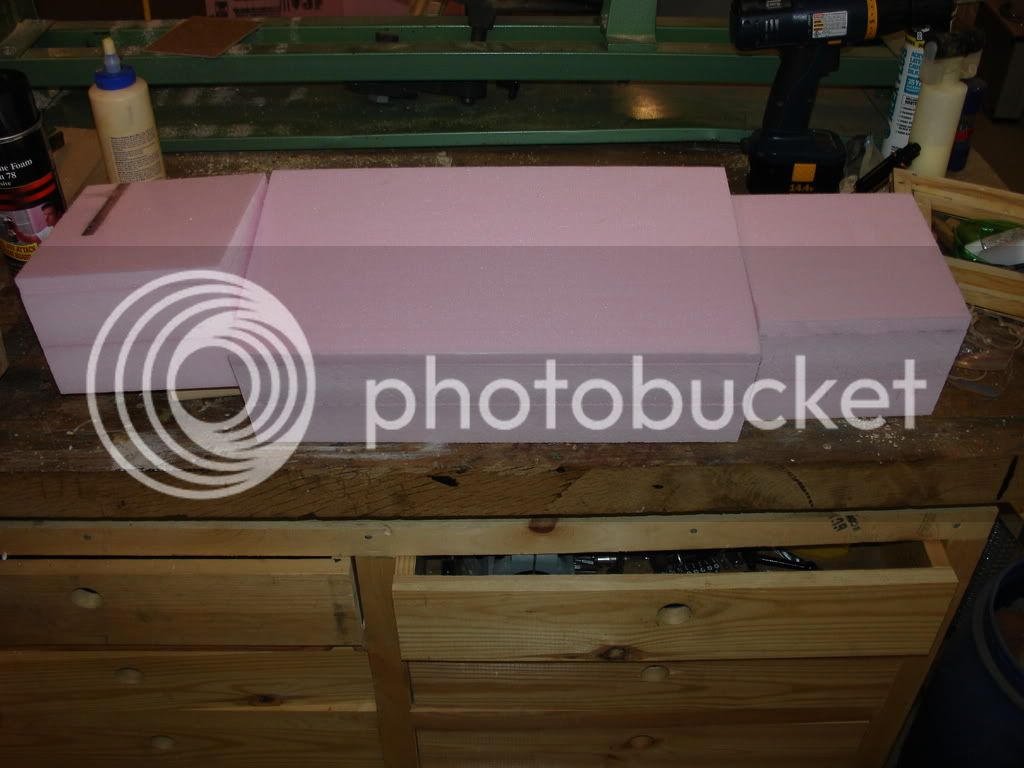
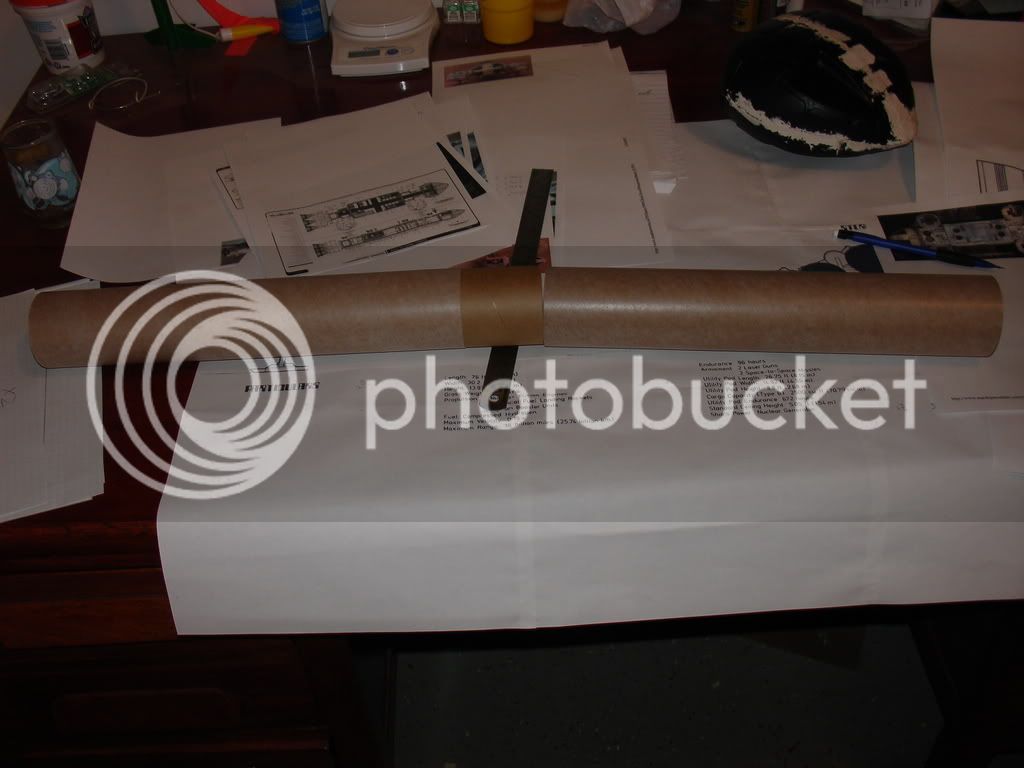
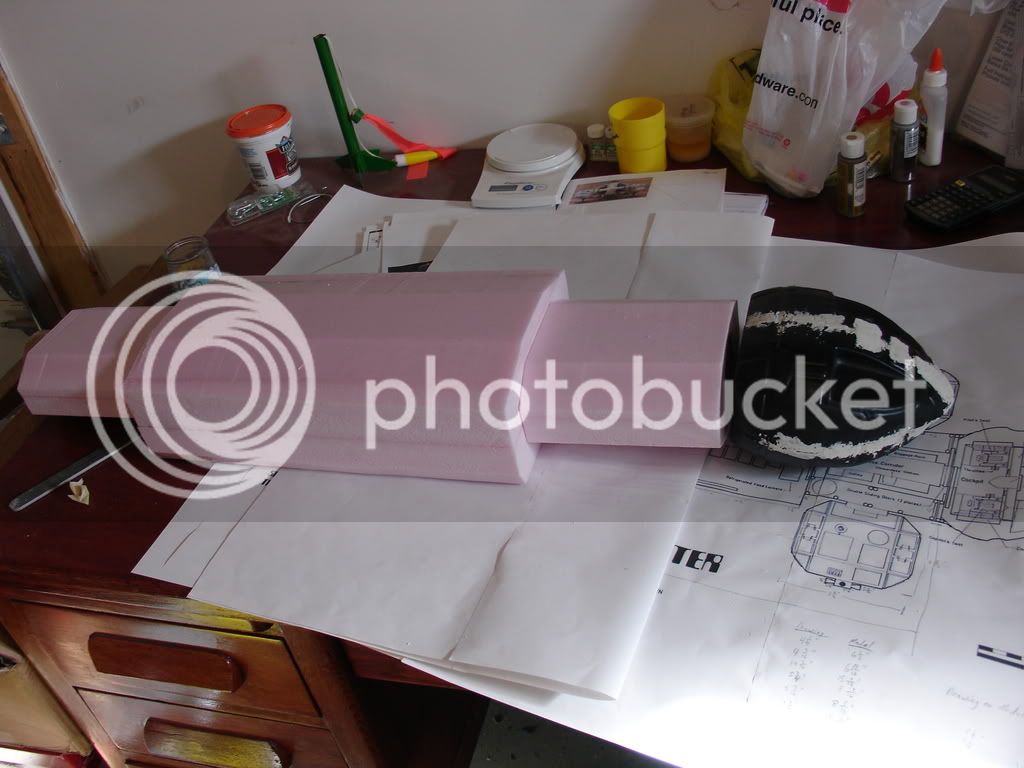
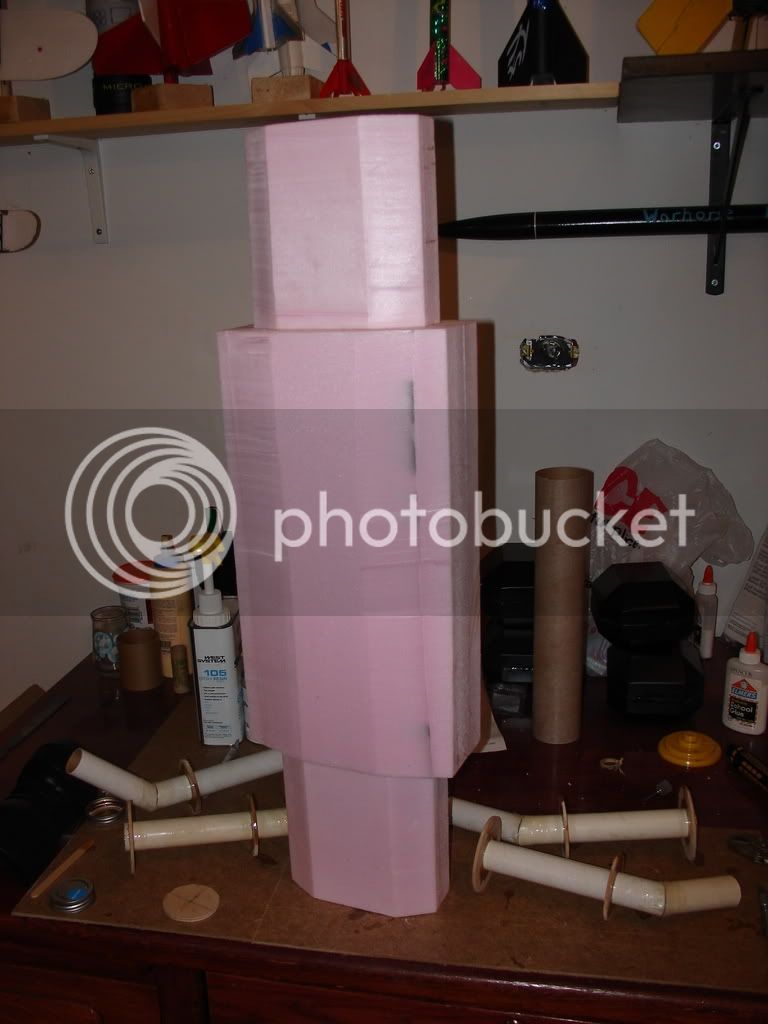
Pieces laid out with BT-80 tucked inside for test fit. Snug fit with room for adhesive.

DSC02296.jpg


That's it for now. Told you I'm slow.
 
very cool project!!! keep us informed.

I still have one of the metal eagles that I bought when I was 12 or so... I loved that show! I figure one day it might be worth something..
 
John,

Please don't bring this to the next Woosh meeting, I won't stand a chance in the MOTM voting! :D
 
Not to worry, at the rate I'm going I'm looking at about July for NARAM.

I've decided to go with 4 29 mm motor mounts. Any suggestions for venting ejection charges would be appreciated. Would fiberglass reinforced cardboard do the trick? PVC?

I have the engine nozzle/magnetic bottles laid out to make the forms for vacuforming out of styrene. They will clam shell over the motor mount tubes with basswood centering rings. I should have eyecandy by Saturday.

John.
 
Originally posted by tolppisouth
I've decided to go with 4 29 mm motor mounts. Any suggestions for venting ejection charges would be appreciated. Would fiberglass reinforced cardboard do the trick? PVC?

If you're trying to vent the ejection charge out of the rocket then, using reloads, you can assemble the motor without the ejection charge. Just plug the ejection charge hole with a little grease or masking tape.

For single-use motors, you can easily remove the ejection charge, though that might be considered modifying the motor.

-- Roger
 
Originally posted by metalwizard
very cool project!!! keep us informed.

I still have one of the metal eagles that I bought when I was 12 or so... I loved that show! I figure one day it might be worth something..

I got one too, one that carries a radioactive payload (as I recall it, four barrels. I'ts up on the attic somewhere). :)
 
Sorry, I wasn't clear. The four motors are exposed and the ejection charge needs to be vented to the central airframe tube. The motor configuration if viewed from behind would look like a flattened diamond with a motor in each corner. I guess the two closest motors would only have to have ejection charges. That would simplify things considerably. Hmmm..

Thanks Jadebox.


John
 
From personal experience... use ejection charges on all the motors... It'd be really bad if the motors with the ejections didn't light, but the one's without did...
 
I suspect I have some noodling to do then.

Forgive me. I lied. I have some eye candy tonight. I was able to vacuform the eight halves of the the landing pods tonight. Here's an image.

DSC02305.jpg


Unfortunately I'm working with black plastic and things are hard to see.

Here's a completely uninforamtive video of me vacuforming a peice. My oldest needs to develop a director's eye. My youngest says it looks like a video of my butt. He's probably right.

<embed width="430" height="389" type="application/x-shockwave-flash" wmode="transparent" src="https://s151.photobucket.com/player.swf?file=https://vid151.photobucket.com/albums/s122/tolppisouth/MOV02303.flv"></embed>

Let's see if that works.
 
my suggestion, get rid of the ejection charges in the motors (go plugged) and use electronics, a project that complex why trust the motor?

Id recomed a M.A.D. that way if the rocket were to go unstable the chute would come out anyways.
 
Mercifully, there will be no videos of my butt in this update.

I've assembled the landing pods. Here's a close up of one.

DSC02308.jpg


Here they all are layed out on a blue print to show their positions.

DSC02306.jpg


This last weekend, my spouse bought me an early Father's day present. A new wood lathe. This allowed me to turn the form for the engine. Here it is. The green is modeler's epoxy to fix wormholes from the basswood I used.

DSC02310.jpg


The fun part was cutting it lengthwise in half to use a a form for thermoforming.
 
Time for an update. I've vacuformed the nozzles. I've decided to go with 29 mm tubes and vent the ejection charges to the main air frame. Previously I showed the form for forming the nozzle. Here's a crude video of one being formed.

<embed width="430" height="389" type="application/x-shockwave-flash" wmode="transparent" src="https://vid151.photobucket.com/player.swf?file=https://vid151.photobucket.com/albums/s122/tolppisouth/GeneralMay2007047.flv"></embed>

Here is two cut out pieces with the nozzle exit cut out.

GeneralMay2007043.jpg


Here are the engine mounts tacked together with CA.

GeneralMay2007040.jpg


Here they are epoxied.

GeneralMay2007044.jpg


Here are the foam blocks epoxied together. BT-80 was used to line up the pieces but removed. The rear foam block will need to be notched for the vent tubing.

GeneralMay2007042.jpg
 
Wow! Until that last photo, it was hard to get a feel for the scale of your Eagle! It's gonna be HUGE! Beautiful job so far!

I've just finished downloading all of the episodes and am watching them again! Hehe! I had forgotten how good/bad it was!
 
Hi John, digging through stuff today I did find 2 Revell Gemini astronauts. They're already assembled, no paint. You still want them???
Mark T
 
Yes if the offer still stands. Should be an old PM in your box. Otherwise let me know.

John
 
Back
Top