patelldp
Well-Known Member
- Joined
- Jan 23, 2009
- Messages
- 5,647
- Reaction score
- 101
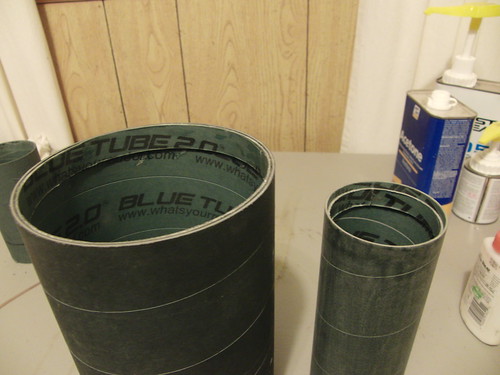
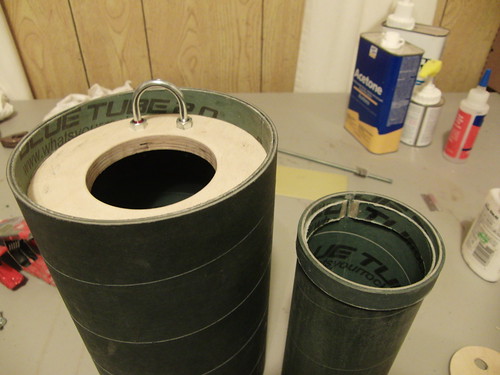
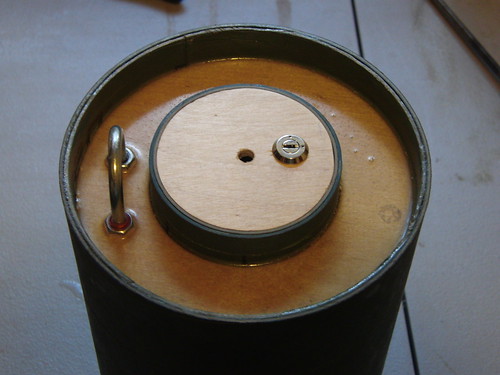
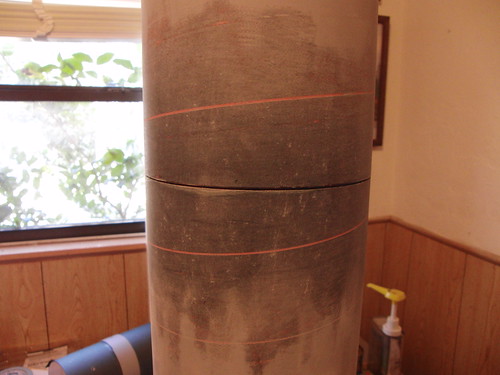
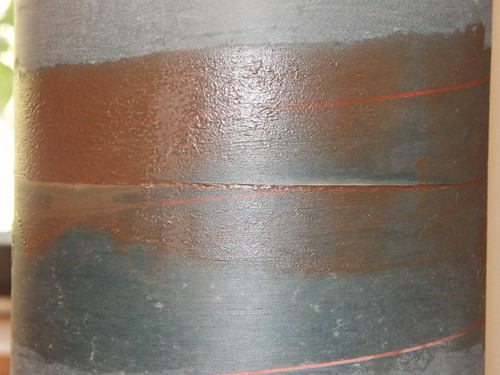
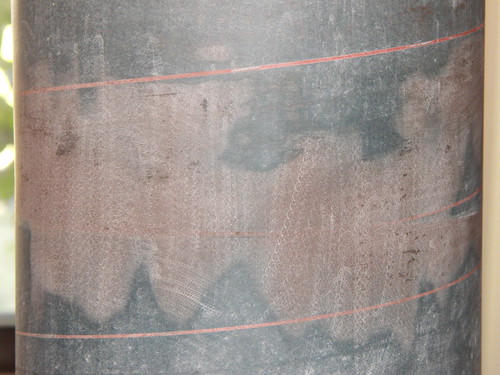
My 4" coupler got jammed in my FWFG cone...here's what I did:
Place the cone on the end of your bench, the lip flush with the edge and the coupler hanging off. Place one hand on the cone, the other on the coupler. Press down on the coupler, with the lip of the cone as your fulcrum. Rotate the cone 90 to 180 degrees, and repeat several, several times. It doesn't feel like much is happening, but if there's any slop then it should budge a little each time.
Try that for 20-30 minutes and see where it gets you.
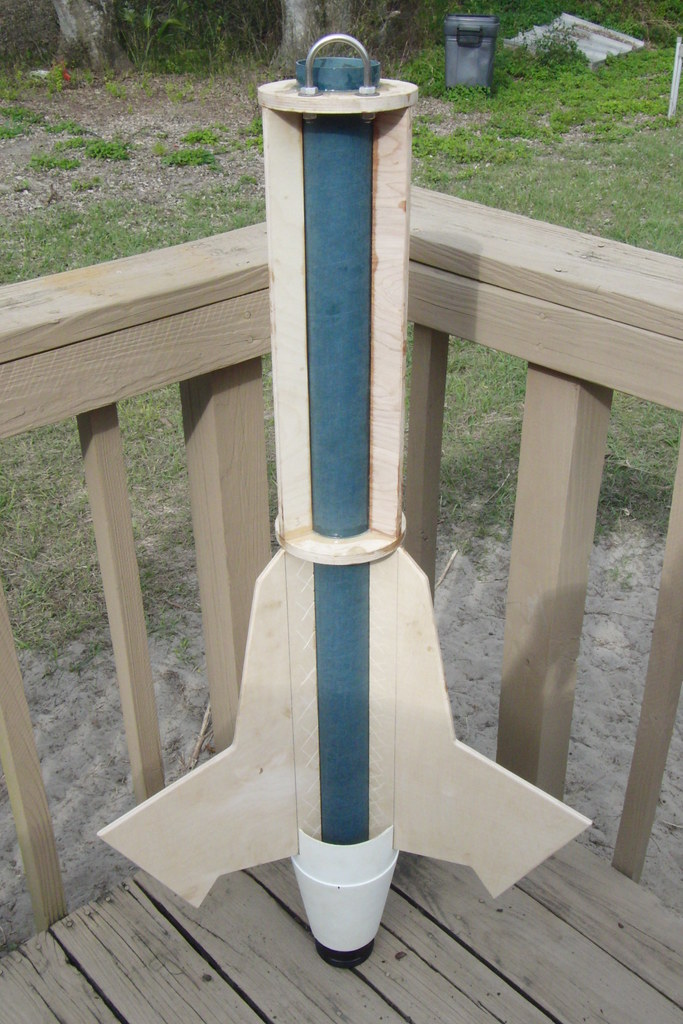
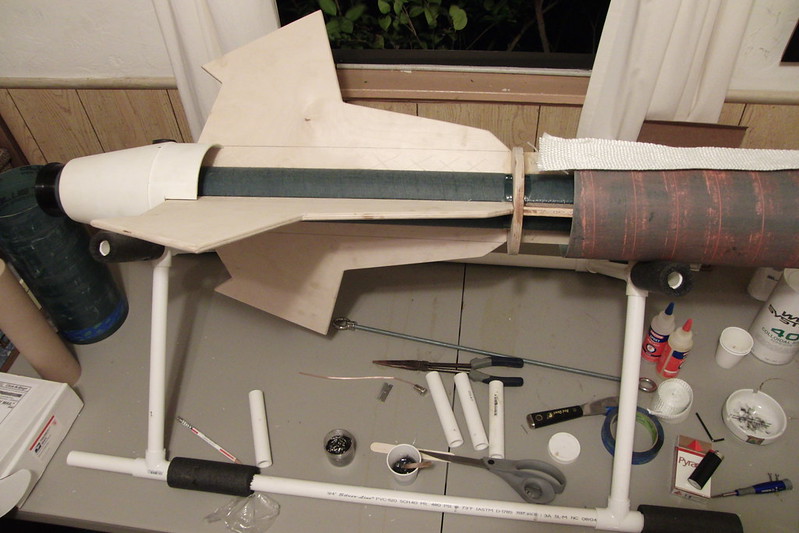
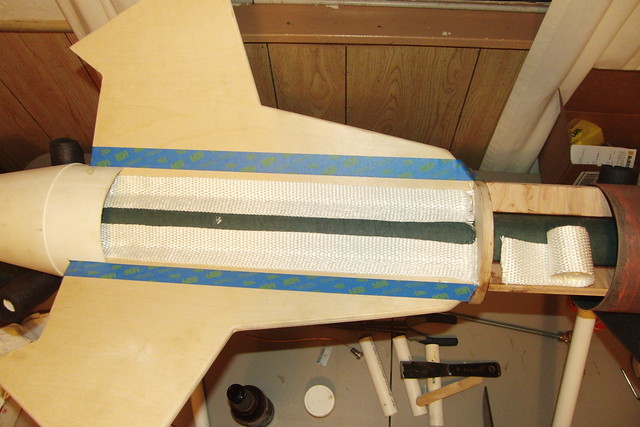
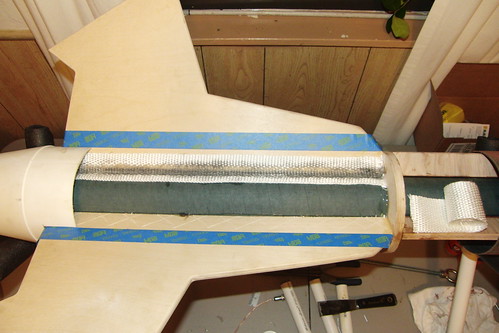
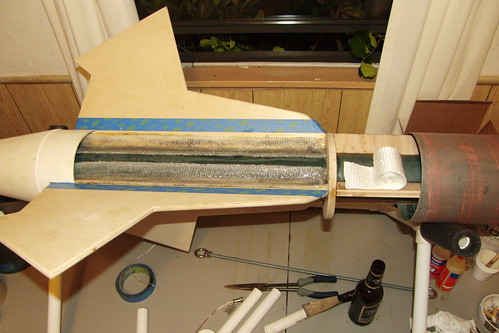
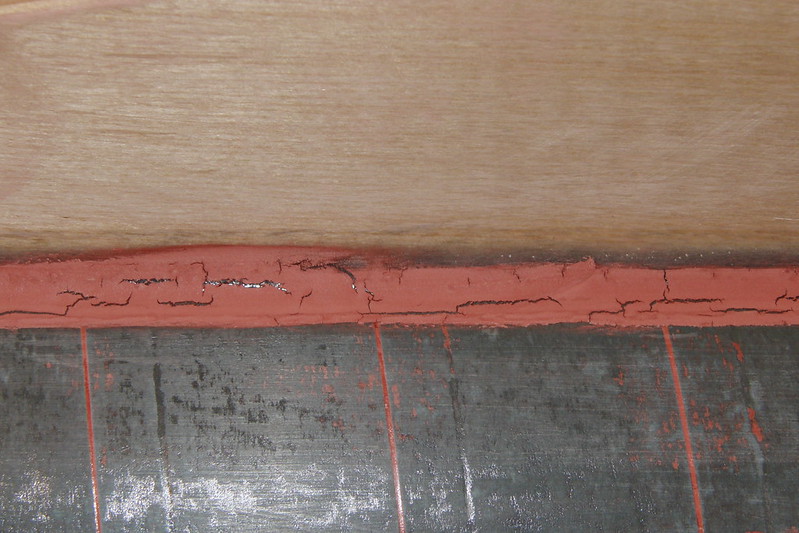
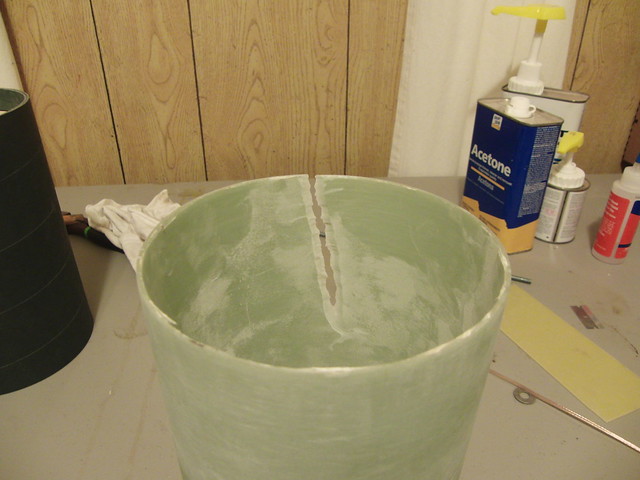
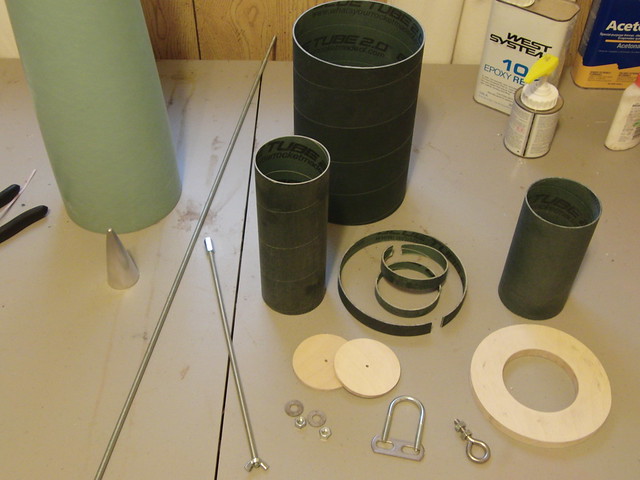
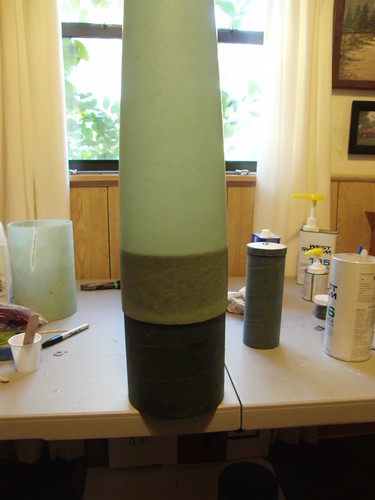
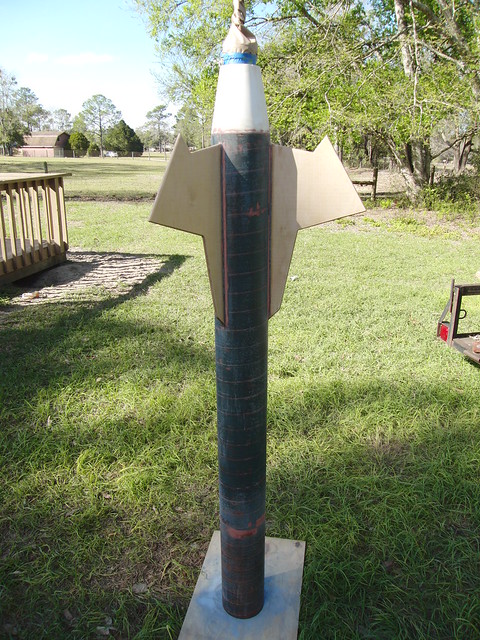
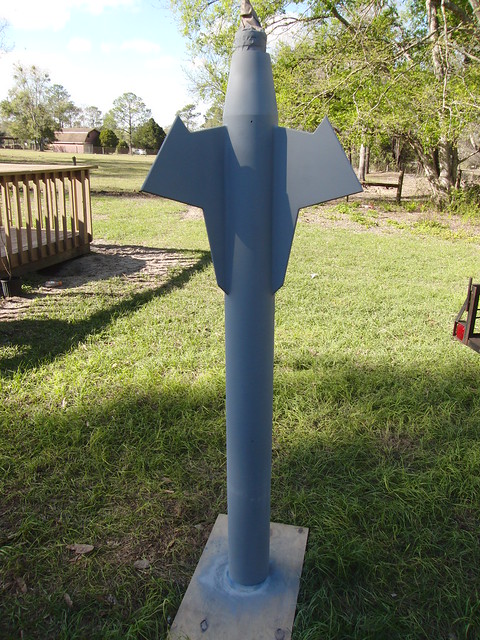
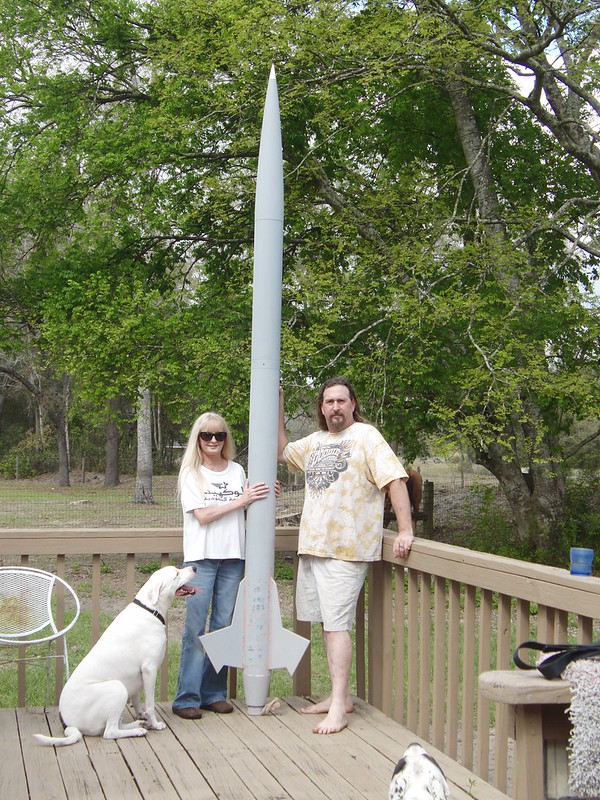
") Thicker fiberglass will be stronger, as its the fiberglass weave, not the epoxy, that adds strength. As long as it is sufficiently wet out it should be good. I tack my fins in with 30 minute epoxy, remove the fin can, add Aeropoxy structural fillets, and then apply the fiberglass with 2 layers of 6oz. I added a few pictures of some of the ones I've done. For smaller rockets I will fiberglass the entire fin root, for bigger ones (to save weight) I just use it to reinforce the centering ring/fin root/MMT joints at either end to prevent the fins from popping loose. Your rocket has big fins and they may end up taking a good impact on landing. The extended tailcone will help, but the fiberglass will help keep those bad boys in place!
Thicker fiberglass will be stronger, as its the fiberglass weave, not the epoxy, that adds strength. As long as it is sufficiently wet out it should be good. I tack my fins in with 30 minute epoxy, remove the fin can, add Aeropoxy structural fillets, and then apply the fiberglass with 2 layers of 6oz. I added a few pictures of some of the ones I've done. For smaller rockets I will fiberglass the entire fin root, for bigger ones (to save weight) I just use it to reinforce the centering ring/fin root/MMT joints at either end to prevent the fins from popping loose. Your rocket has big fins and they may end up taking a good impact on landing. The extended tailcone will help, but the fiberglass will help keep those bad boys in place!